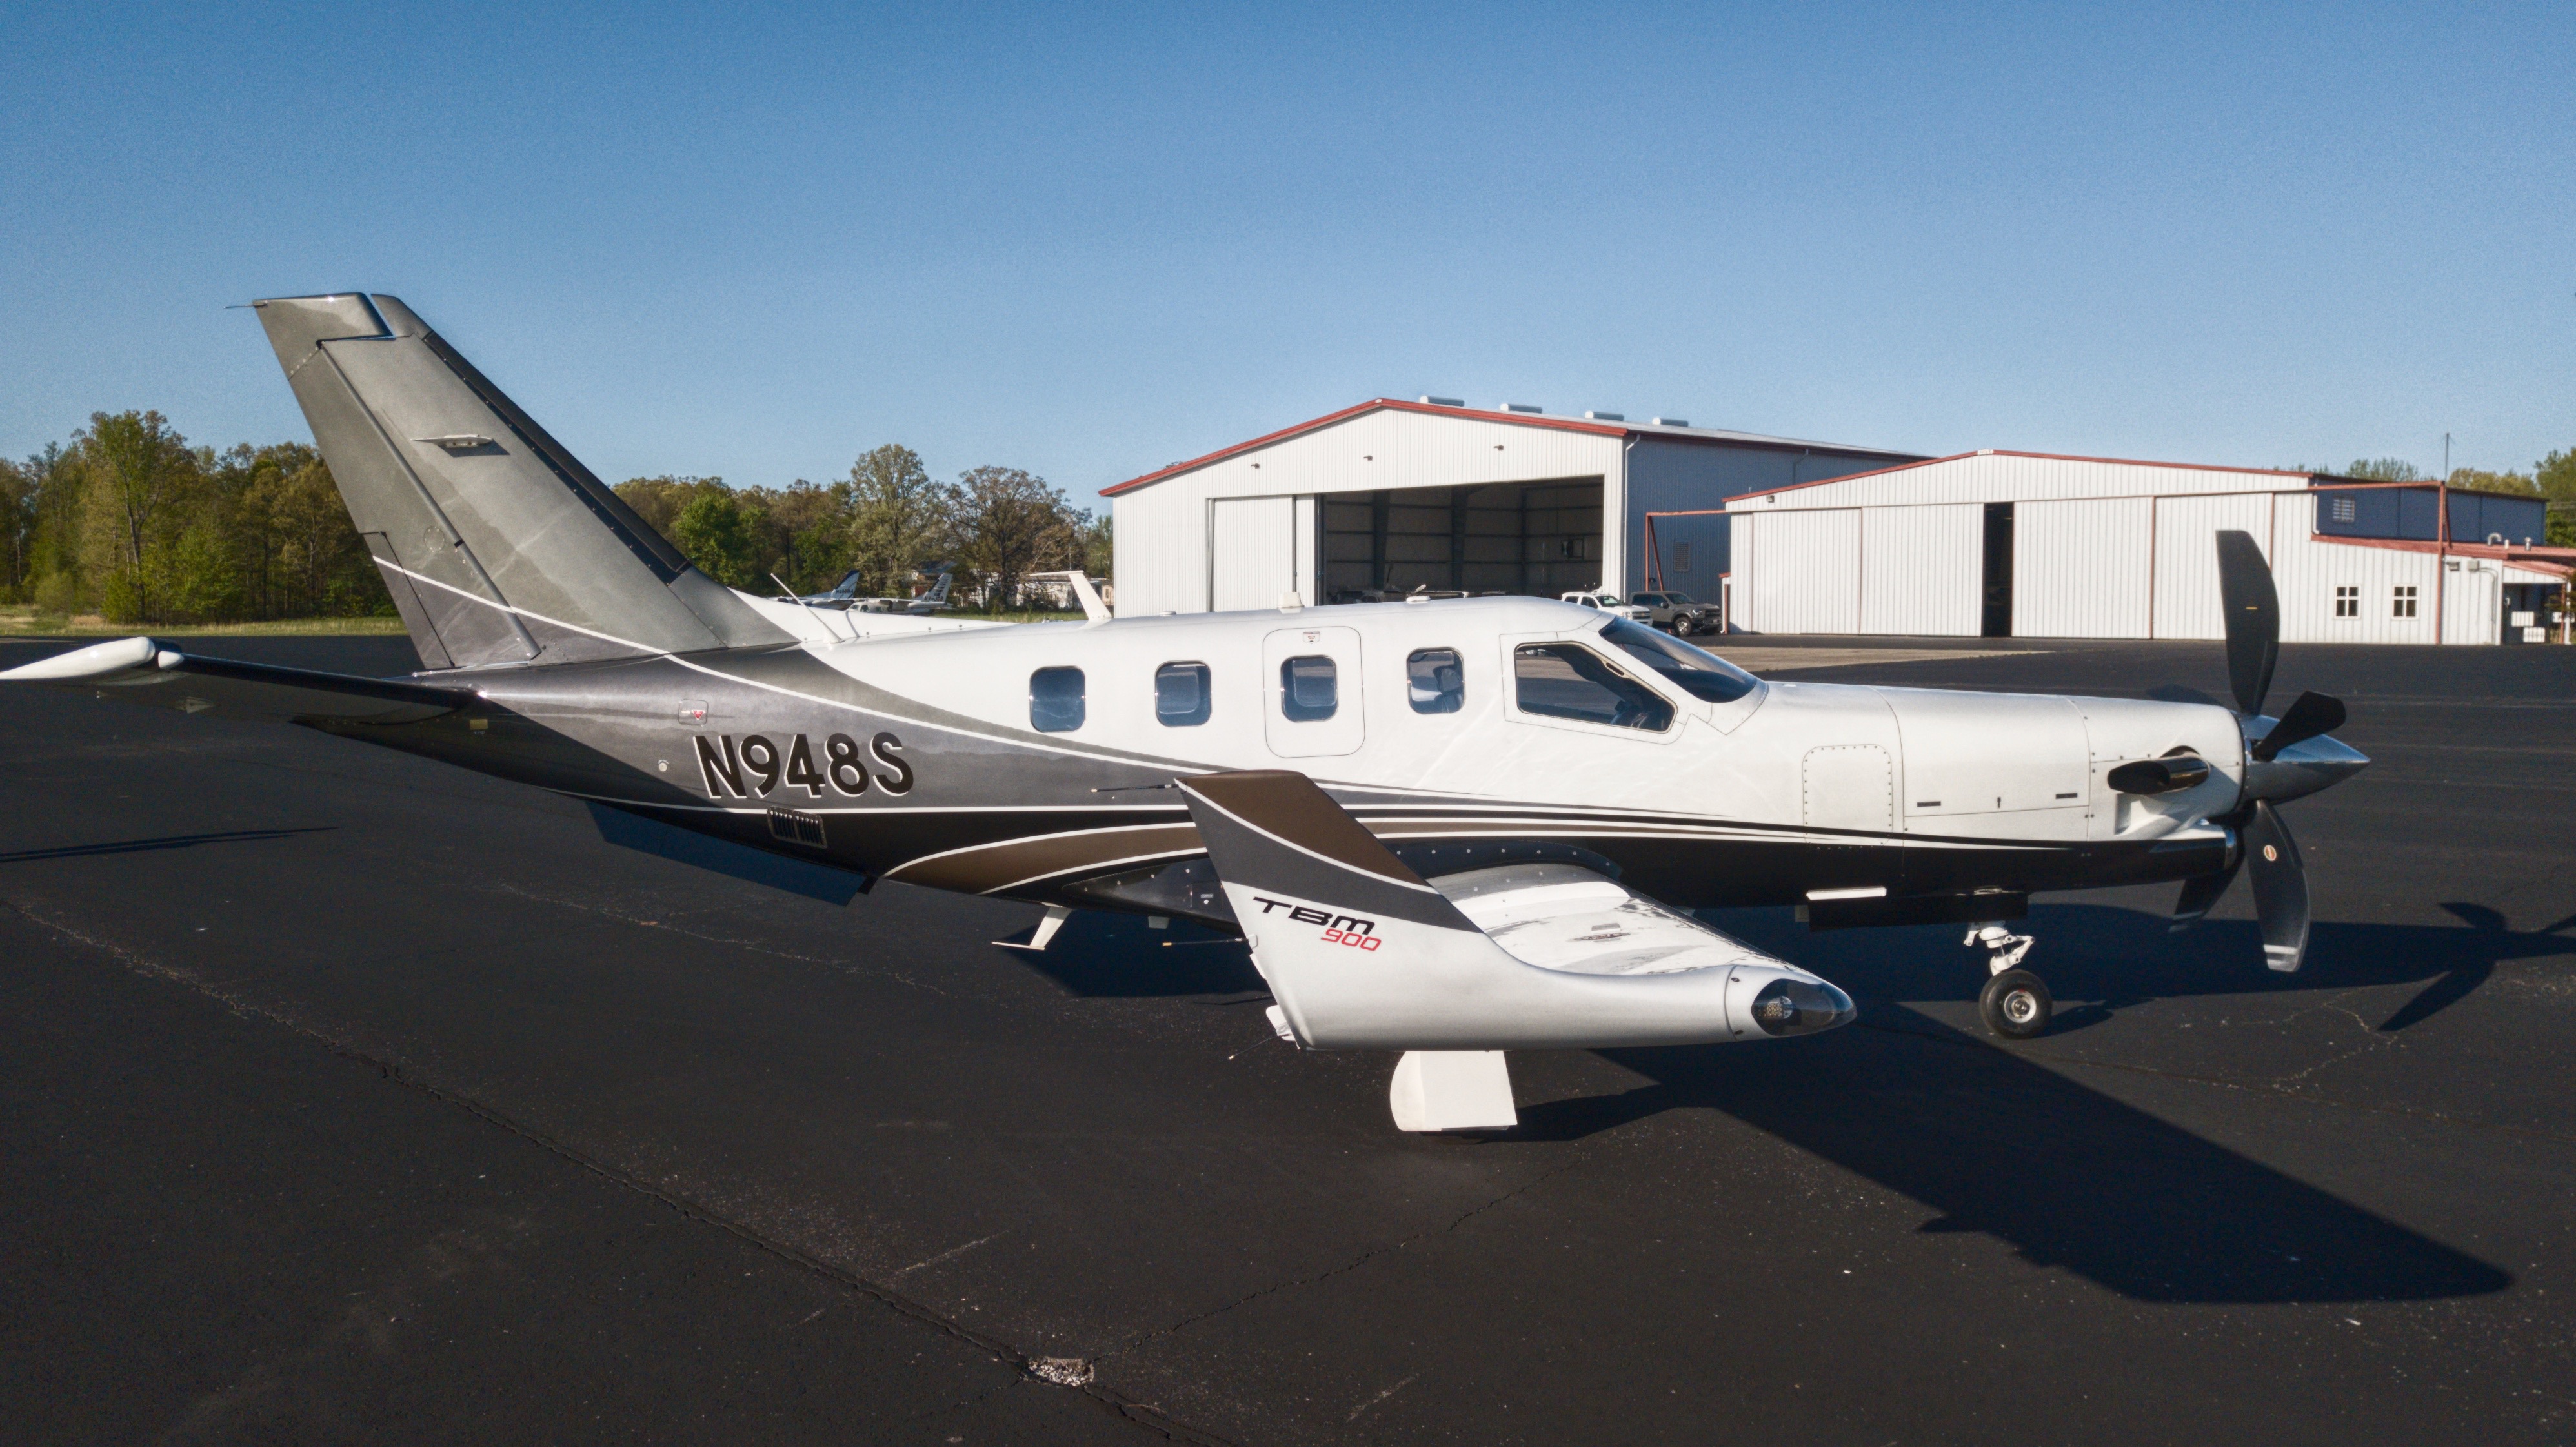


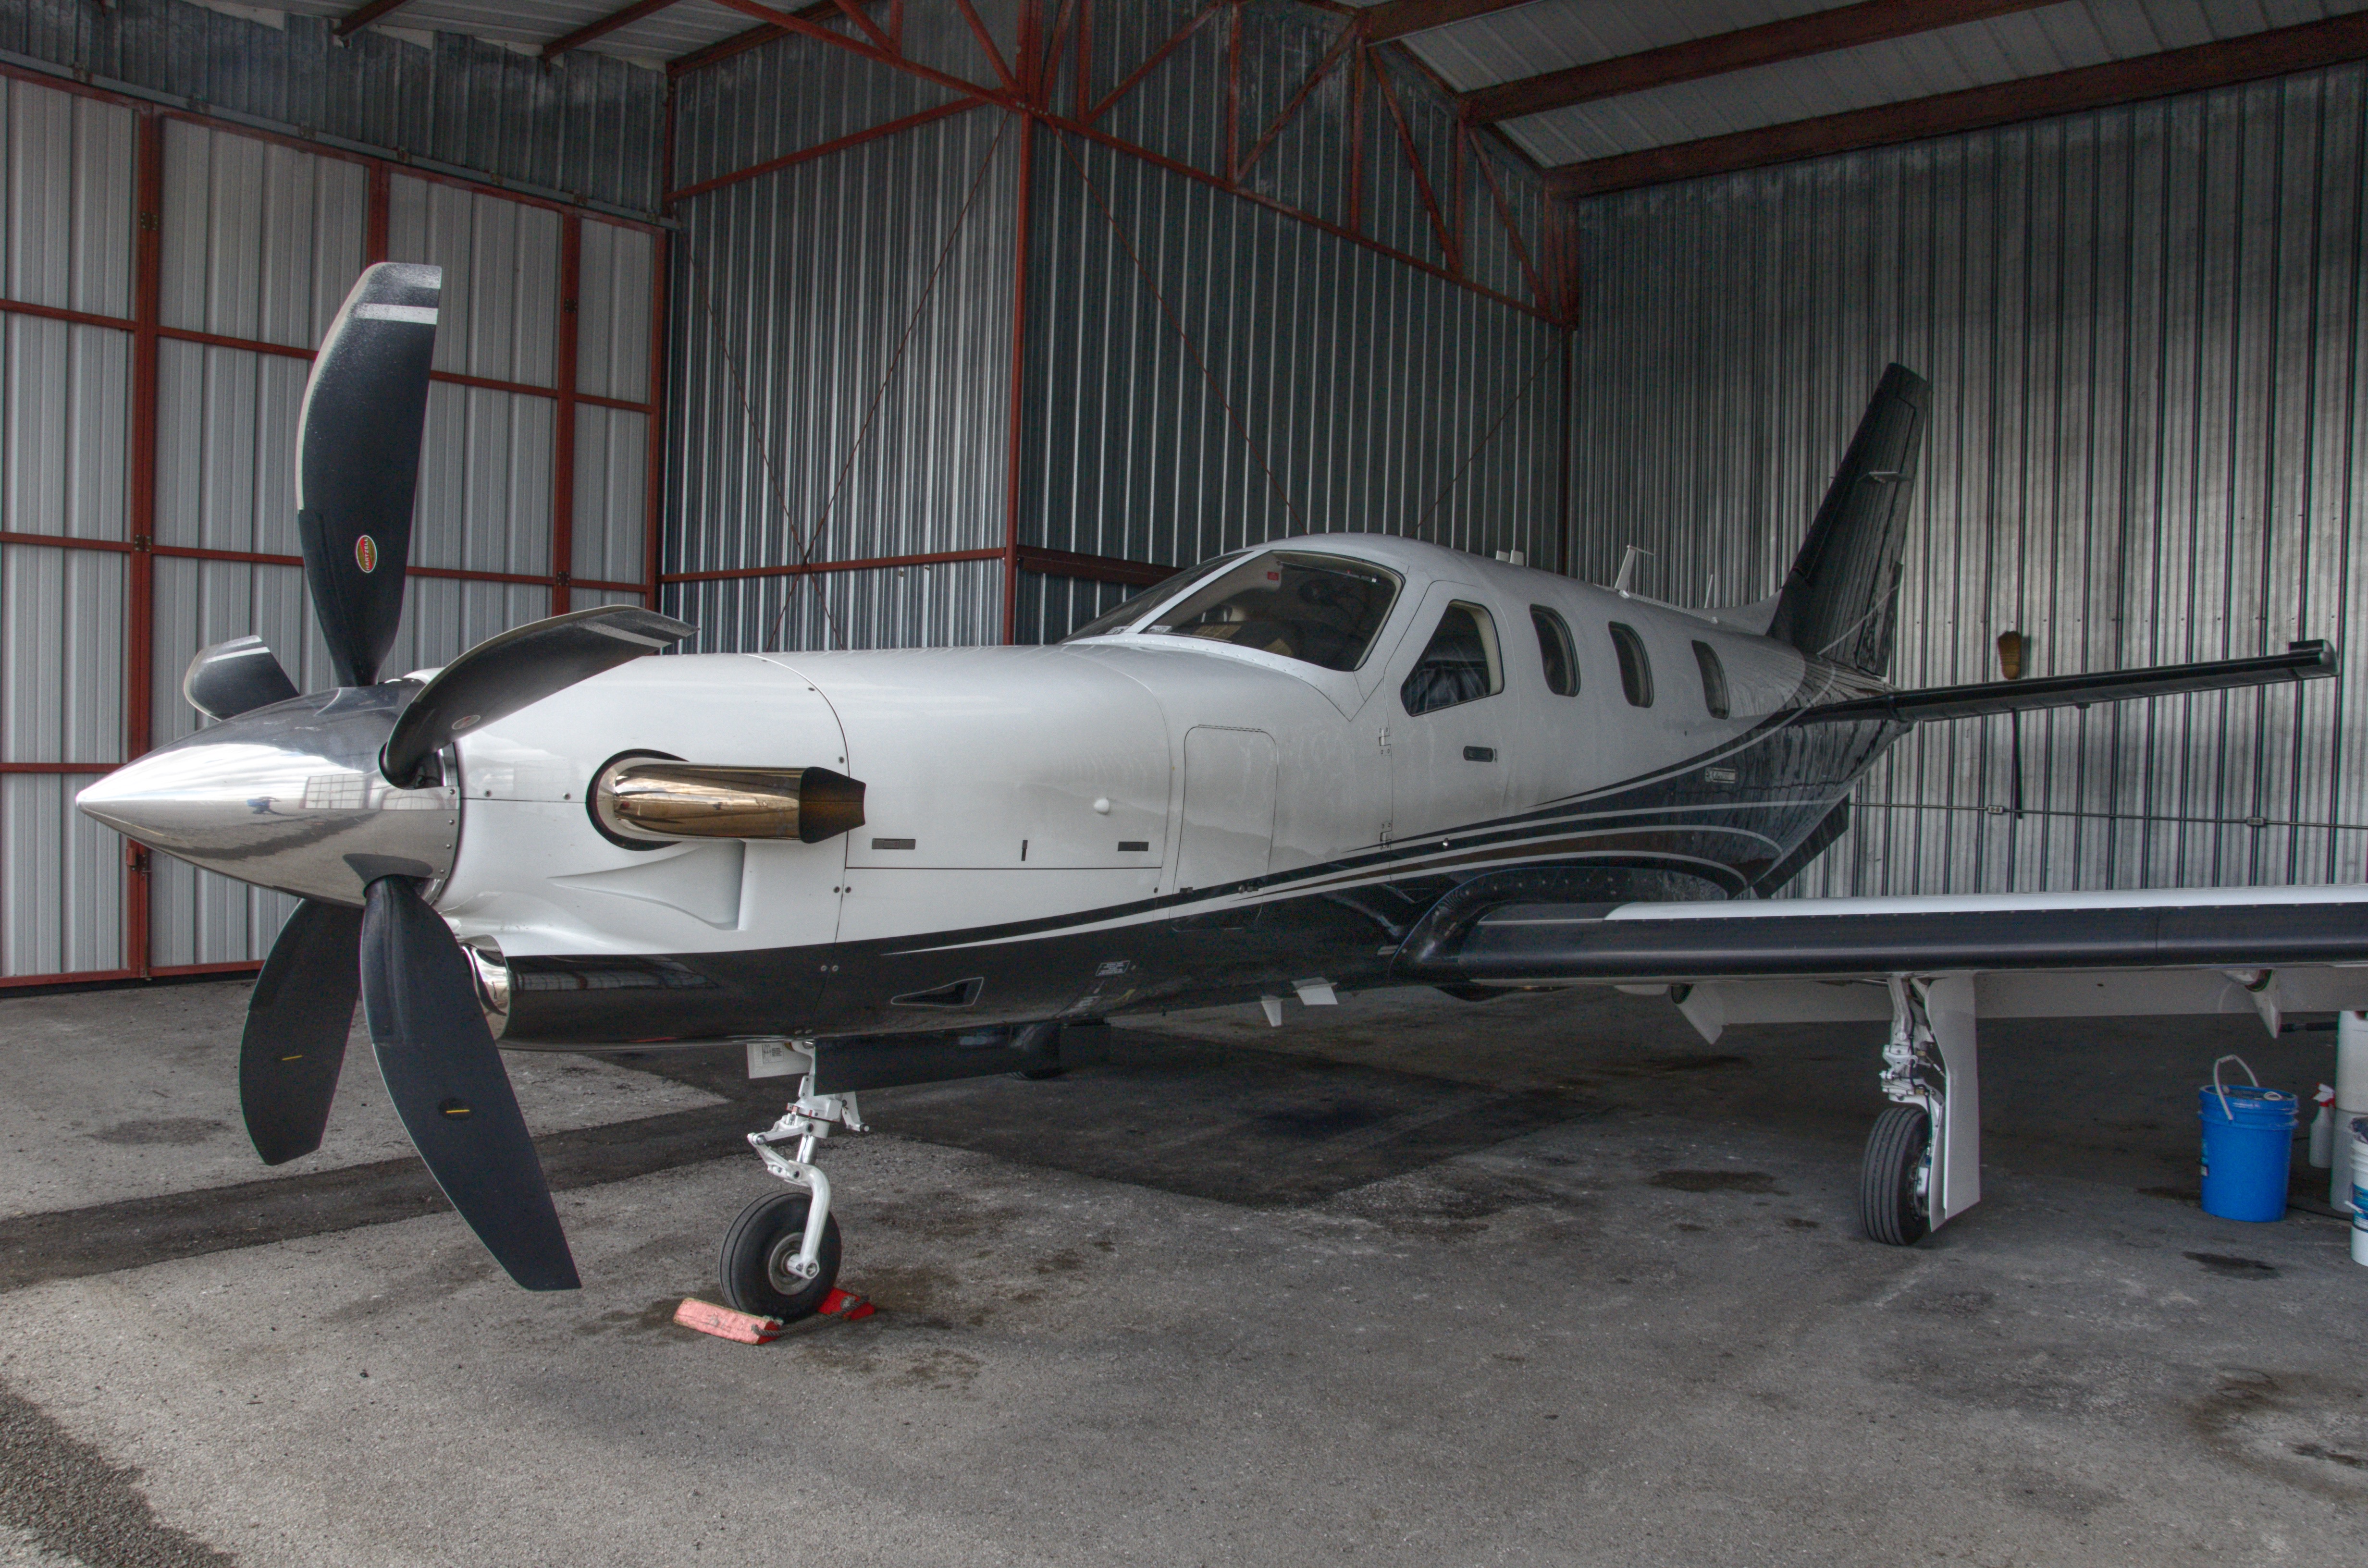
Aviana Aircraft Detailing traveled out to Nashville, TN to work on our this Socata TBM-900. We find in many cases it is more convenient for our clients to have us work on their aircraft out of their home base, this was no exception. We set up shop at John C Tune airport and got to work.
Turbo Prop Staining
First order of business was to wash the TBM prior to paint correction. Exhaust staining and oil was removed with a tough citrus based cleaner. The rest of the plane was washed with a rinse-less wash. Some airports have strict rules as to washing airplanes and managing waste water run-off. By rinse-less washing we use less than a gallon of water, none of which ends up in the drain!
Although there was some staining aft of the exhaust stack on the pilot’s side, most of the exhaust staining seems to adhere to the right side fuselage and wing.
Turbine exhaust is actually somewhat corrosive to paint and causes the paint to oxidize and become more porous. This in turn makes the exhaust harder to wash off, requiring heavy scrubbing, which in turn further damages the paint.
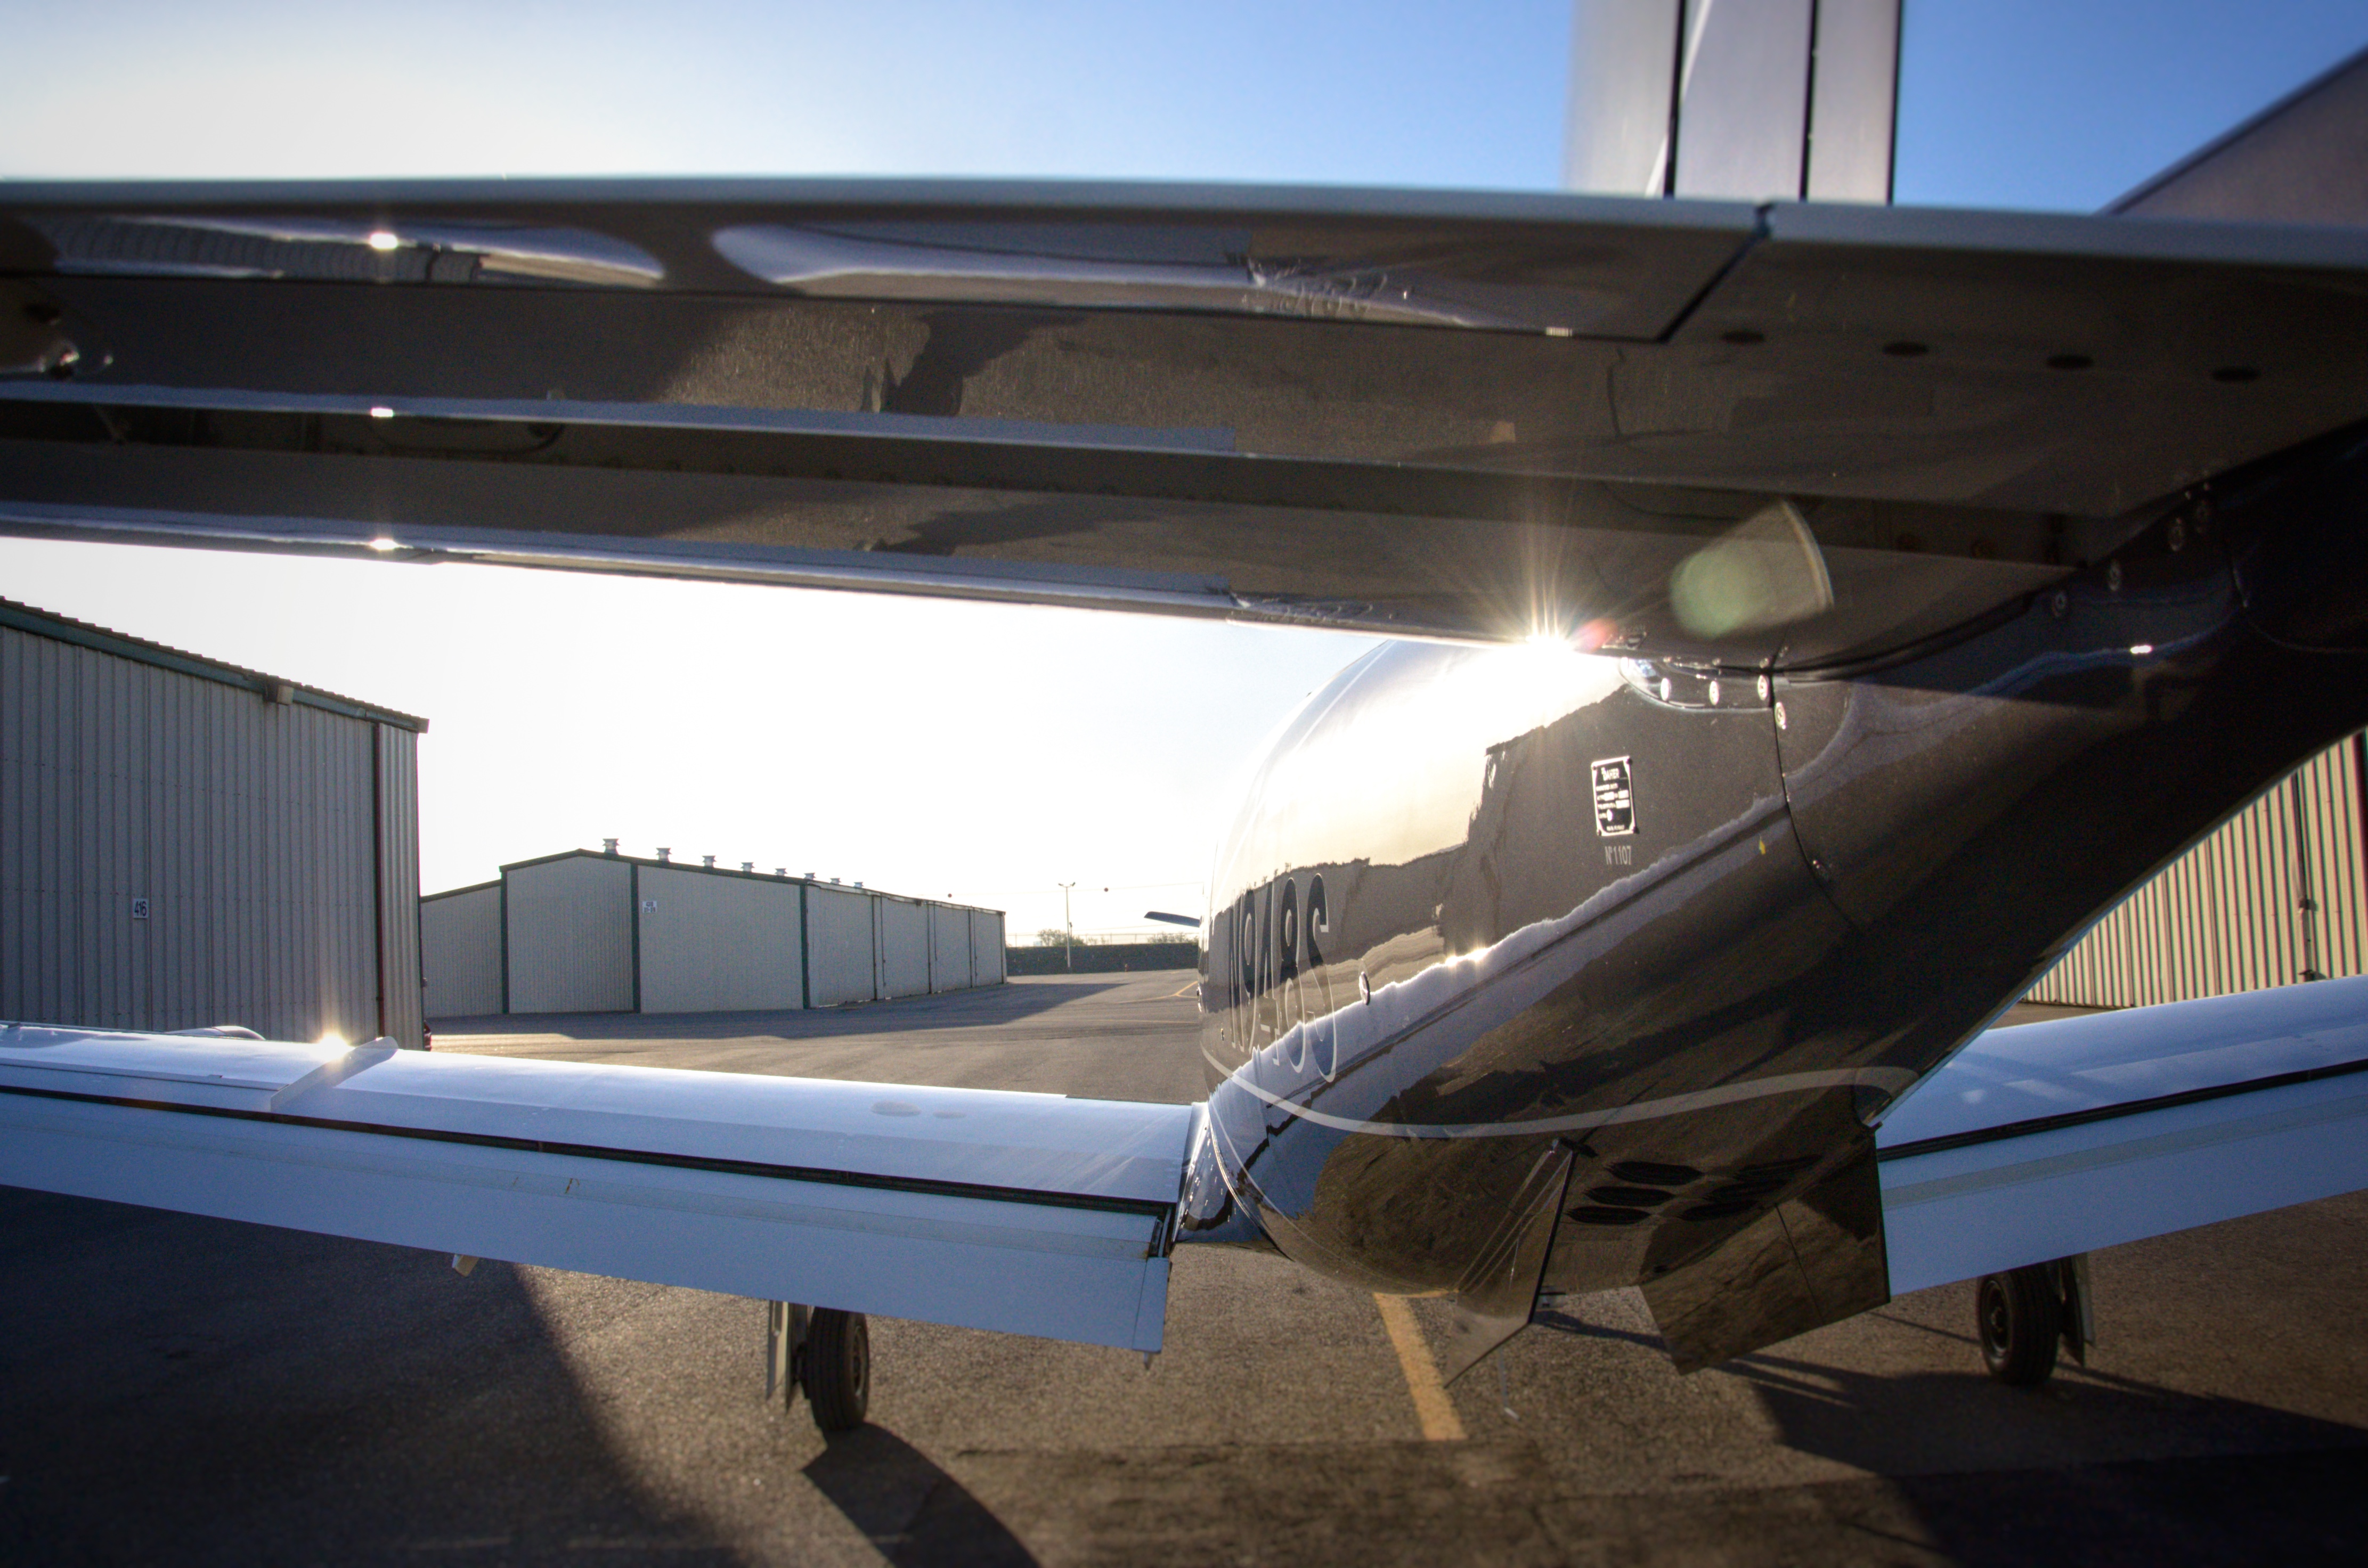
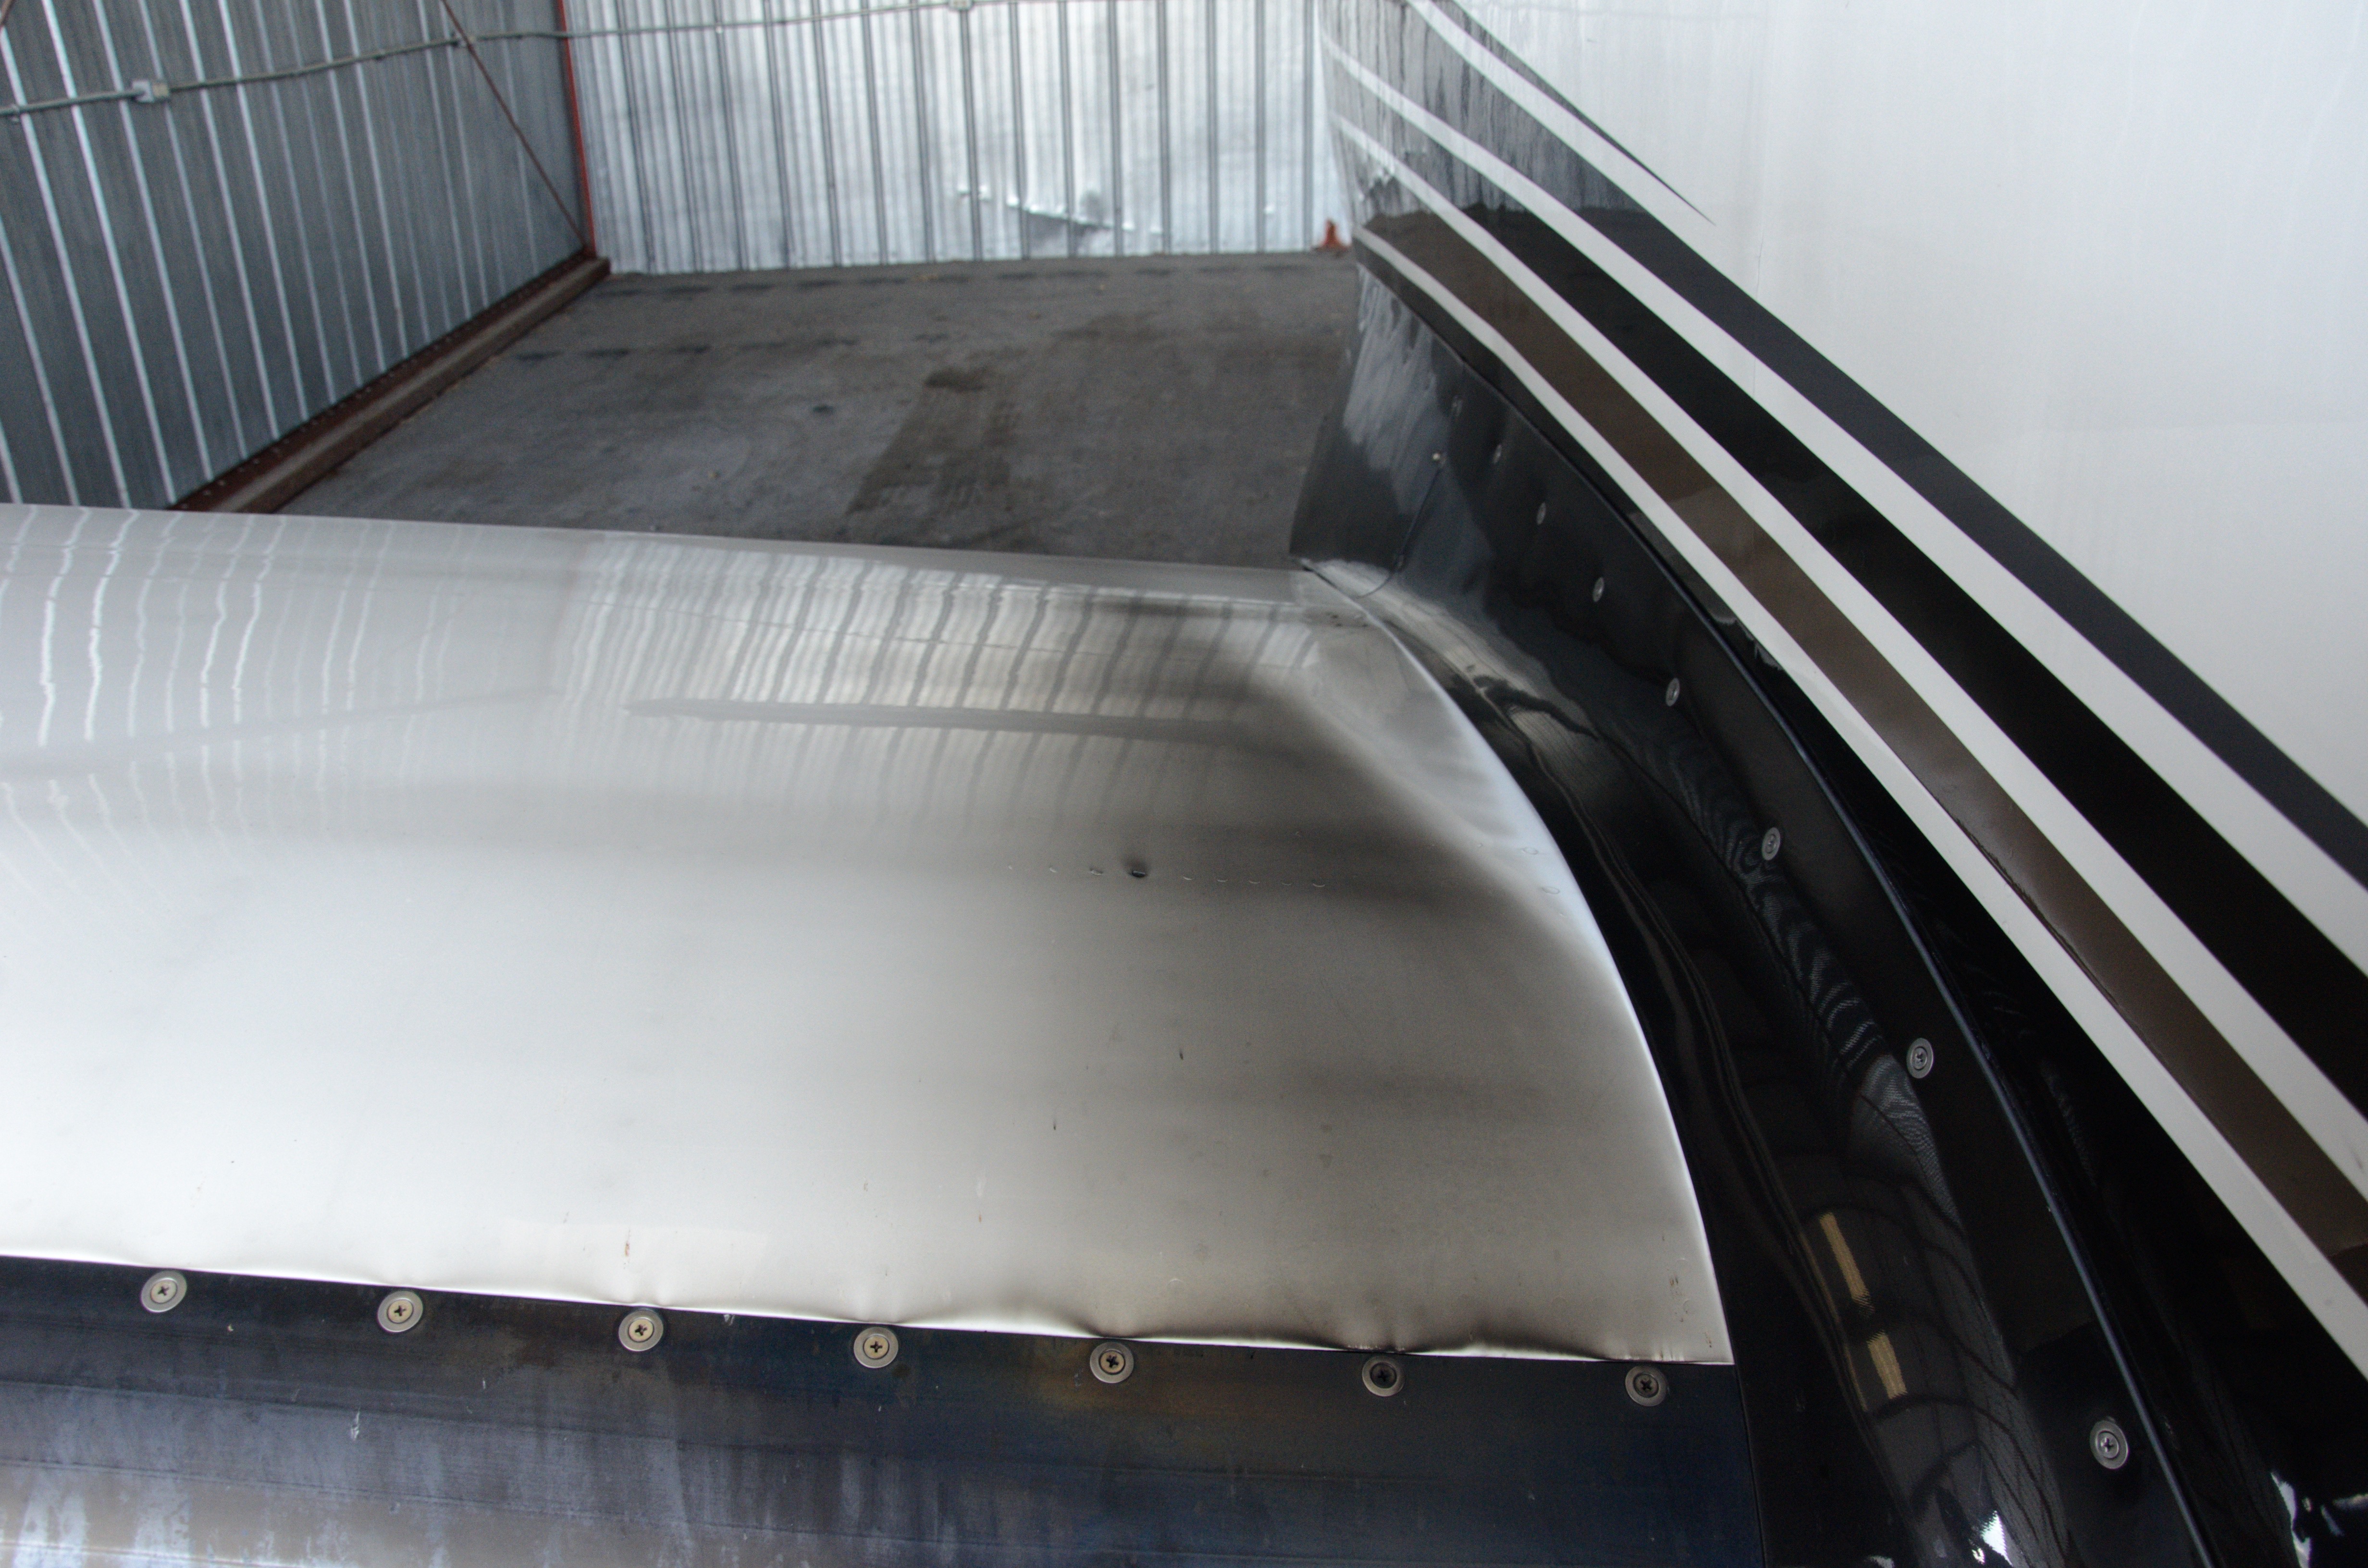
You can see that even after wiping the soot off the front 2/3rds of the wing, there is a yellowish gray staining that remains. This is embedded staining in the paint and requires a more involved process to remove. (aft wing section not yet washed)
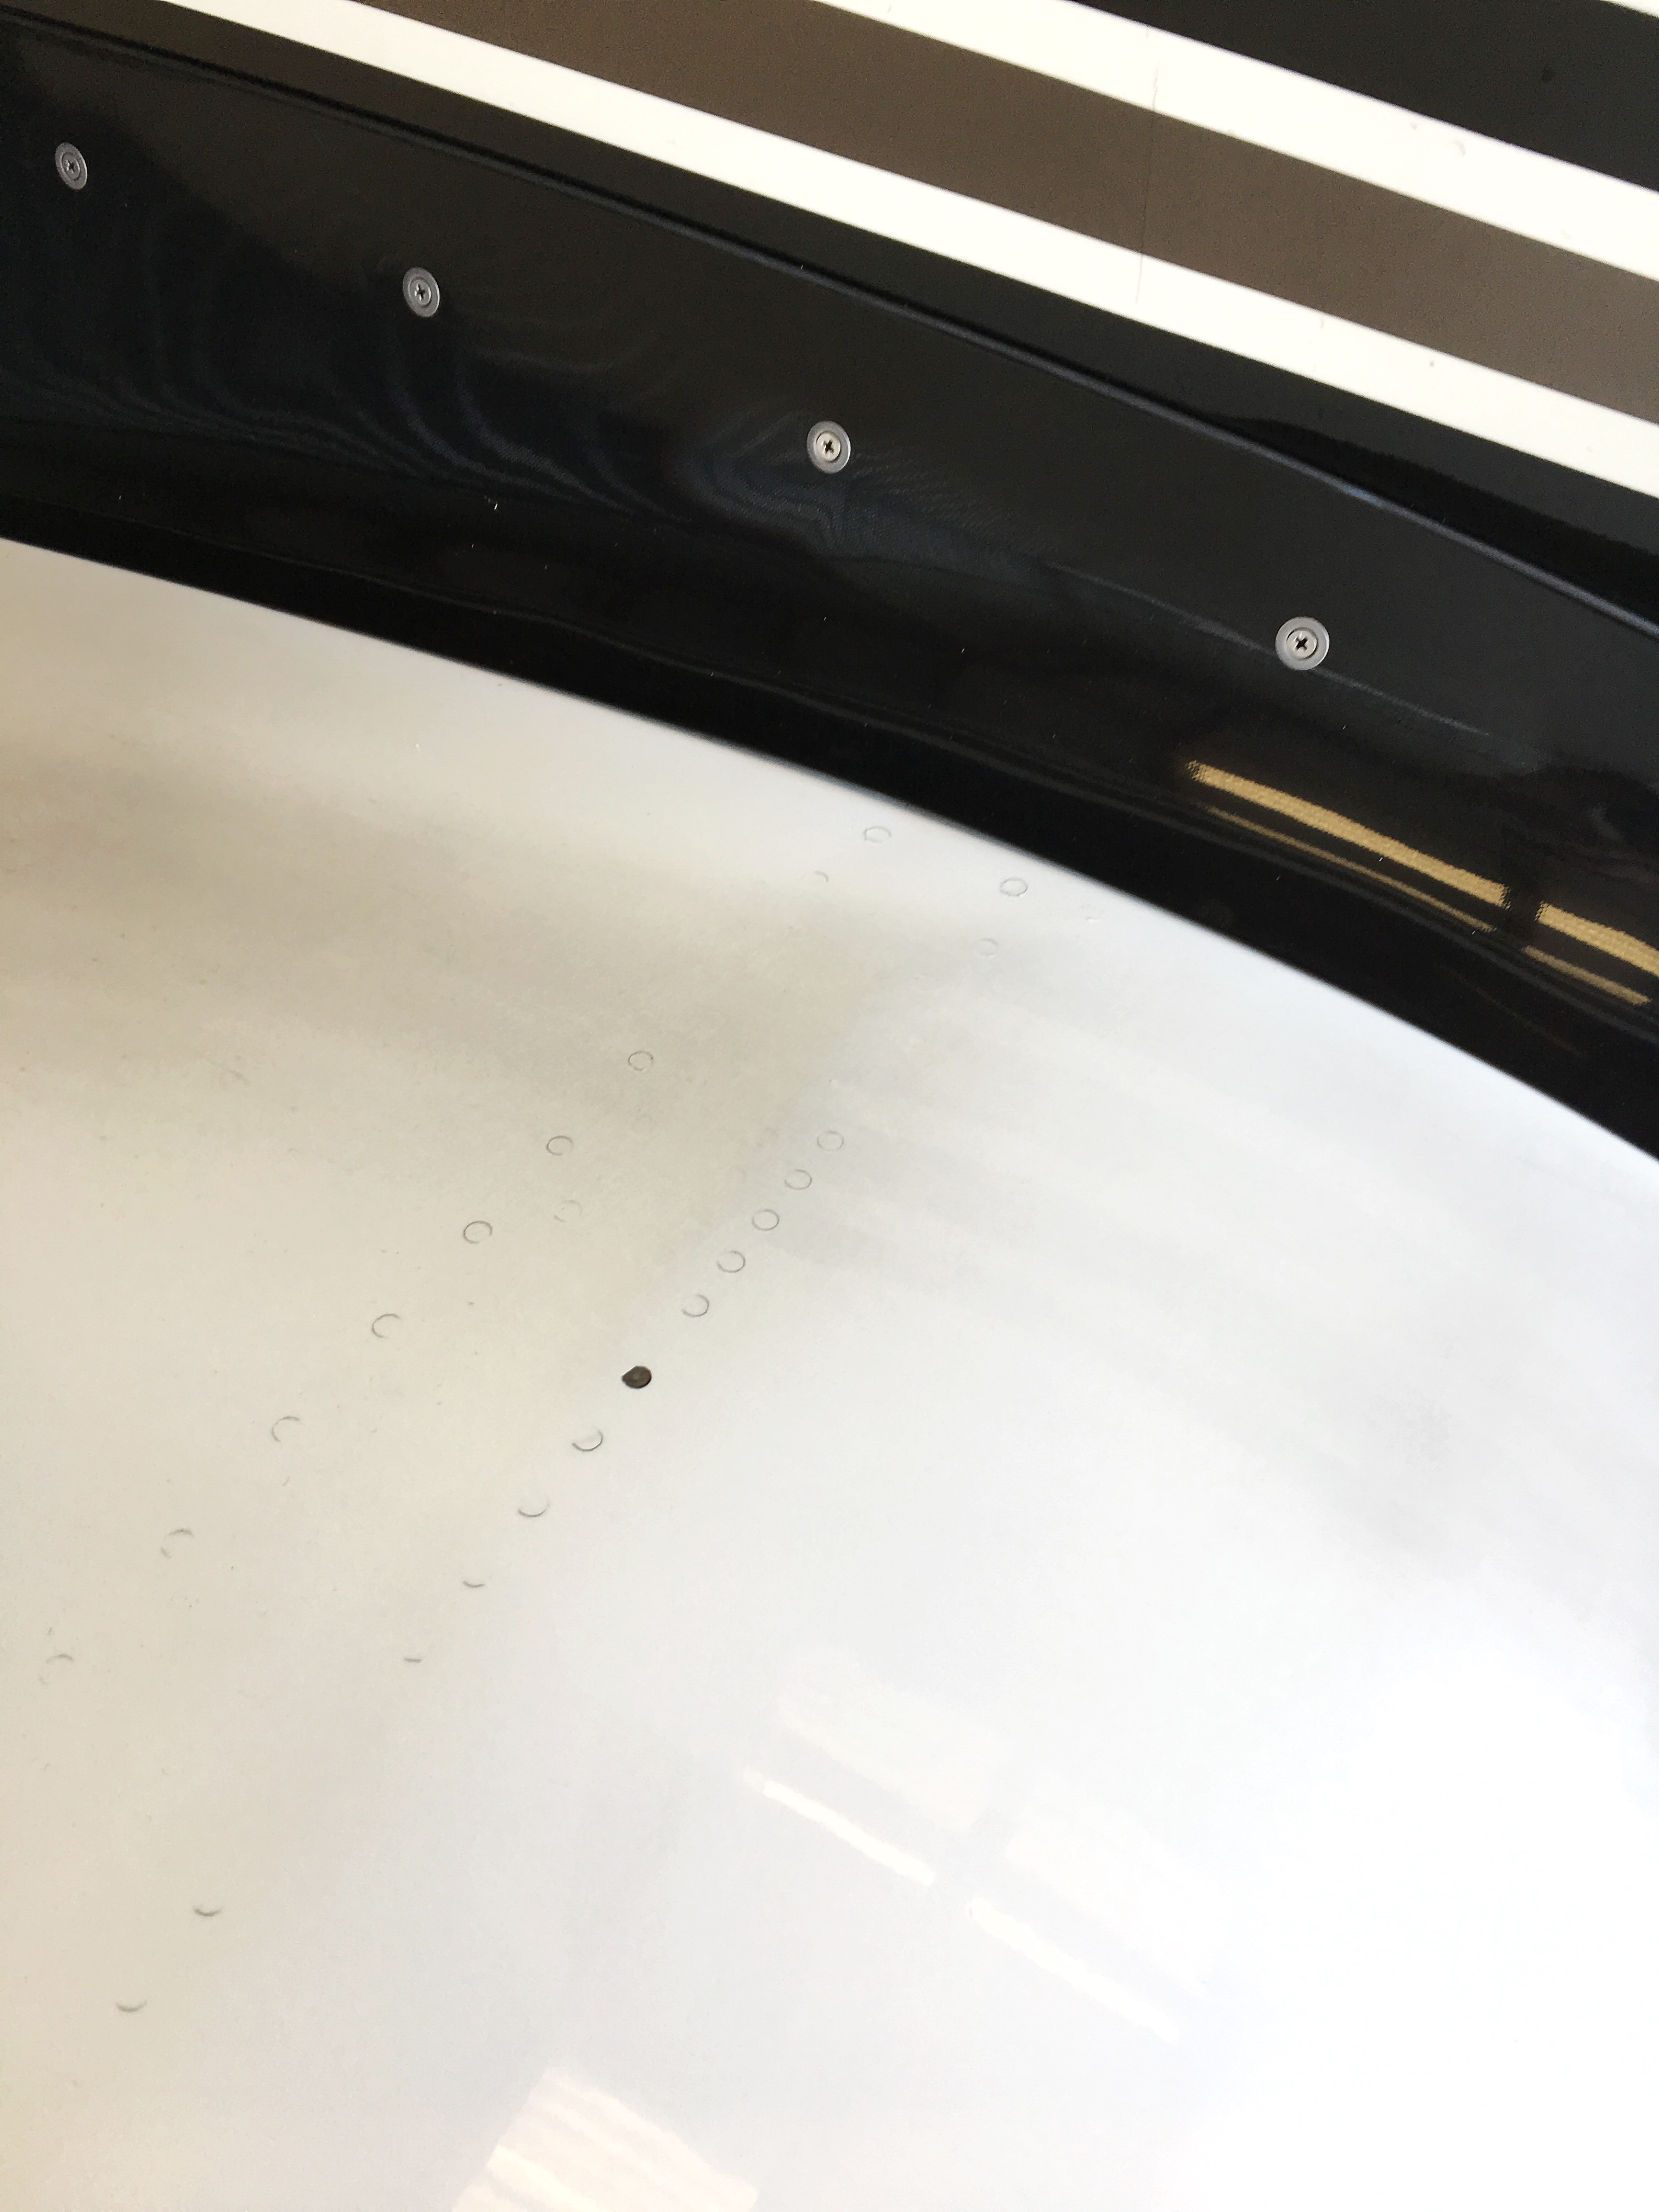
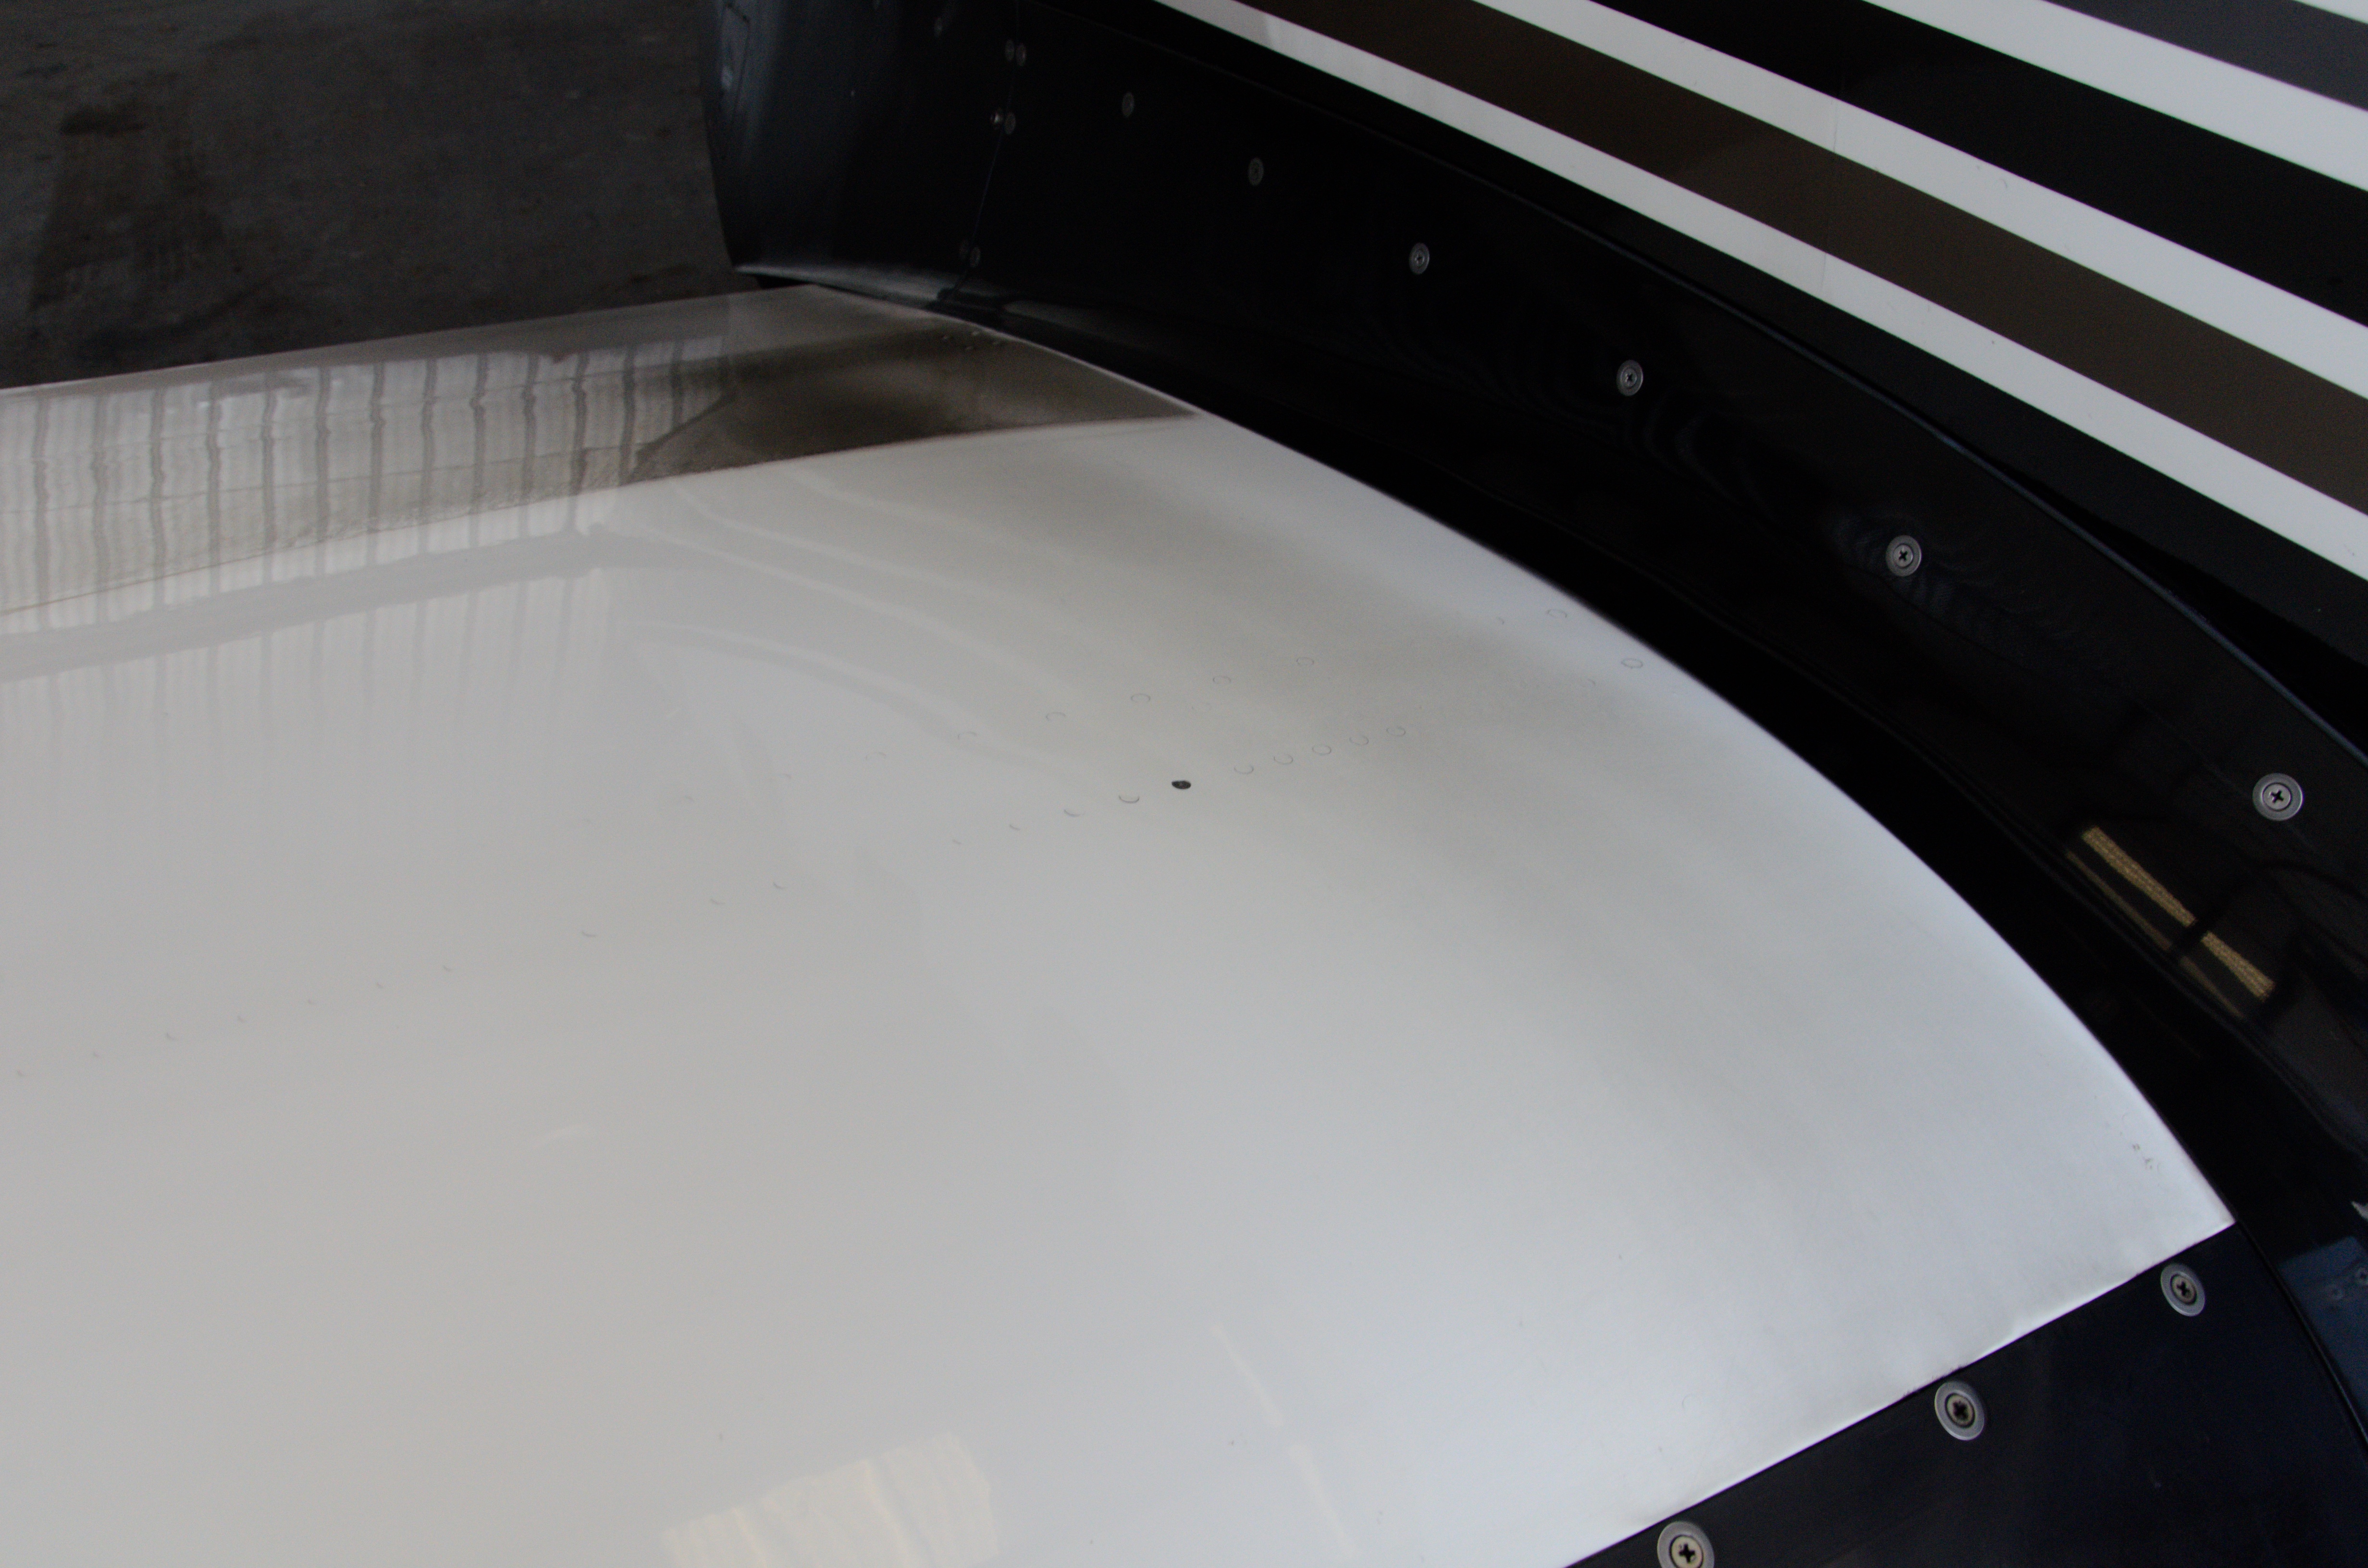
By exposing the camera specifically for the staining, you can observe the amount of residue left behind, even after a thorough wash. The right half of this picture shows the (permanent) staining removed by our paint correction process. See how much whiter the wing is in front of that rivet line?

Here from left to right you can see from little farther away the improvement in color on the white TBM wing. We typically see an overall whitening on all white painted surfaces. Often the white areas are not clear coated, thus susceptible to dirt and soot ingress. UV oxidation on top surfaces turns white paint slightly yellow (and more porous).

Paint brightening effect as seen on the top of the TBM fuselage. A combination of exhaust soot and UV oxidation slowly turned the brilliant white paint more dull and gray.
Paint restoration: maximize gloss

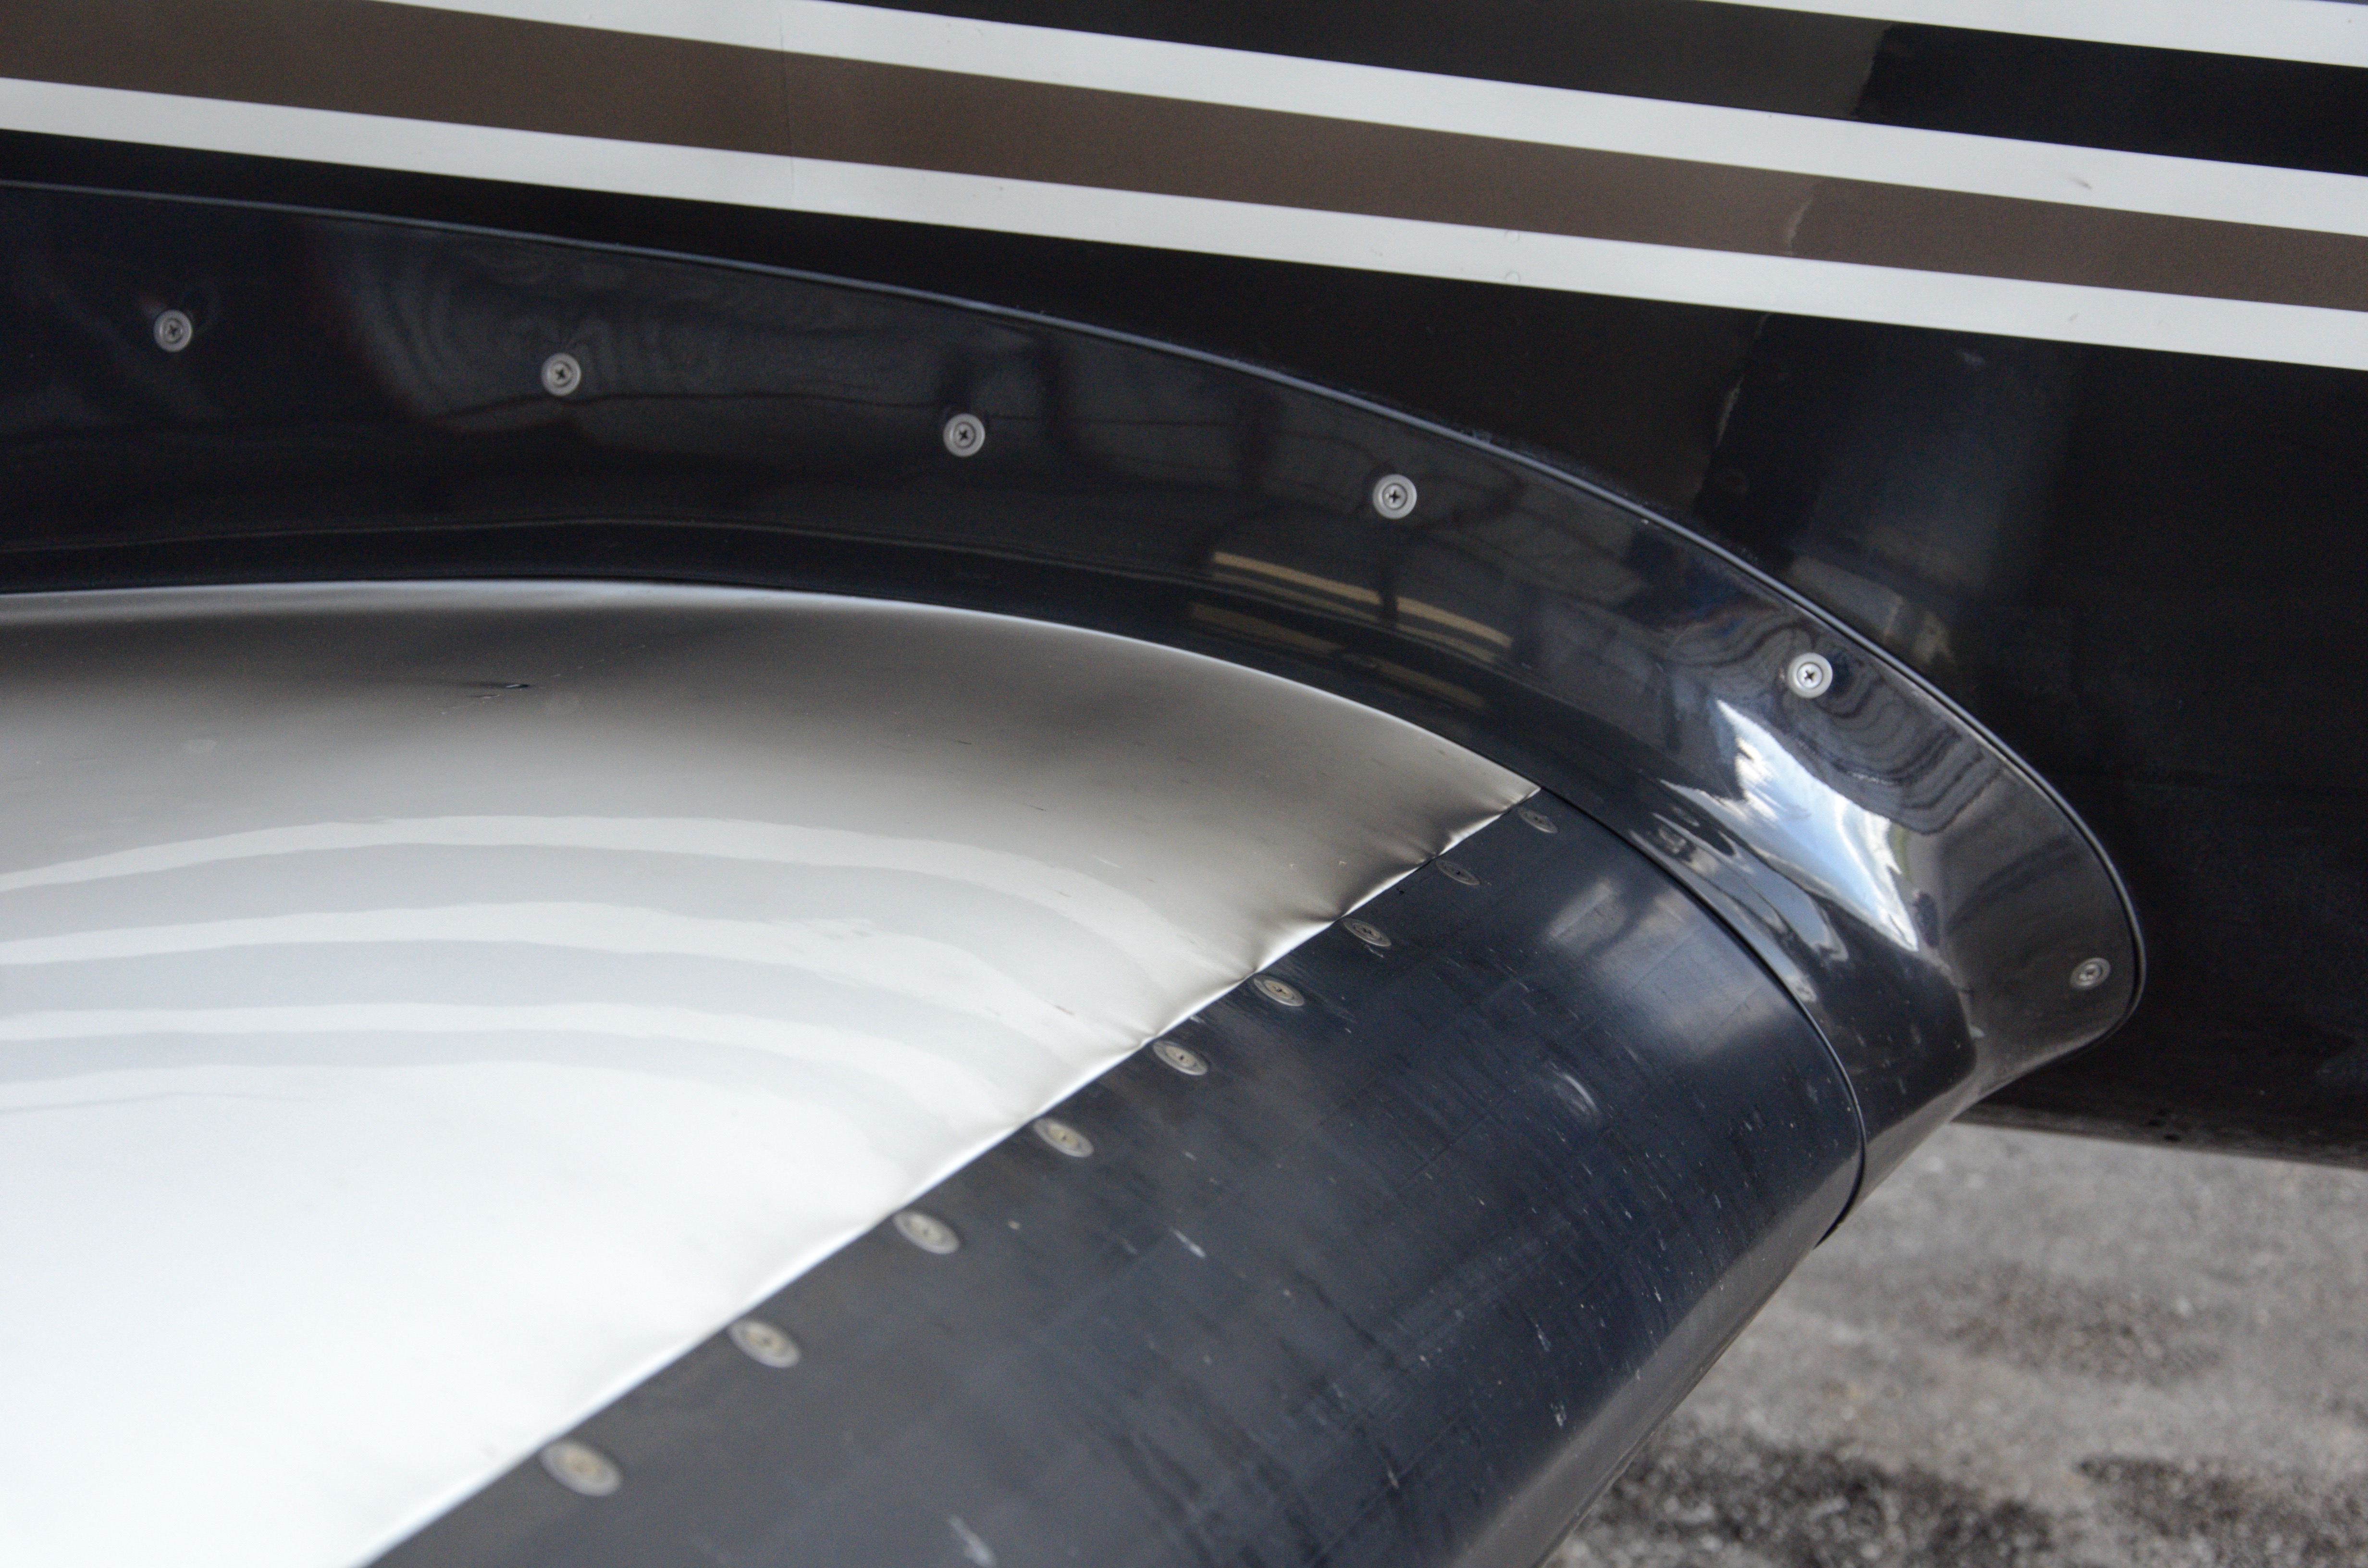
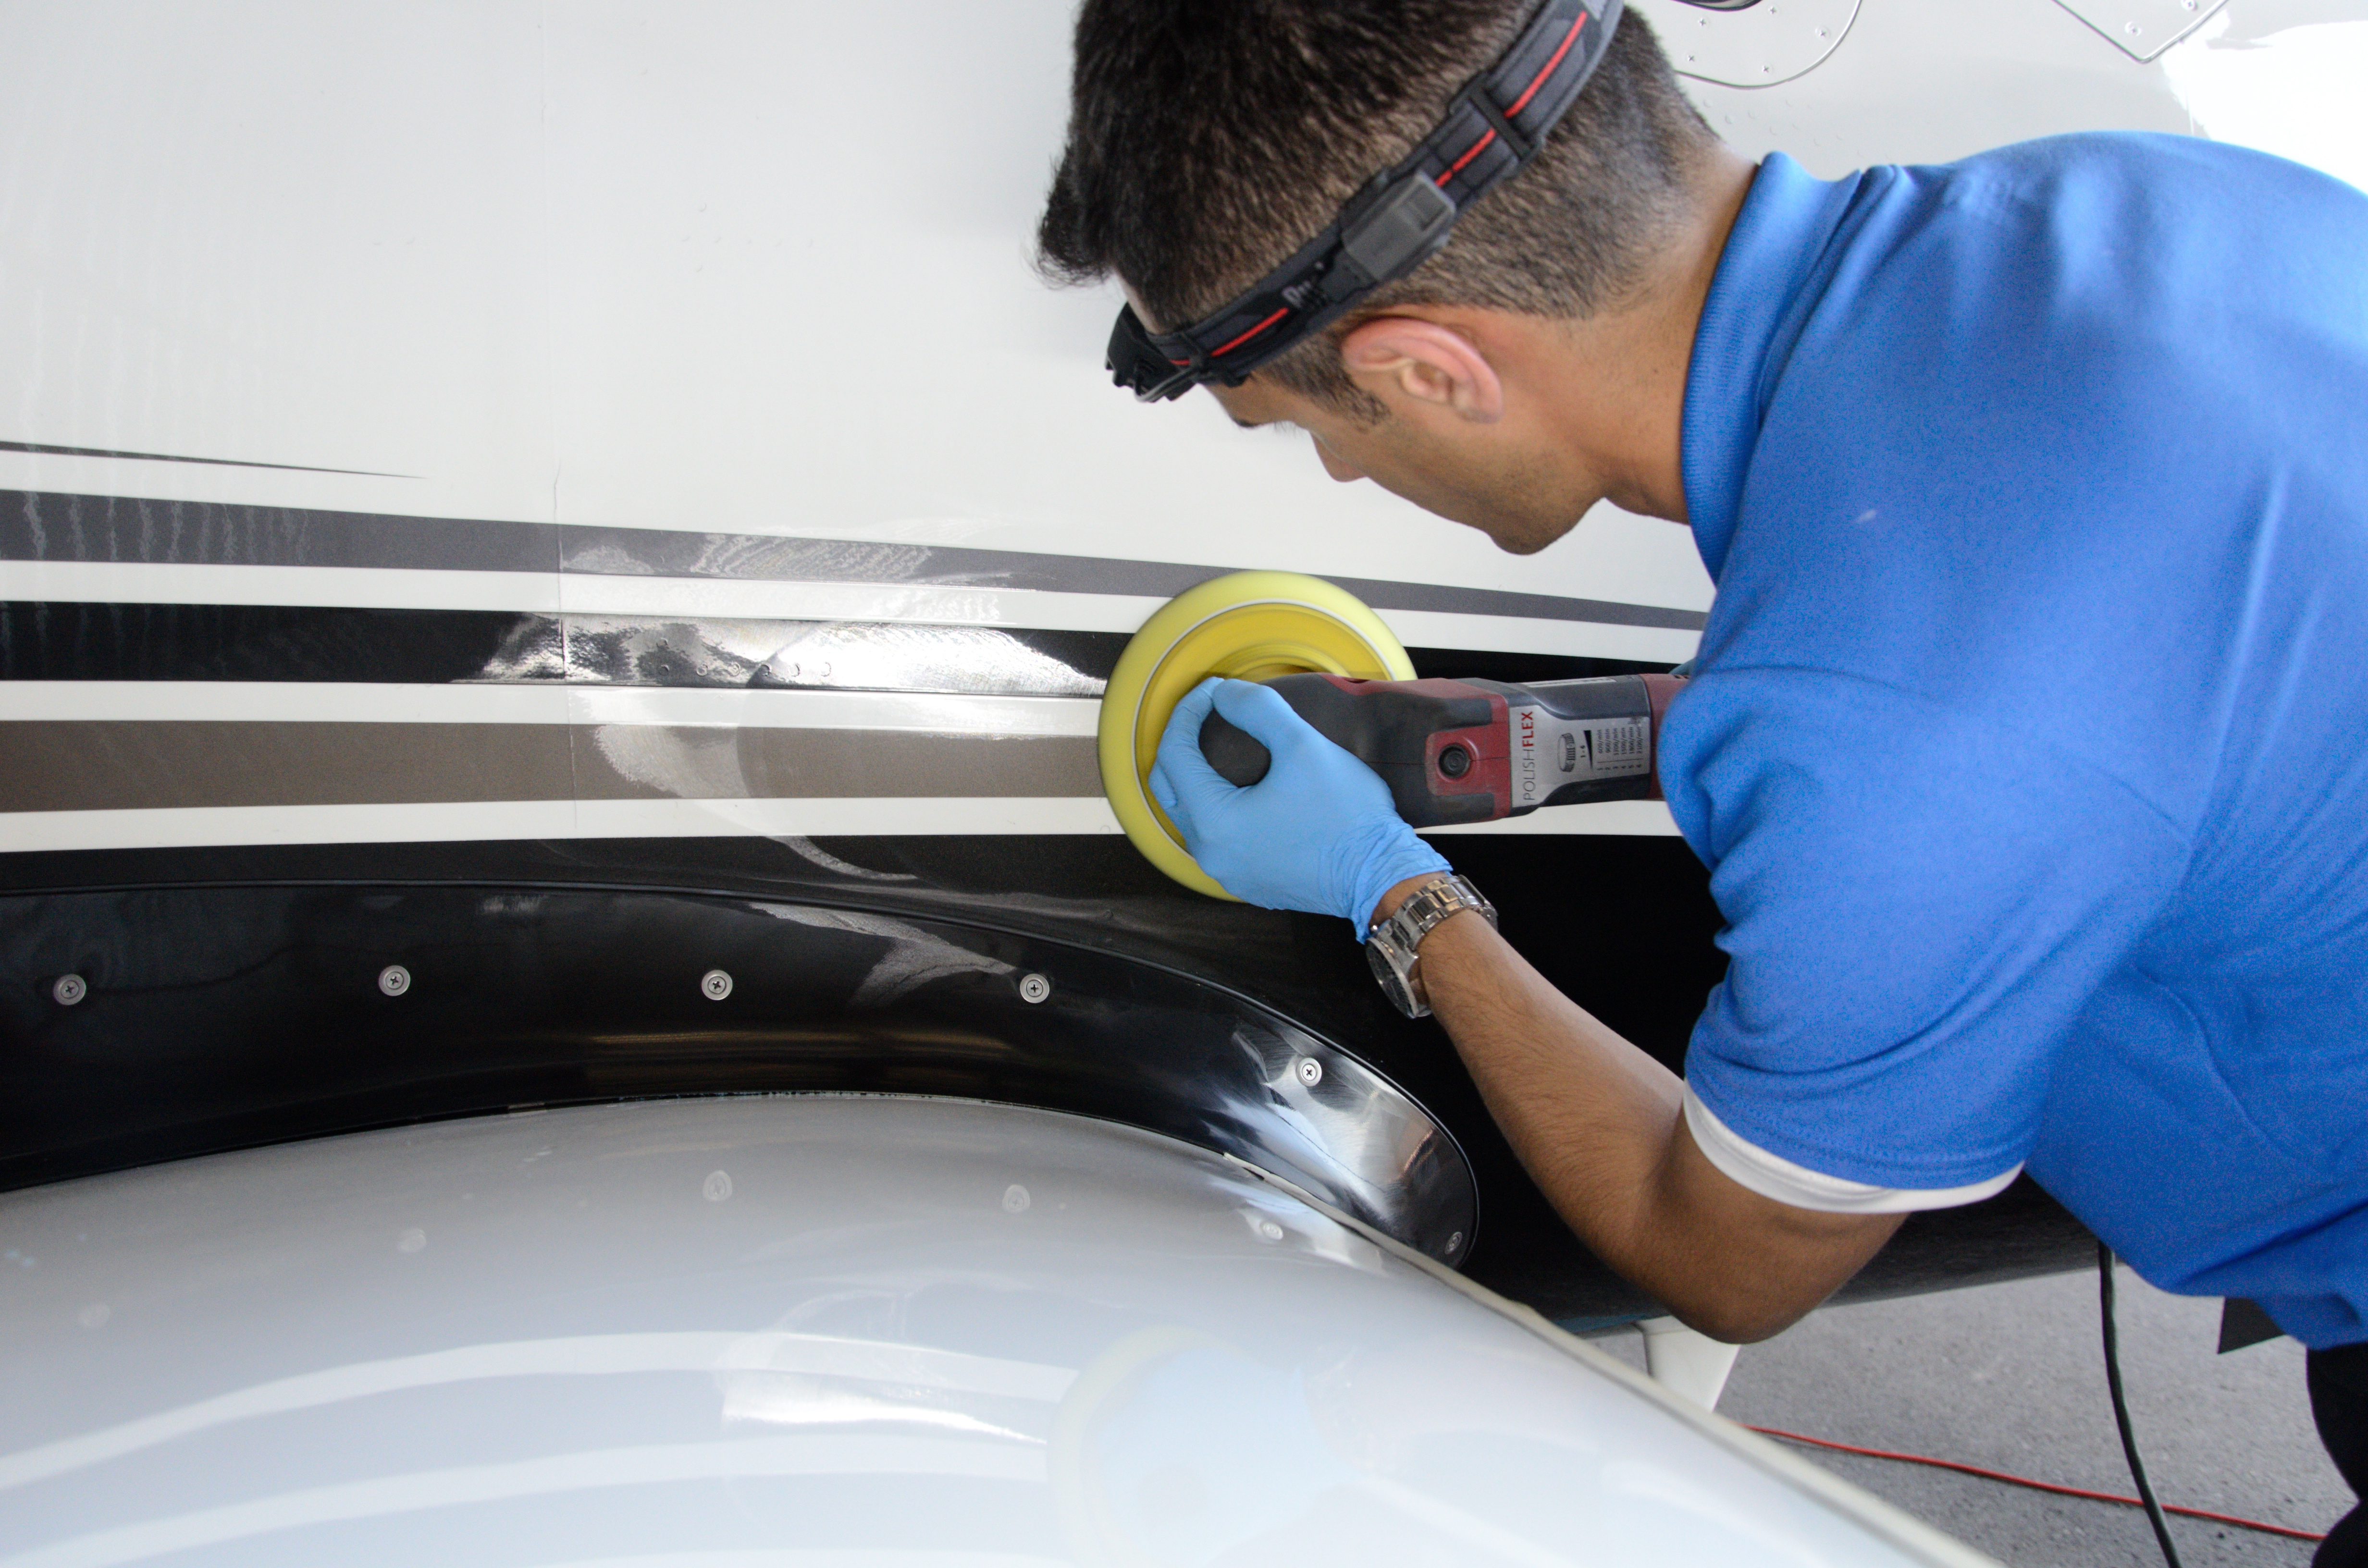
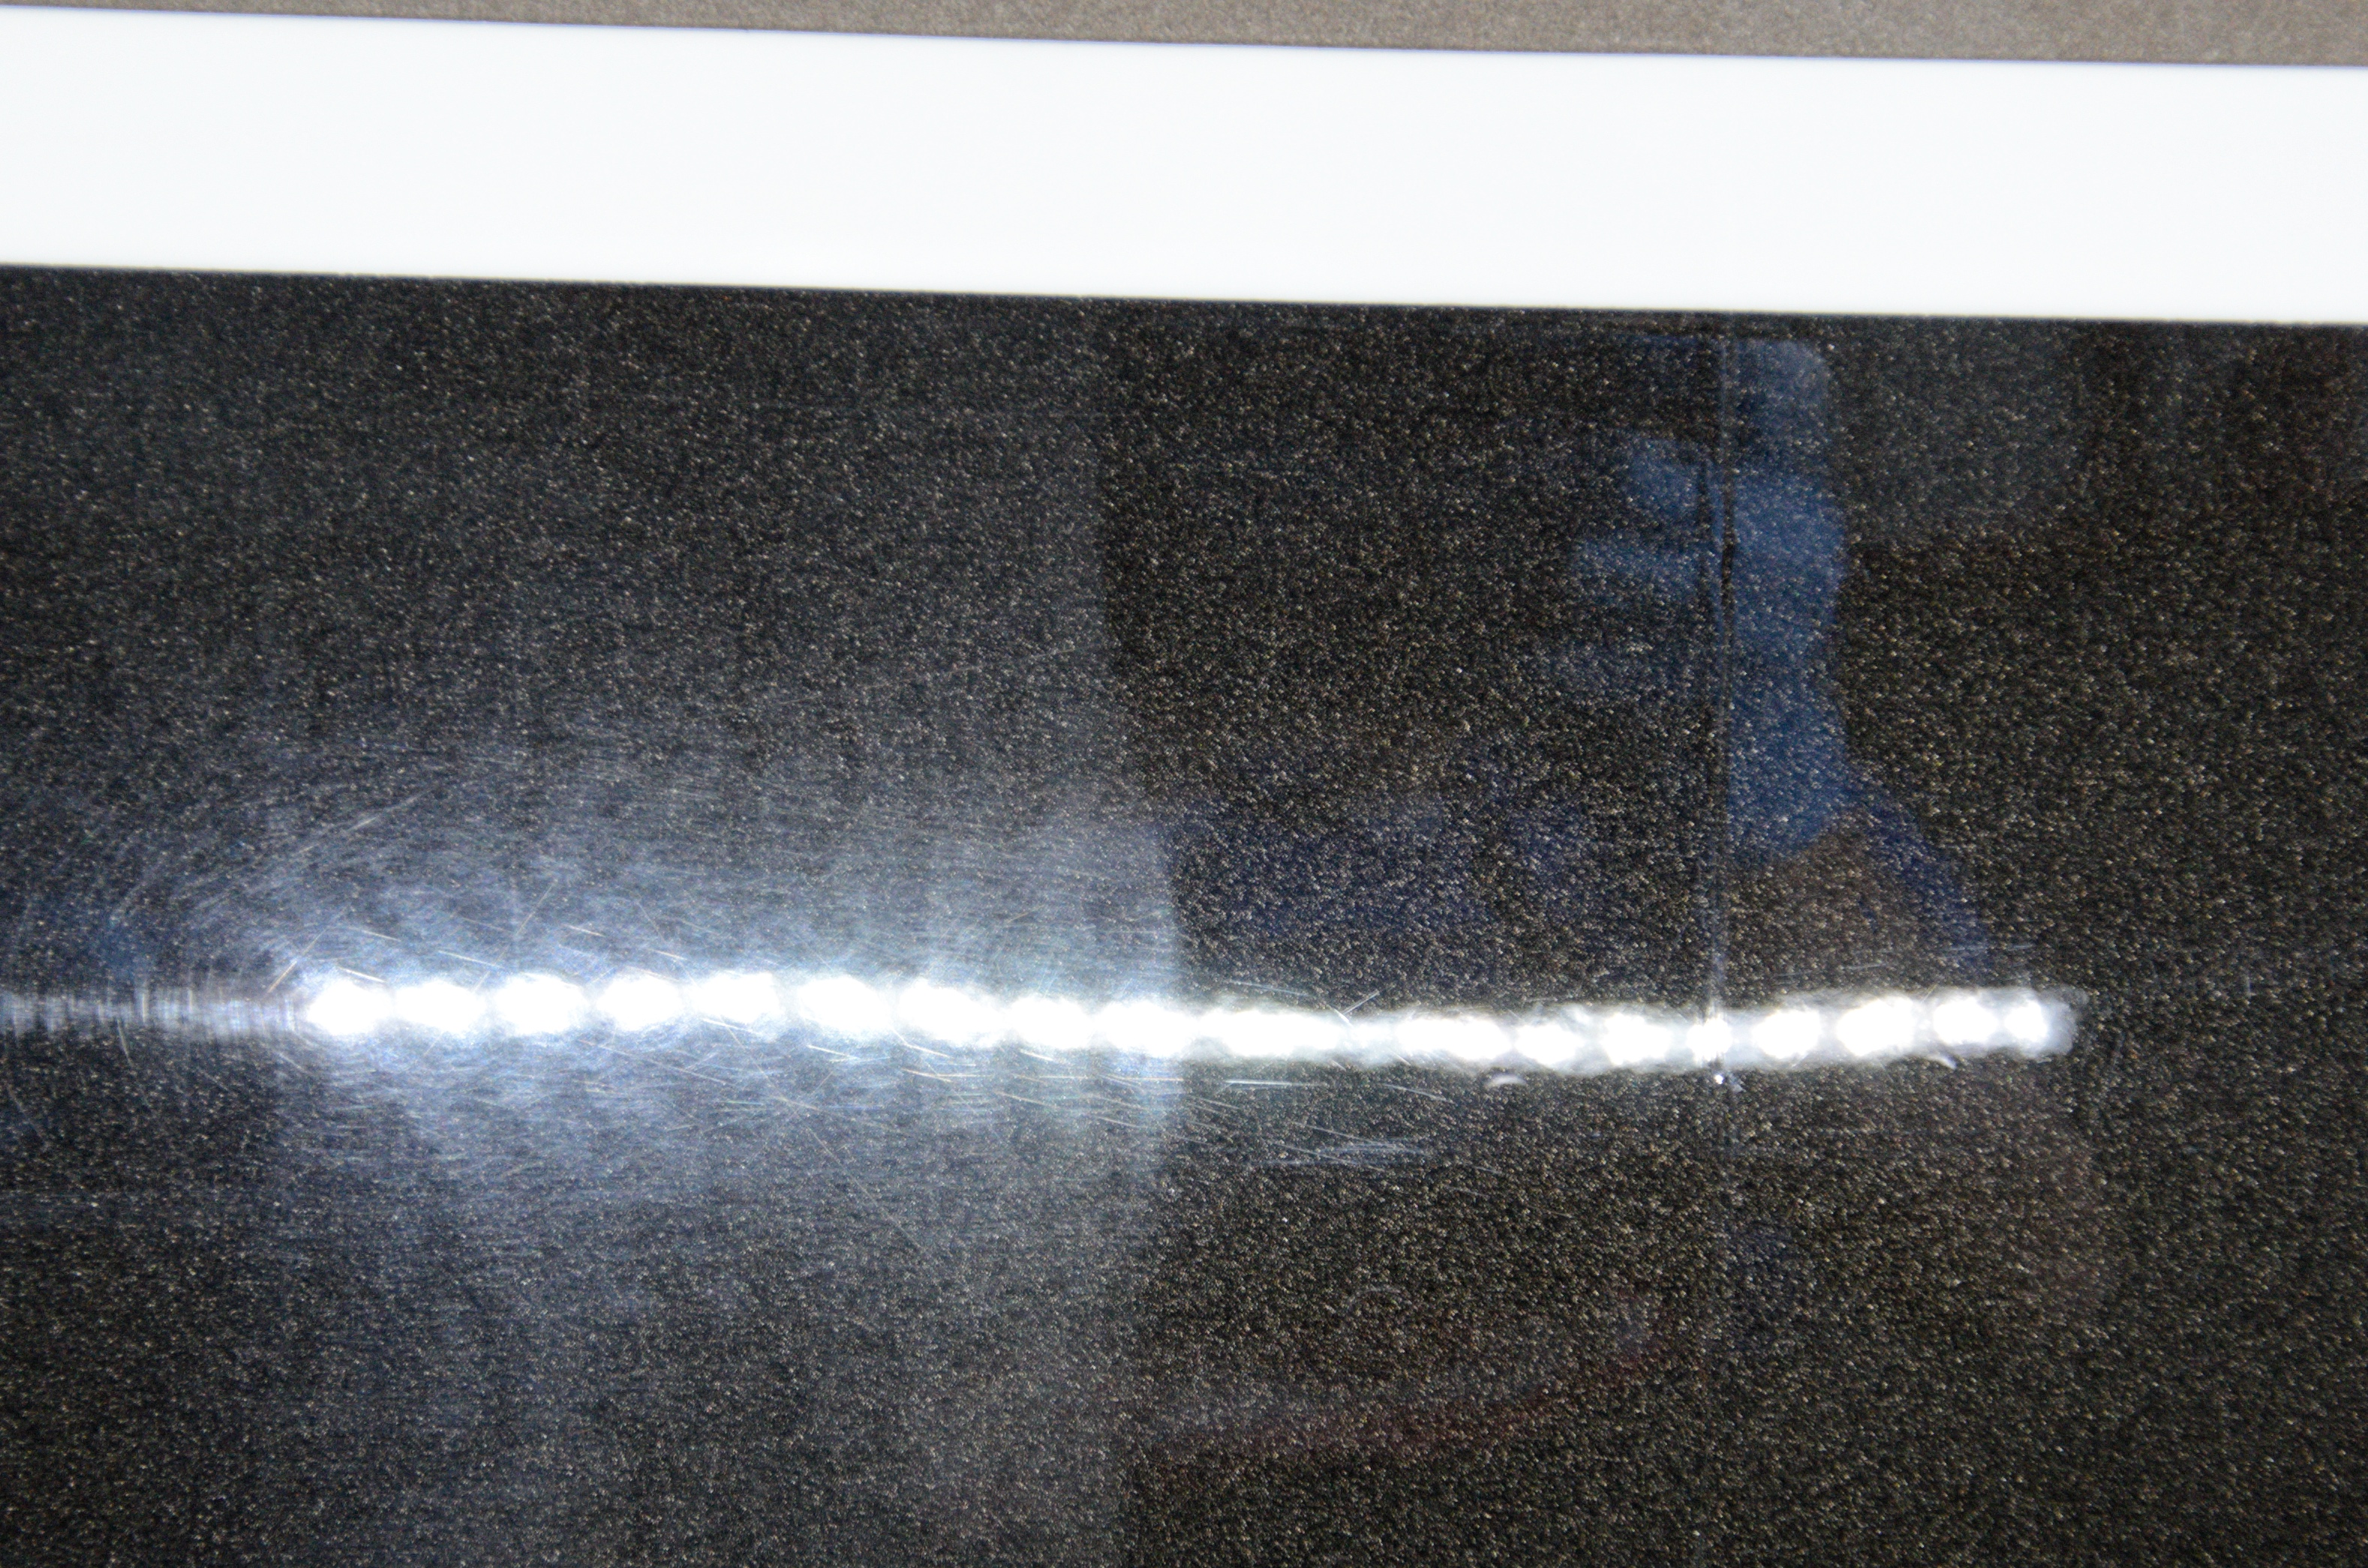
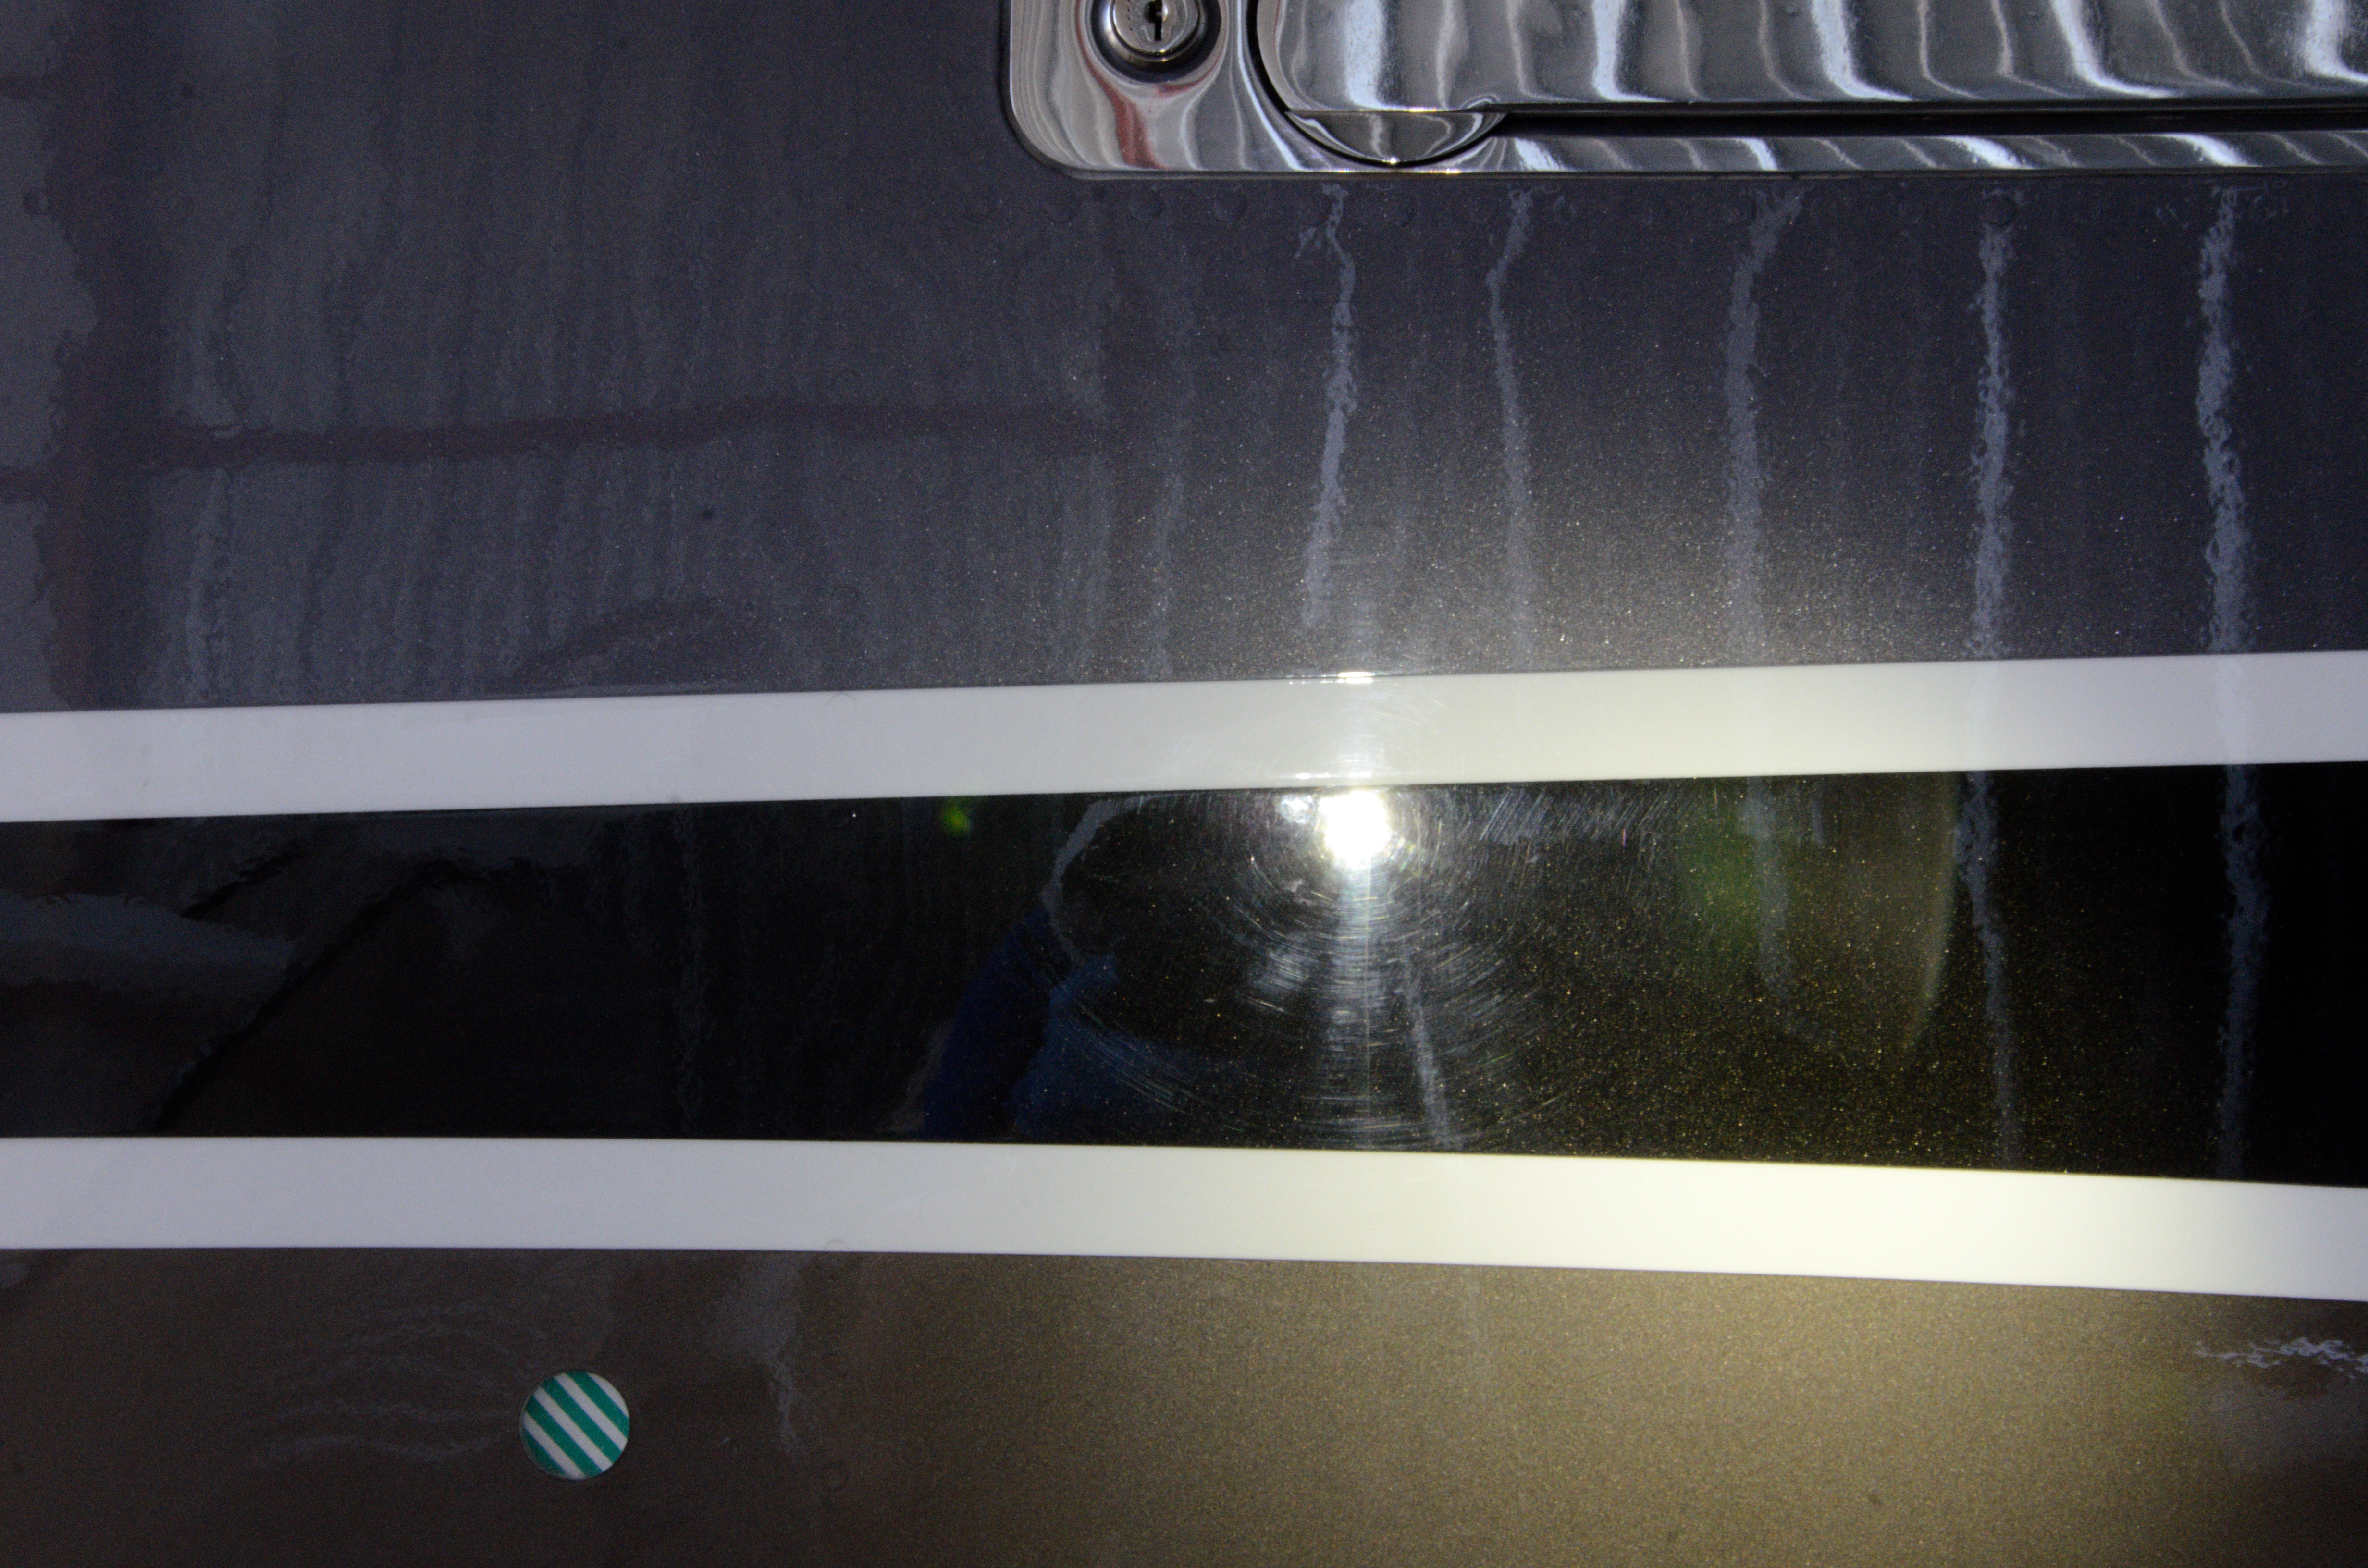
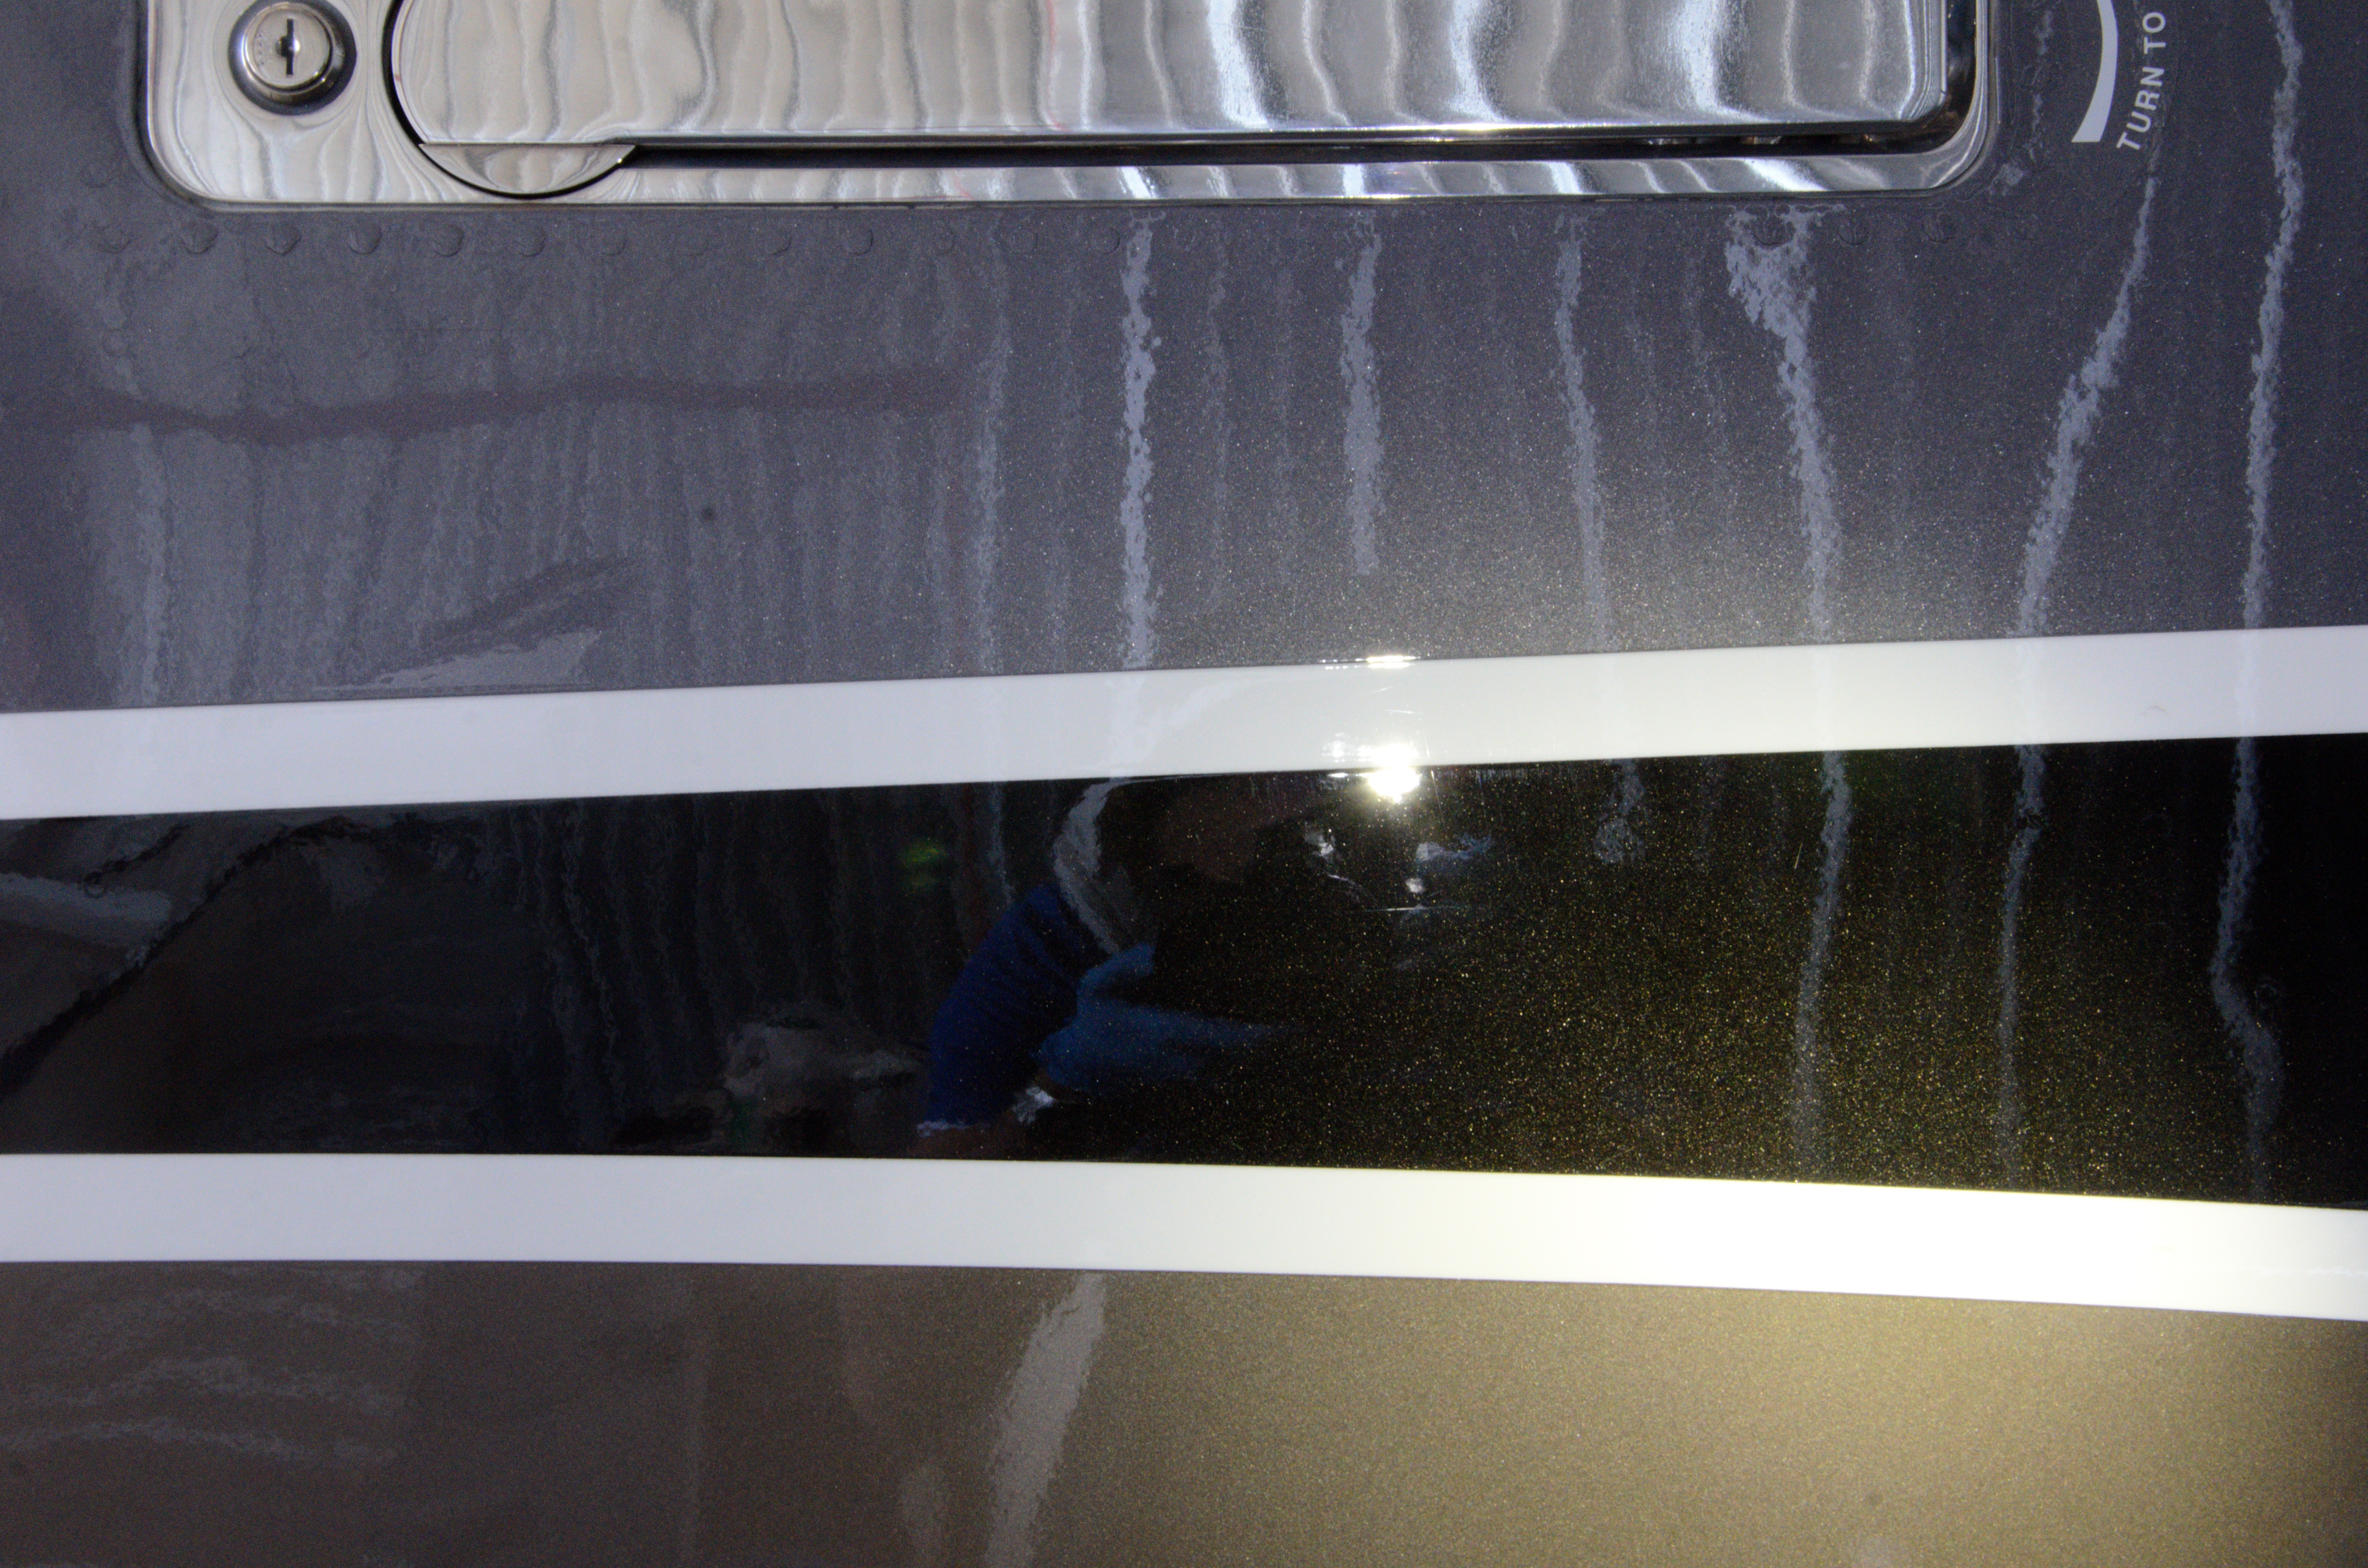
The next phase of paint correction is more subtle, but its impact is more pronounced in making this TBM stand out. Painted stripes on aircraft and other non-white colors are typically clear coated. They are still subject to oxidation, but the effects are less pronounced, producing more so a haze, rather than a chalky appearance. In addition, clear coated surfaces tend to be softer and more prone to show washing induced swirls and scratches. As seen above, the right side of this picture under proper lighting shows signs of both oxidation (thanks to that corrosive exhaust stream) and washing swirls (also thanks to that exhaust stream). On the left hand side we have removed the damage leaving a much clearer reflection.

The effect is somewhat less pronounced on the gray stripes, but you can definitely see the cloudy haze on the right half.
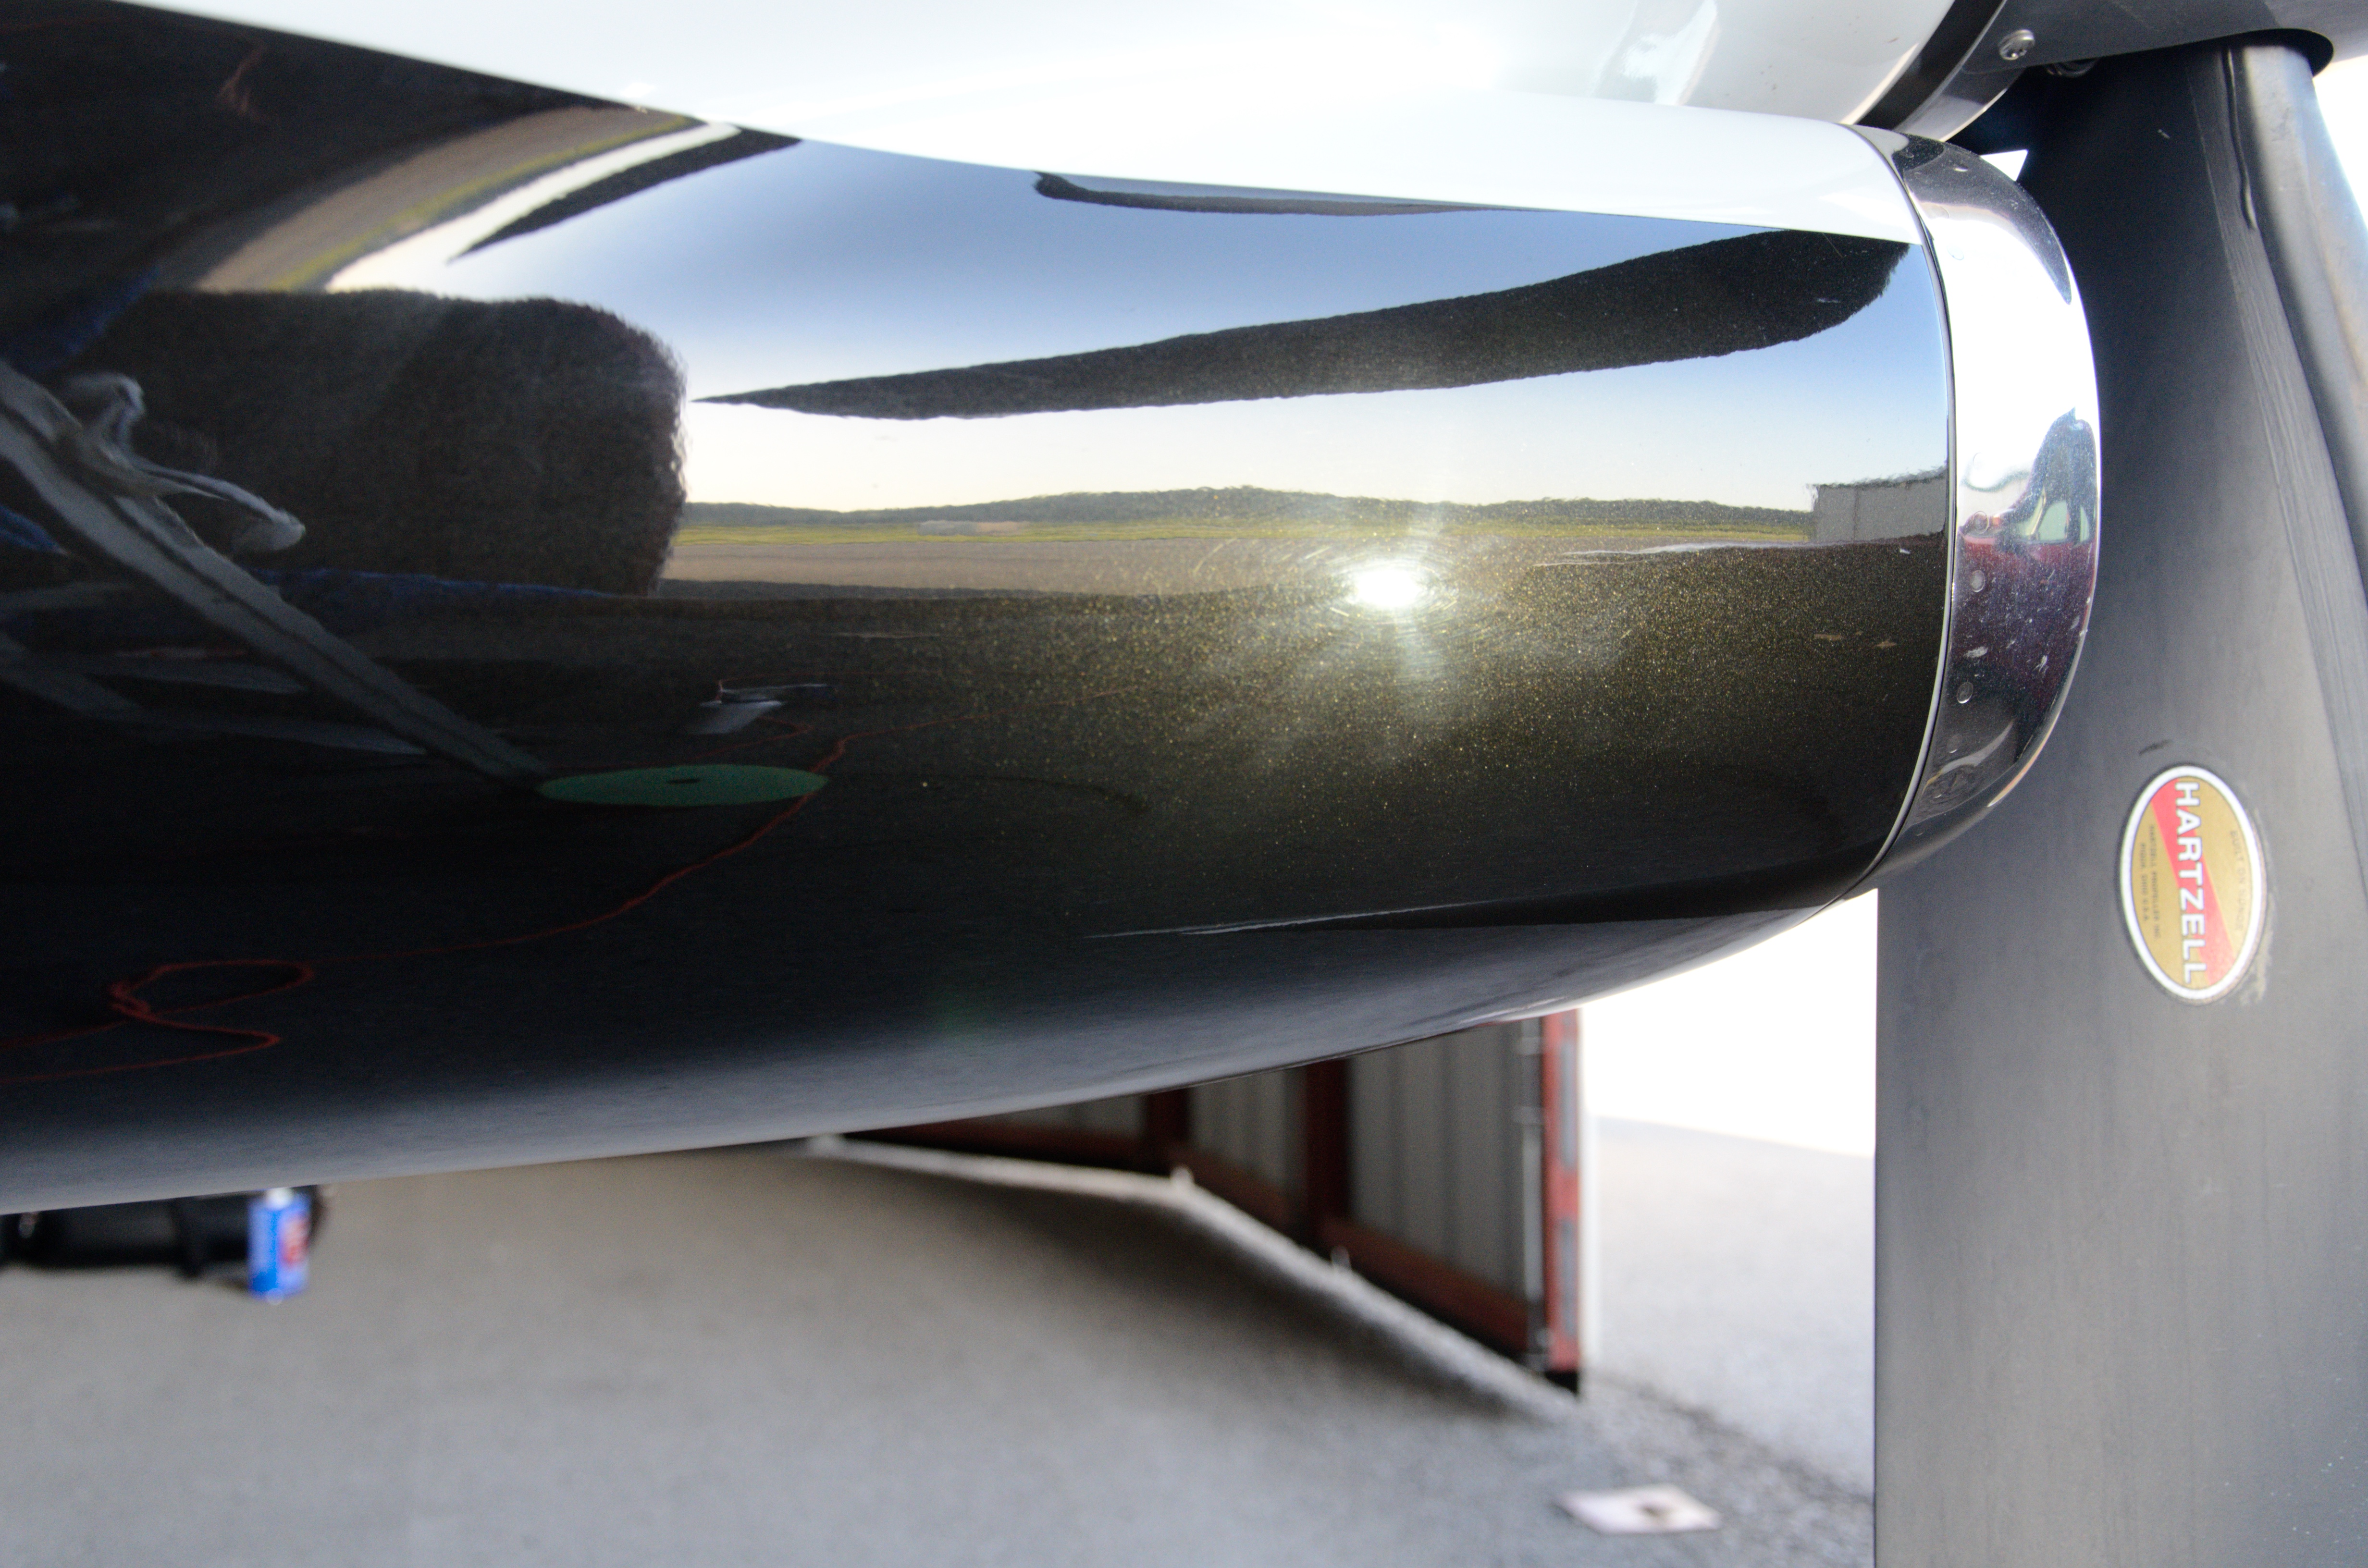
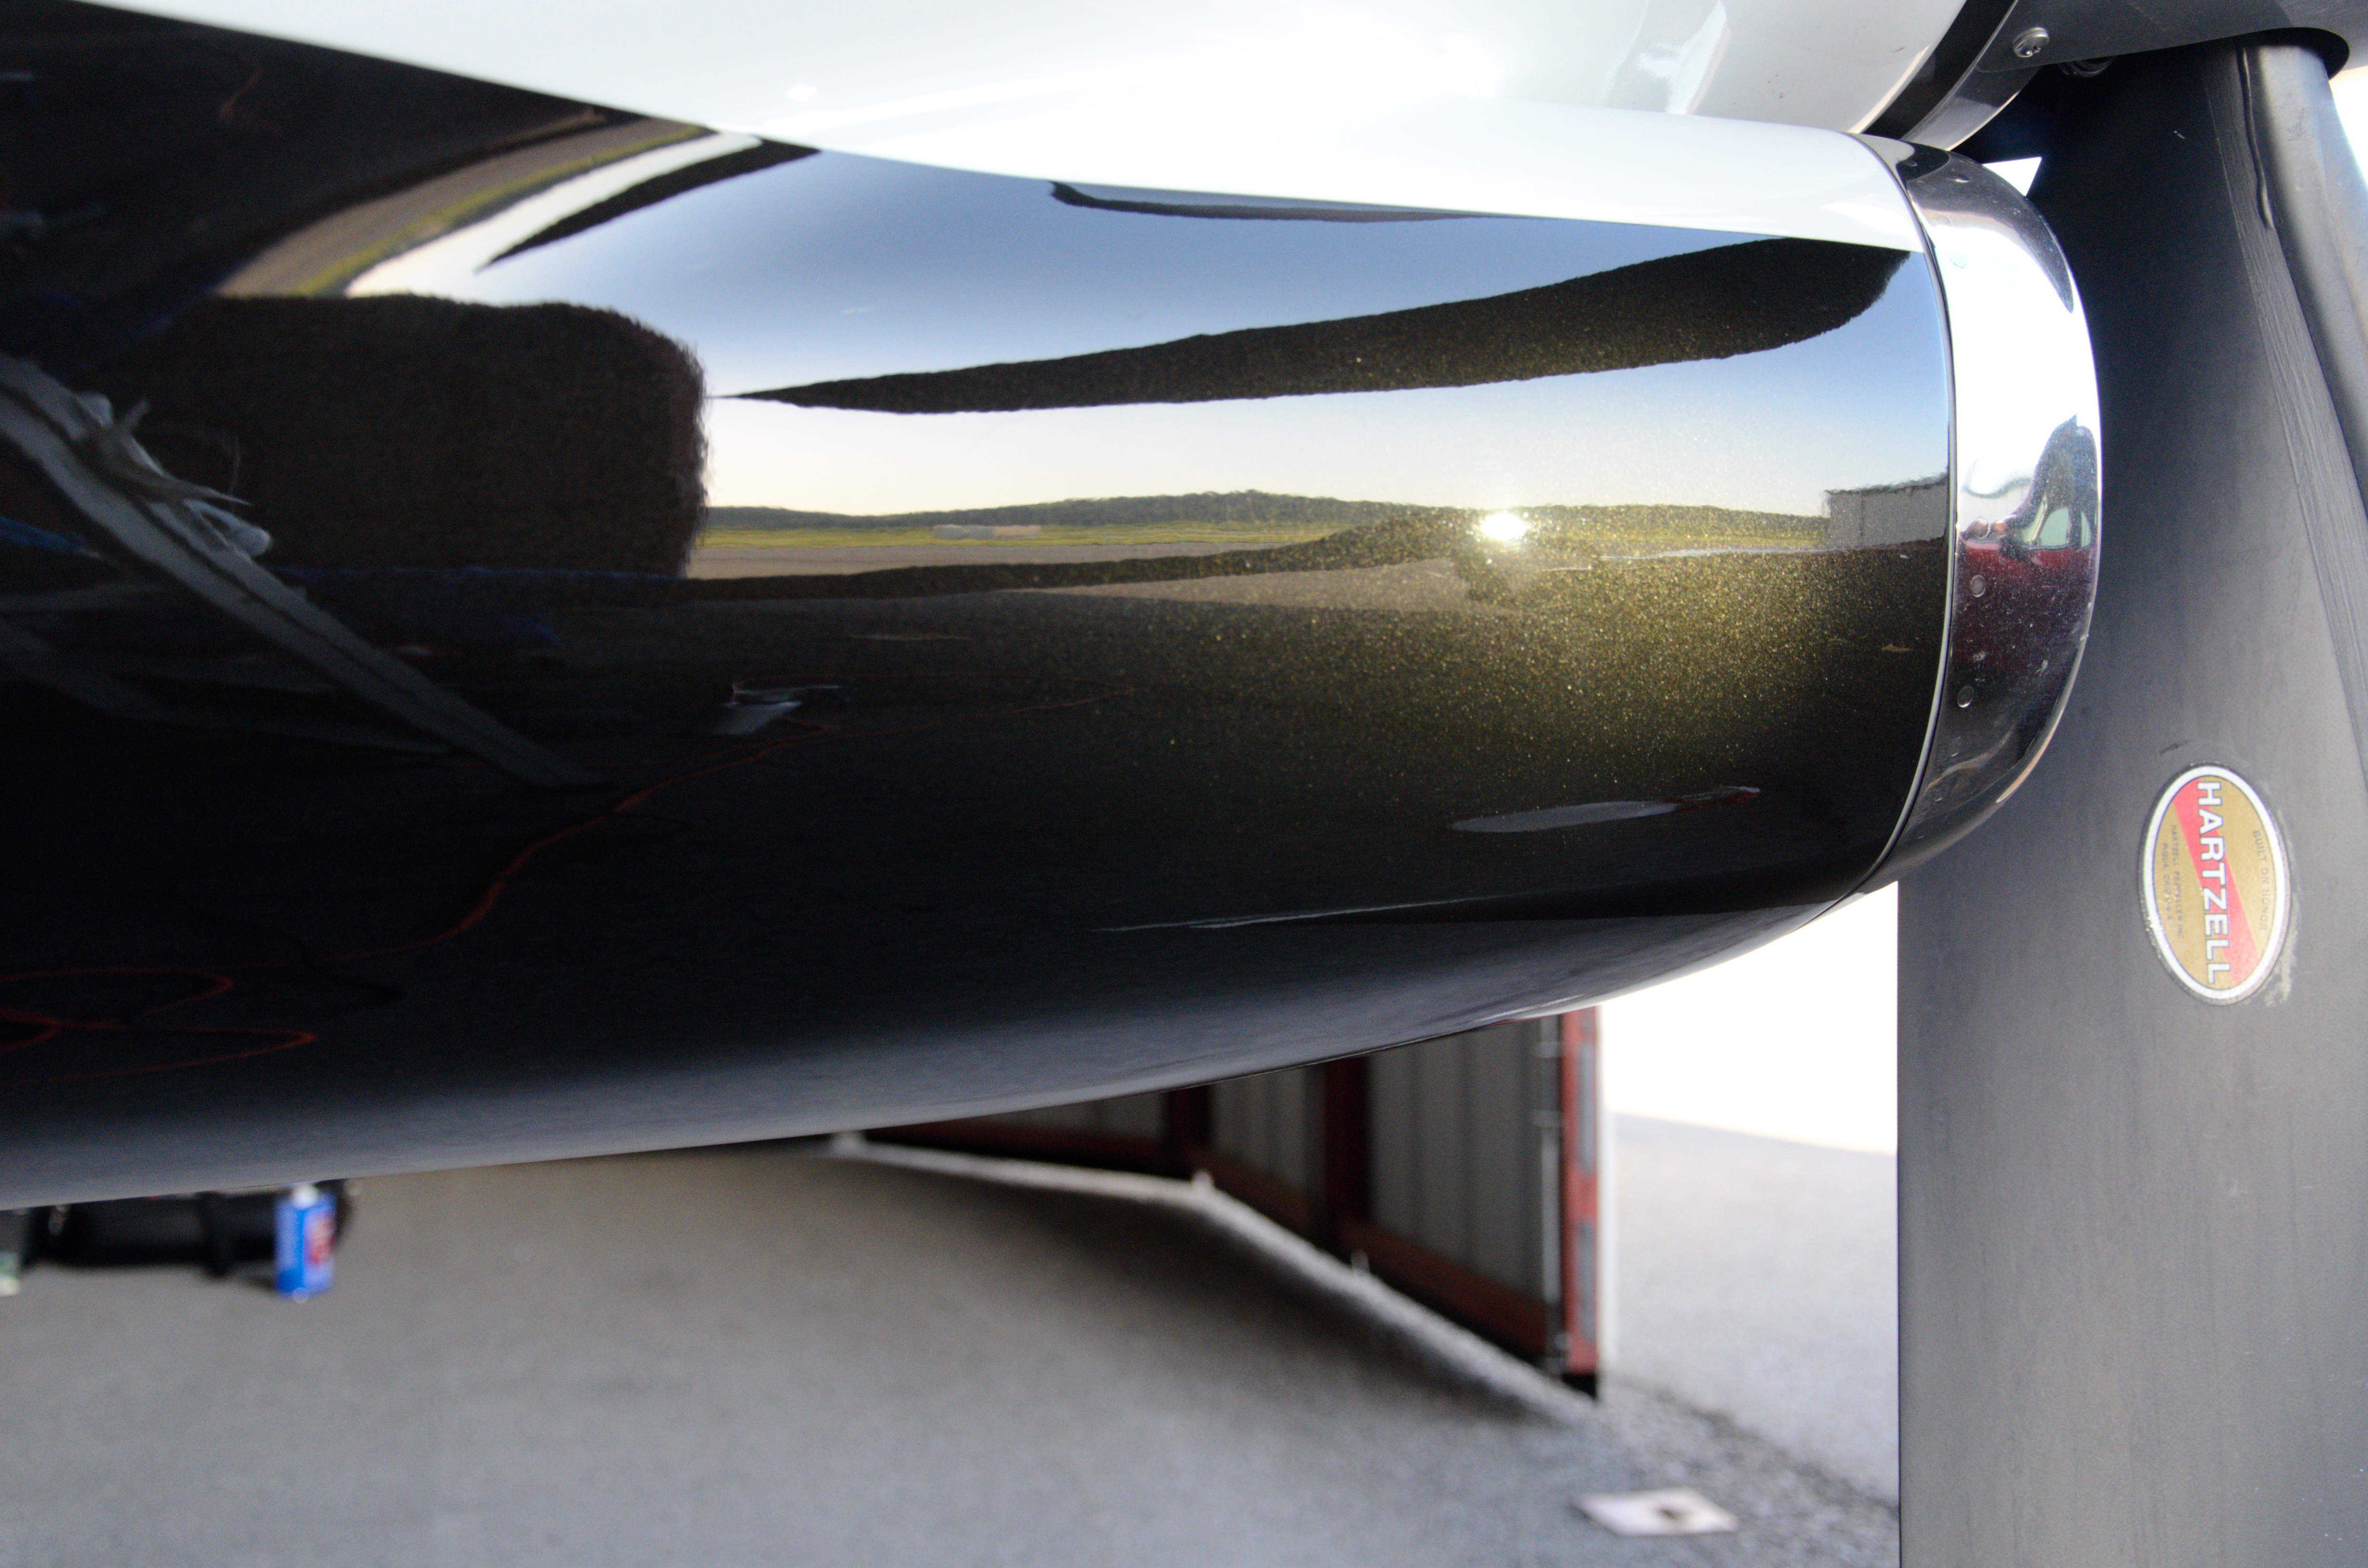
Here is another before and after showing the gloss improvement on the intake. Less diffusion of reflections due to surface scratches.
The process has its limitations, you can see here how some deeper scratches still remain, but overall gloss has been significantly improved. We measure the paint thickness and make a data driven decision on how much correction we can safely perform.
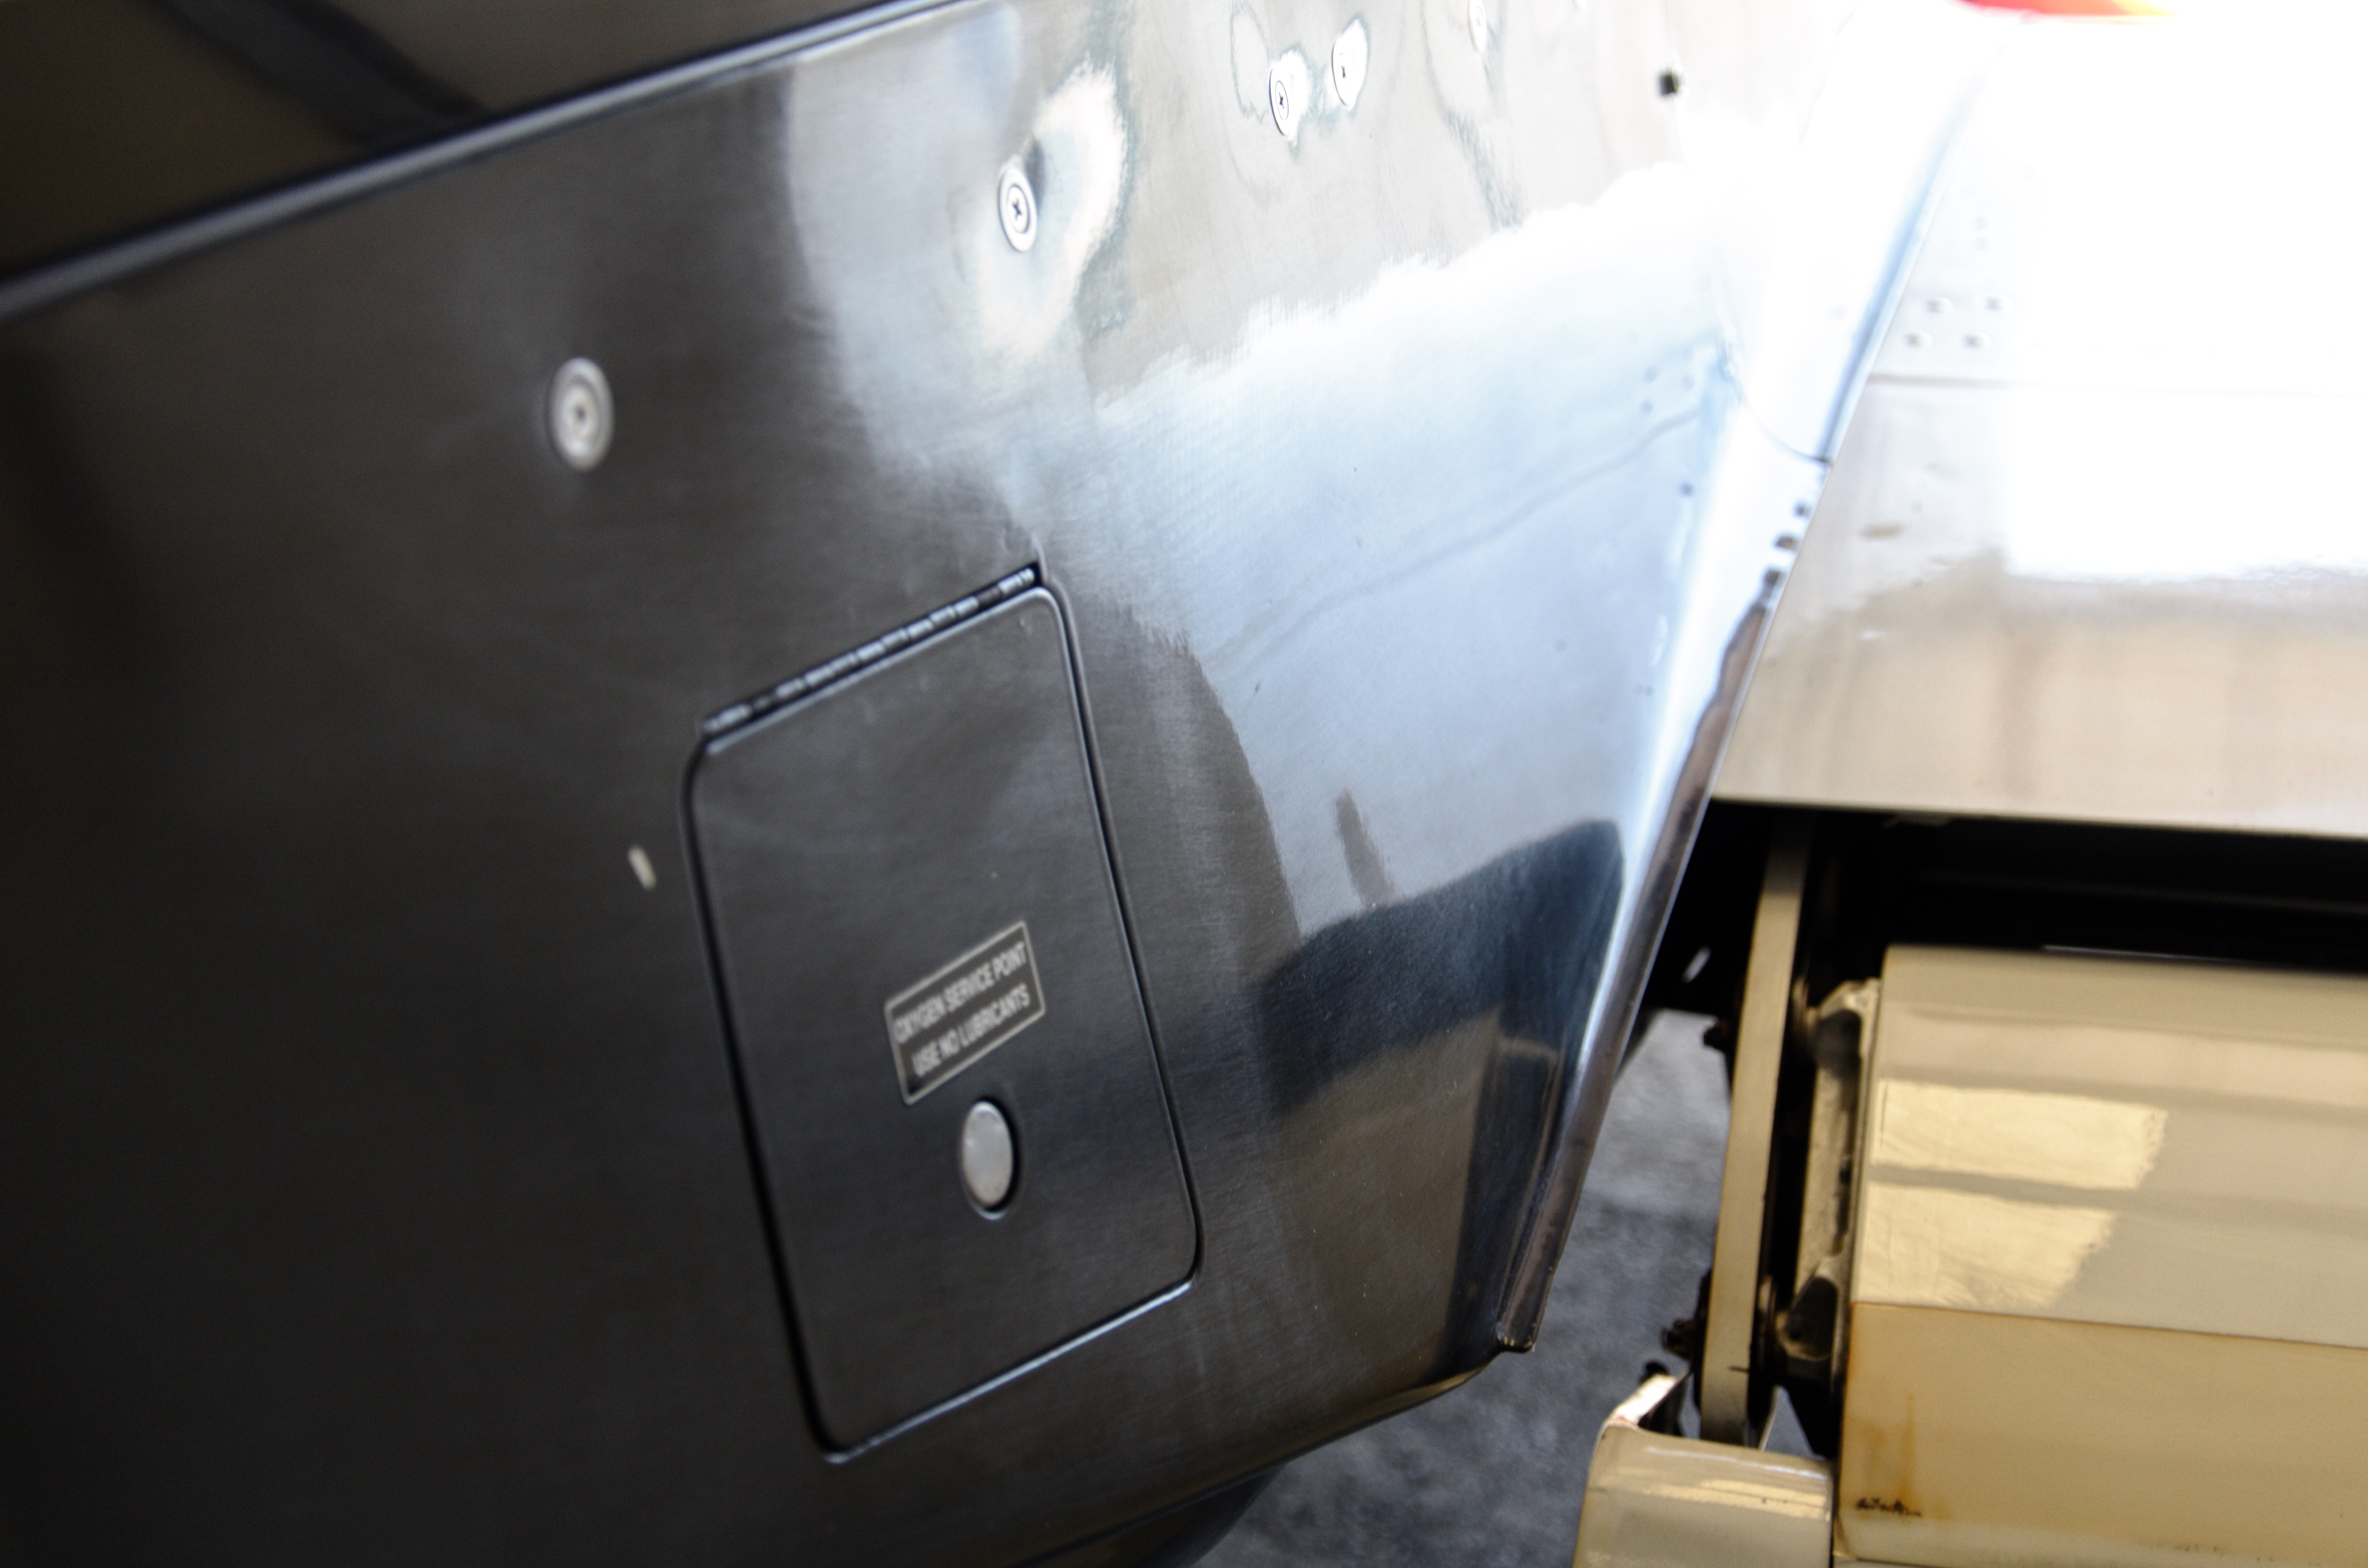
Since we are unable to perform paint thickness measurements on the TBM’s composite wing roots, a more conservative approach is employed for more modest results. You can see in front of the oxygen fill door, there is an improvement in gloss and less haze.
Some more before and after shots.
Metal Polishing

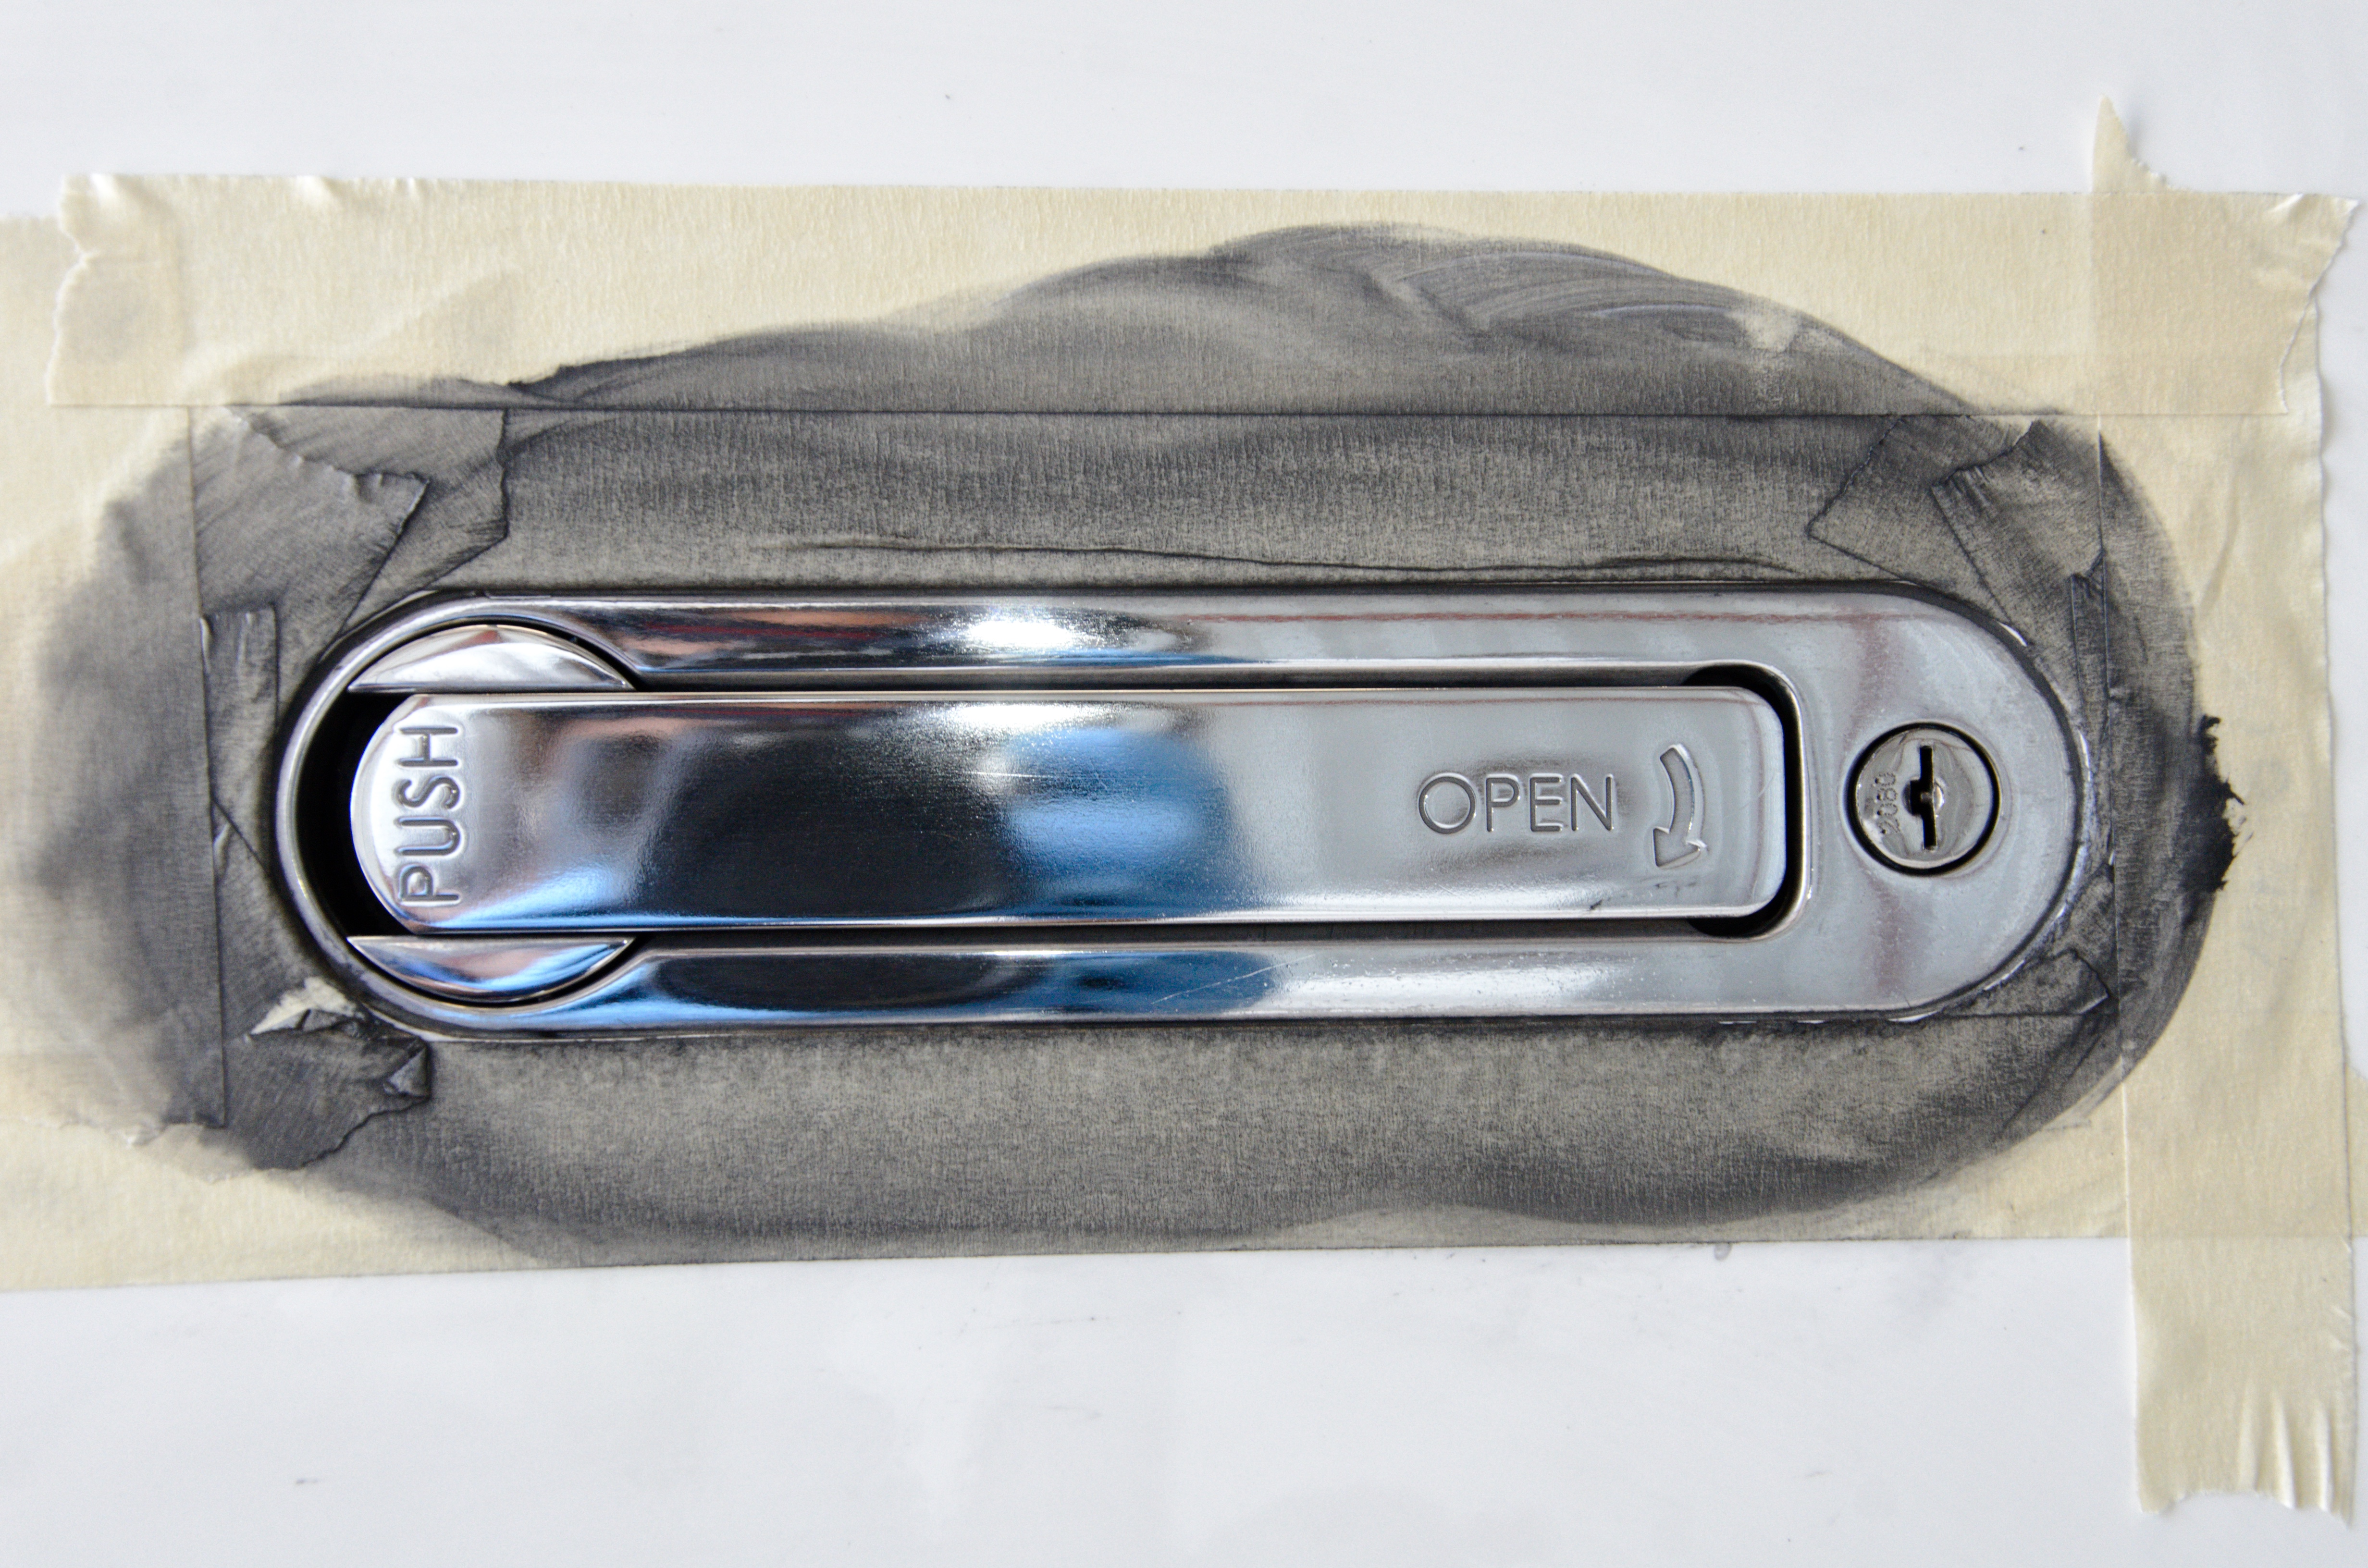
We also did a light polish to remove oxidation and staining from the aluminum hardware.


Our metal polish leaves a polymer layer of protection to help slow down future oxidation.
Ceramic Paint Protection
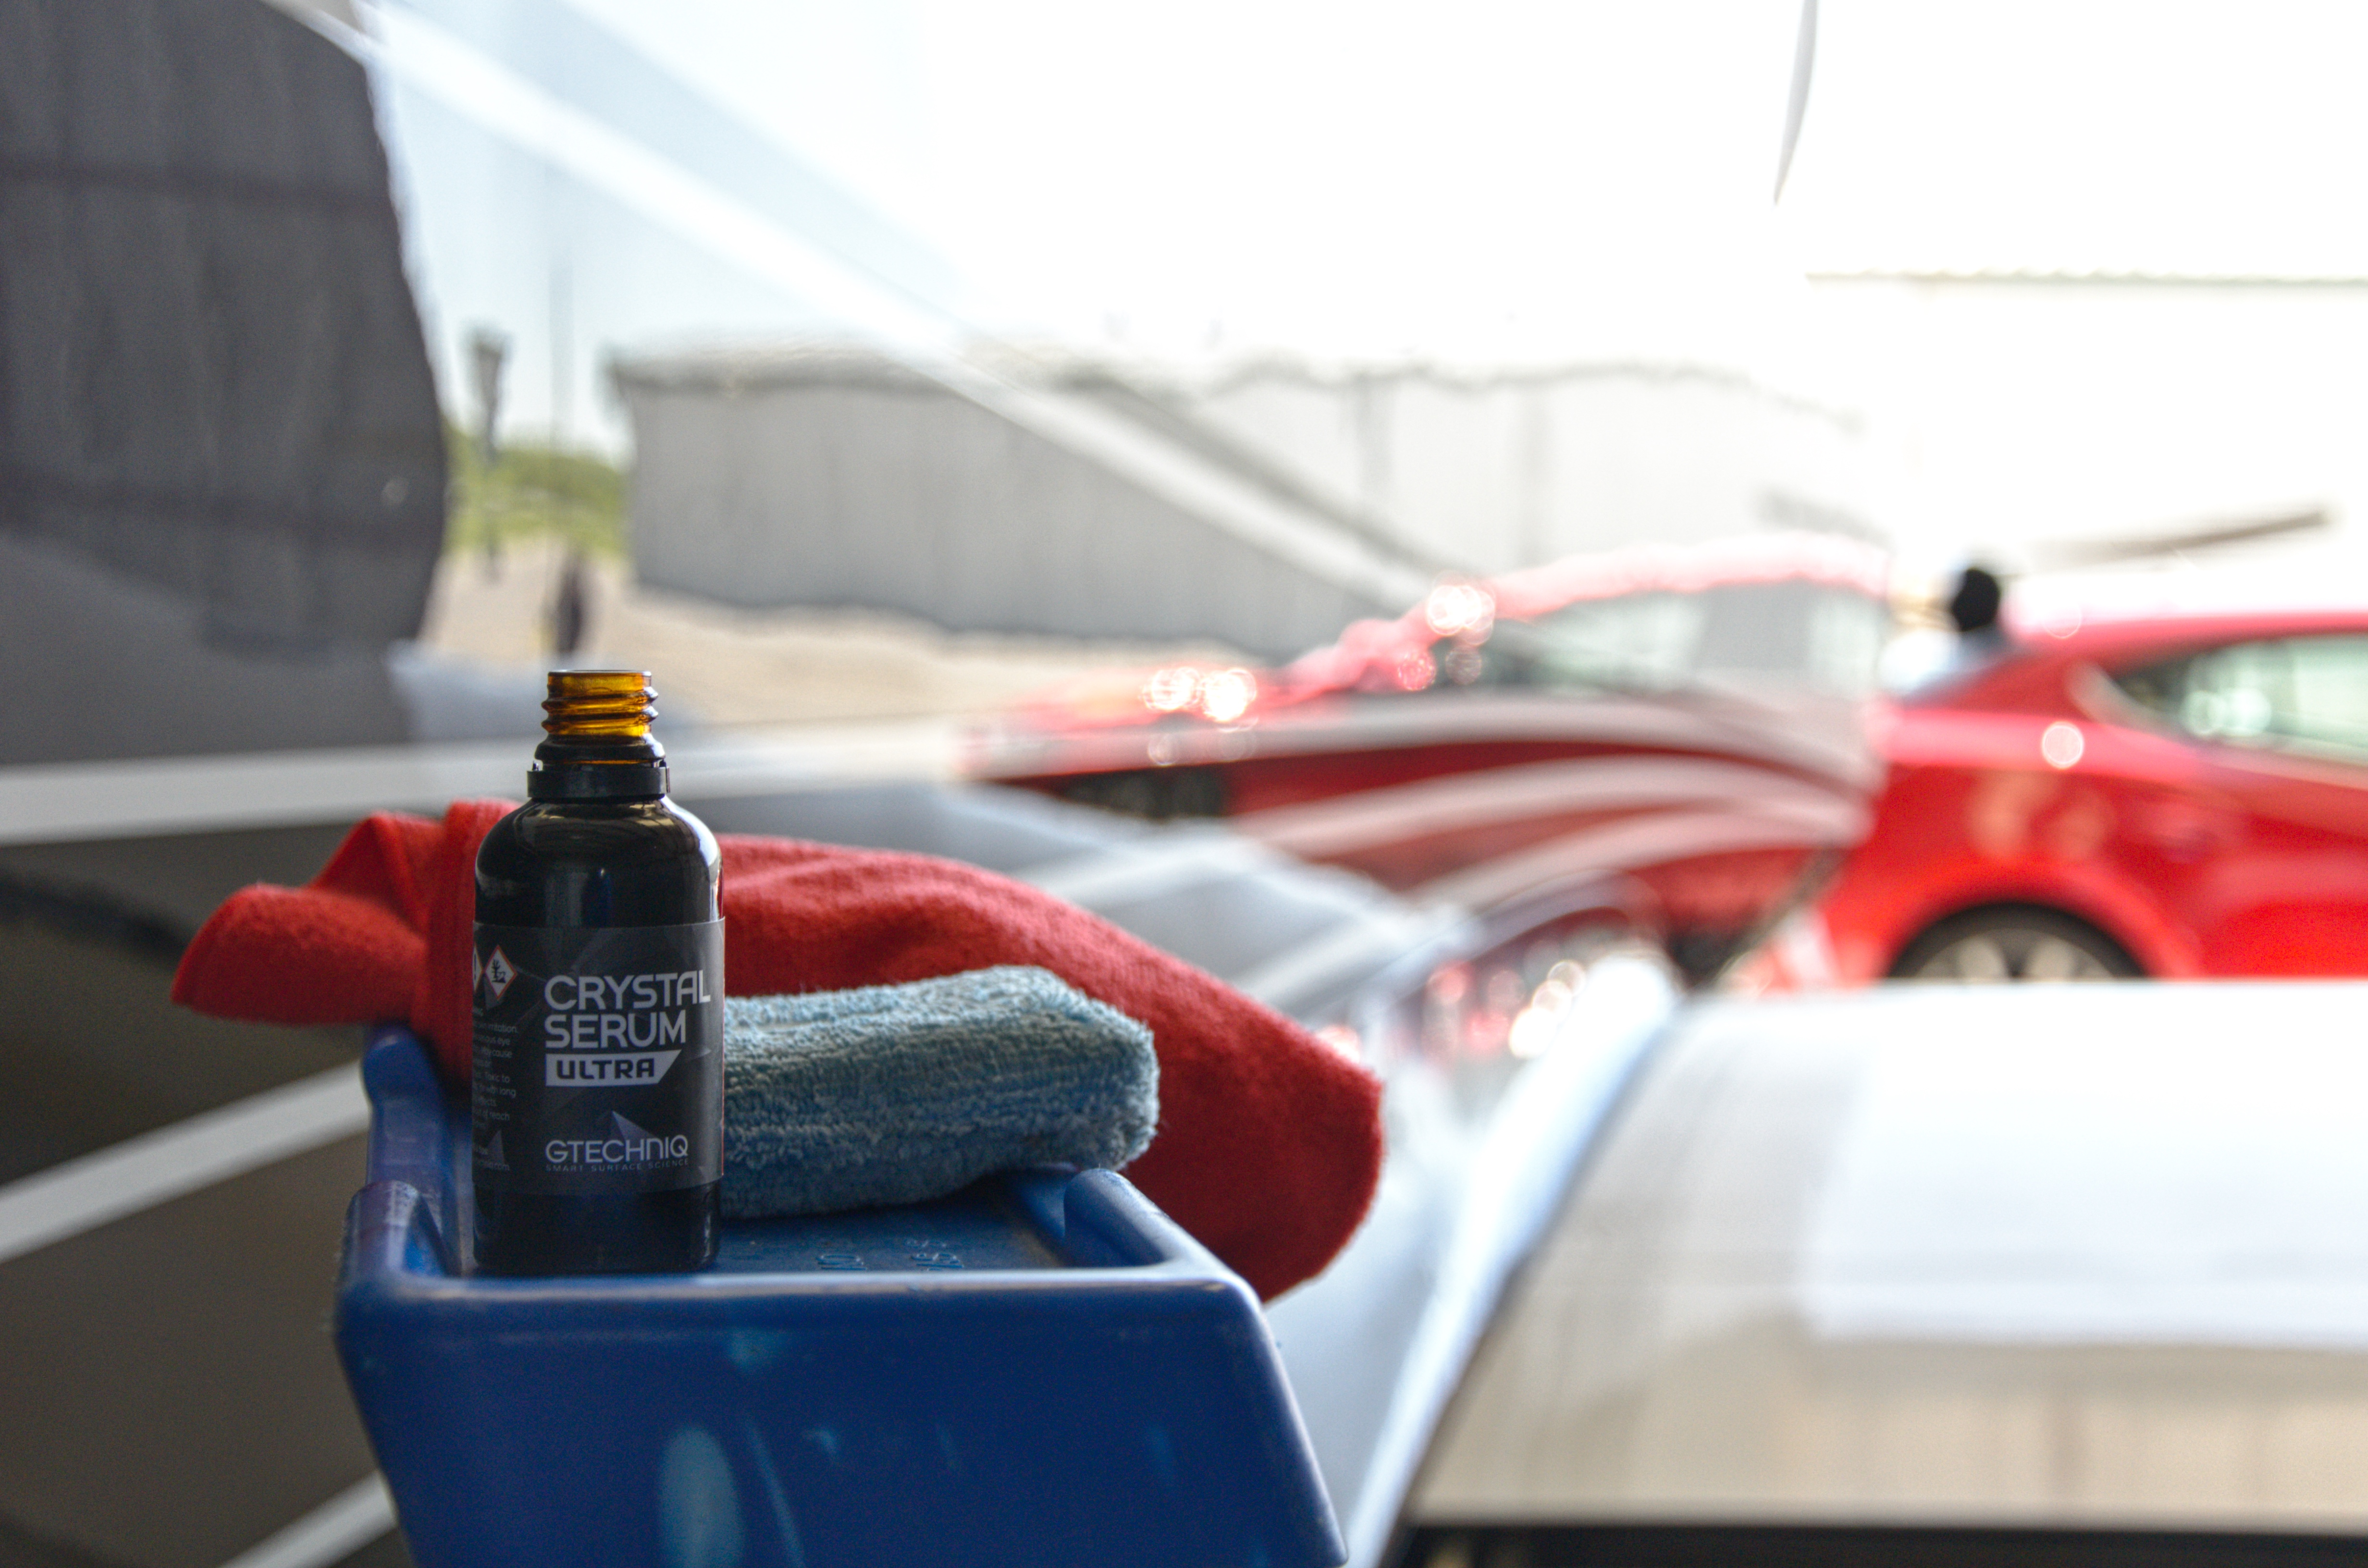
We discussed earlier how friction from washing and corrosion from exhaust were the main detriments to this paint’s gloss. To help maintain the hard work that went into the paint restoration, we top the paint with a tough ceramic coating. Applied as a liquid, our coating bonds to the aircraft paint on a molecular level to create a slick and repellent new outer layer. This new ceramic top coat is significantly more resistant to chemical and UV oxidation.
The aircraft surface becomes very slick and hydrophobic which helps release bugs, and exhaust residue with minimal effort. Third party testing by a US based aircraft manufacturer has demonstrated UV resistance in excess of 1000 hours (the test stops at 1000 hours). The ceramic coating is not removed by degreasers, fuel, solvents, or oil.

After the paint on the entire aircraft was restored, we wiped down the TBM with an alcohol solution to remove any lingering polishing oils and ensure a clean paint surface to start our ceramic coating process. The ceramic coating is wiped on the TBM in sections and leveled off with microfiber towels.
Although most of the gloss improvement on this TBM-900 came through the paint restoration process, the coating certainly help raise the gloss a few points. If you want to see the entire process, we do have a video of a different airplane that shows it step by step
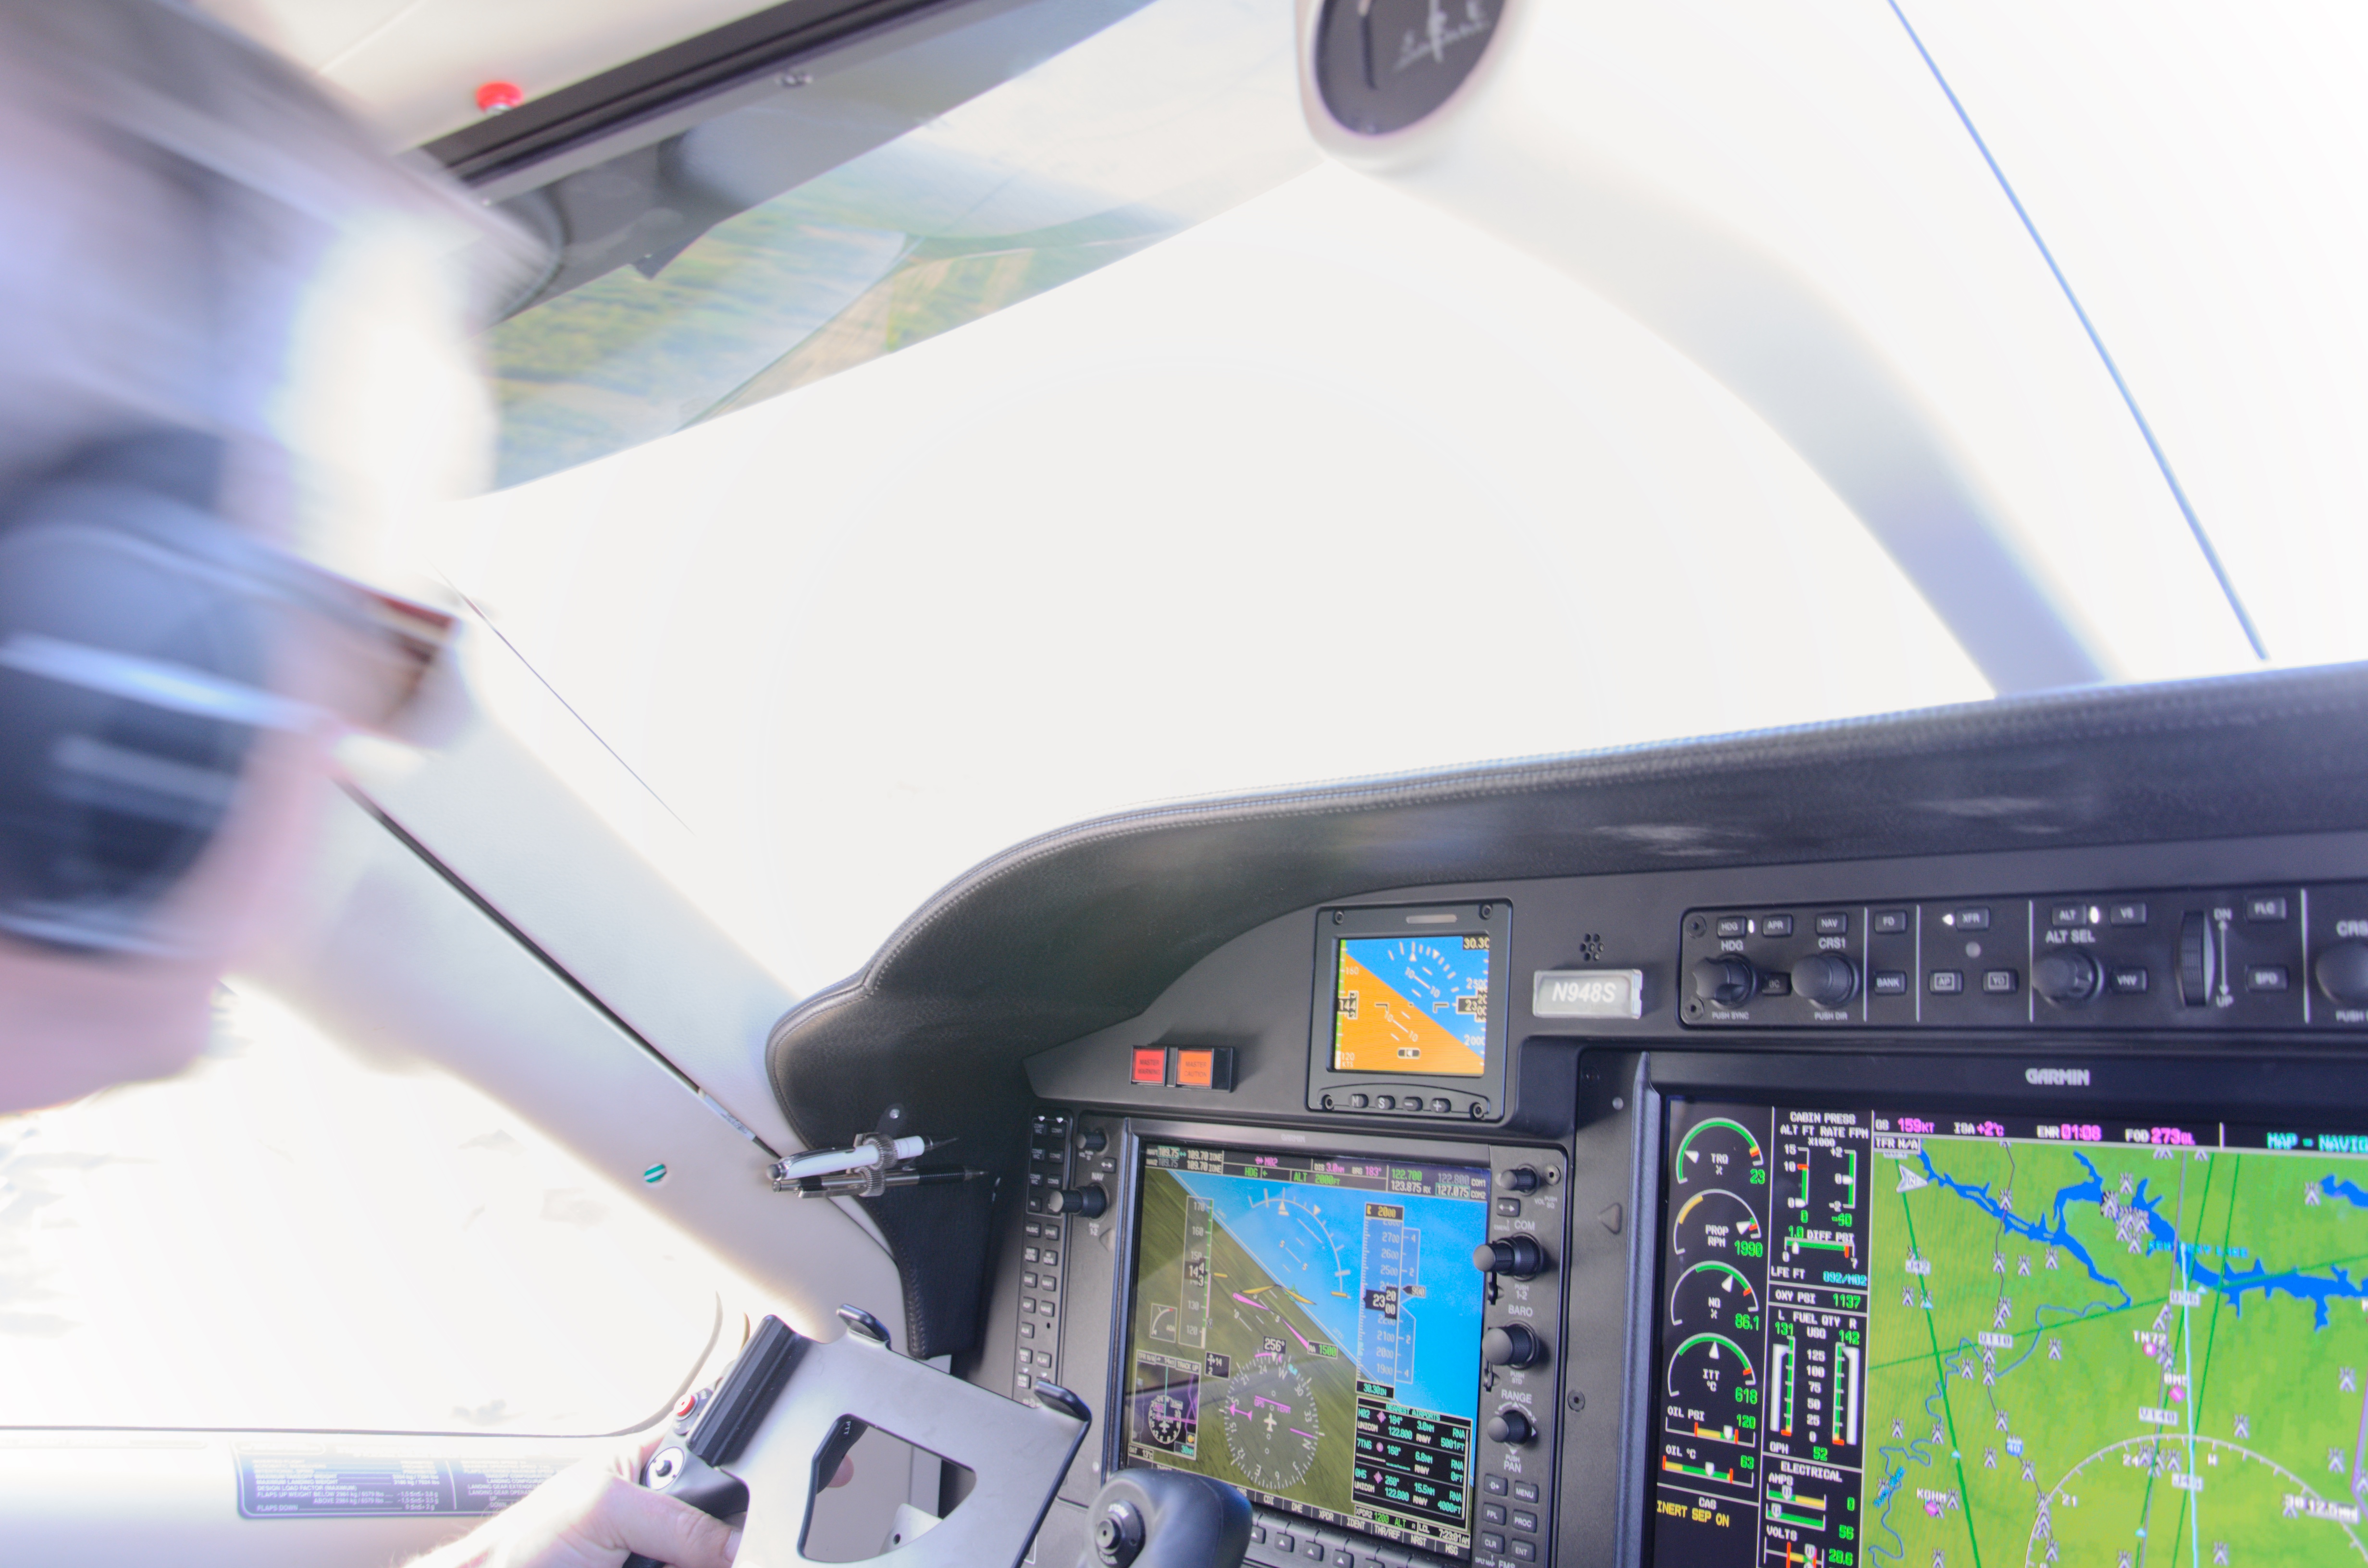
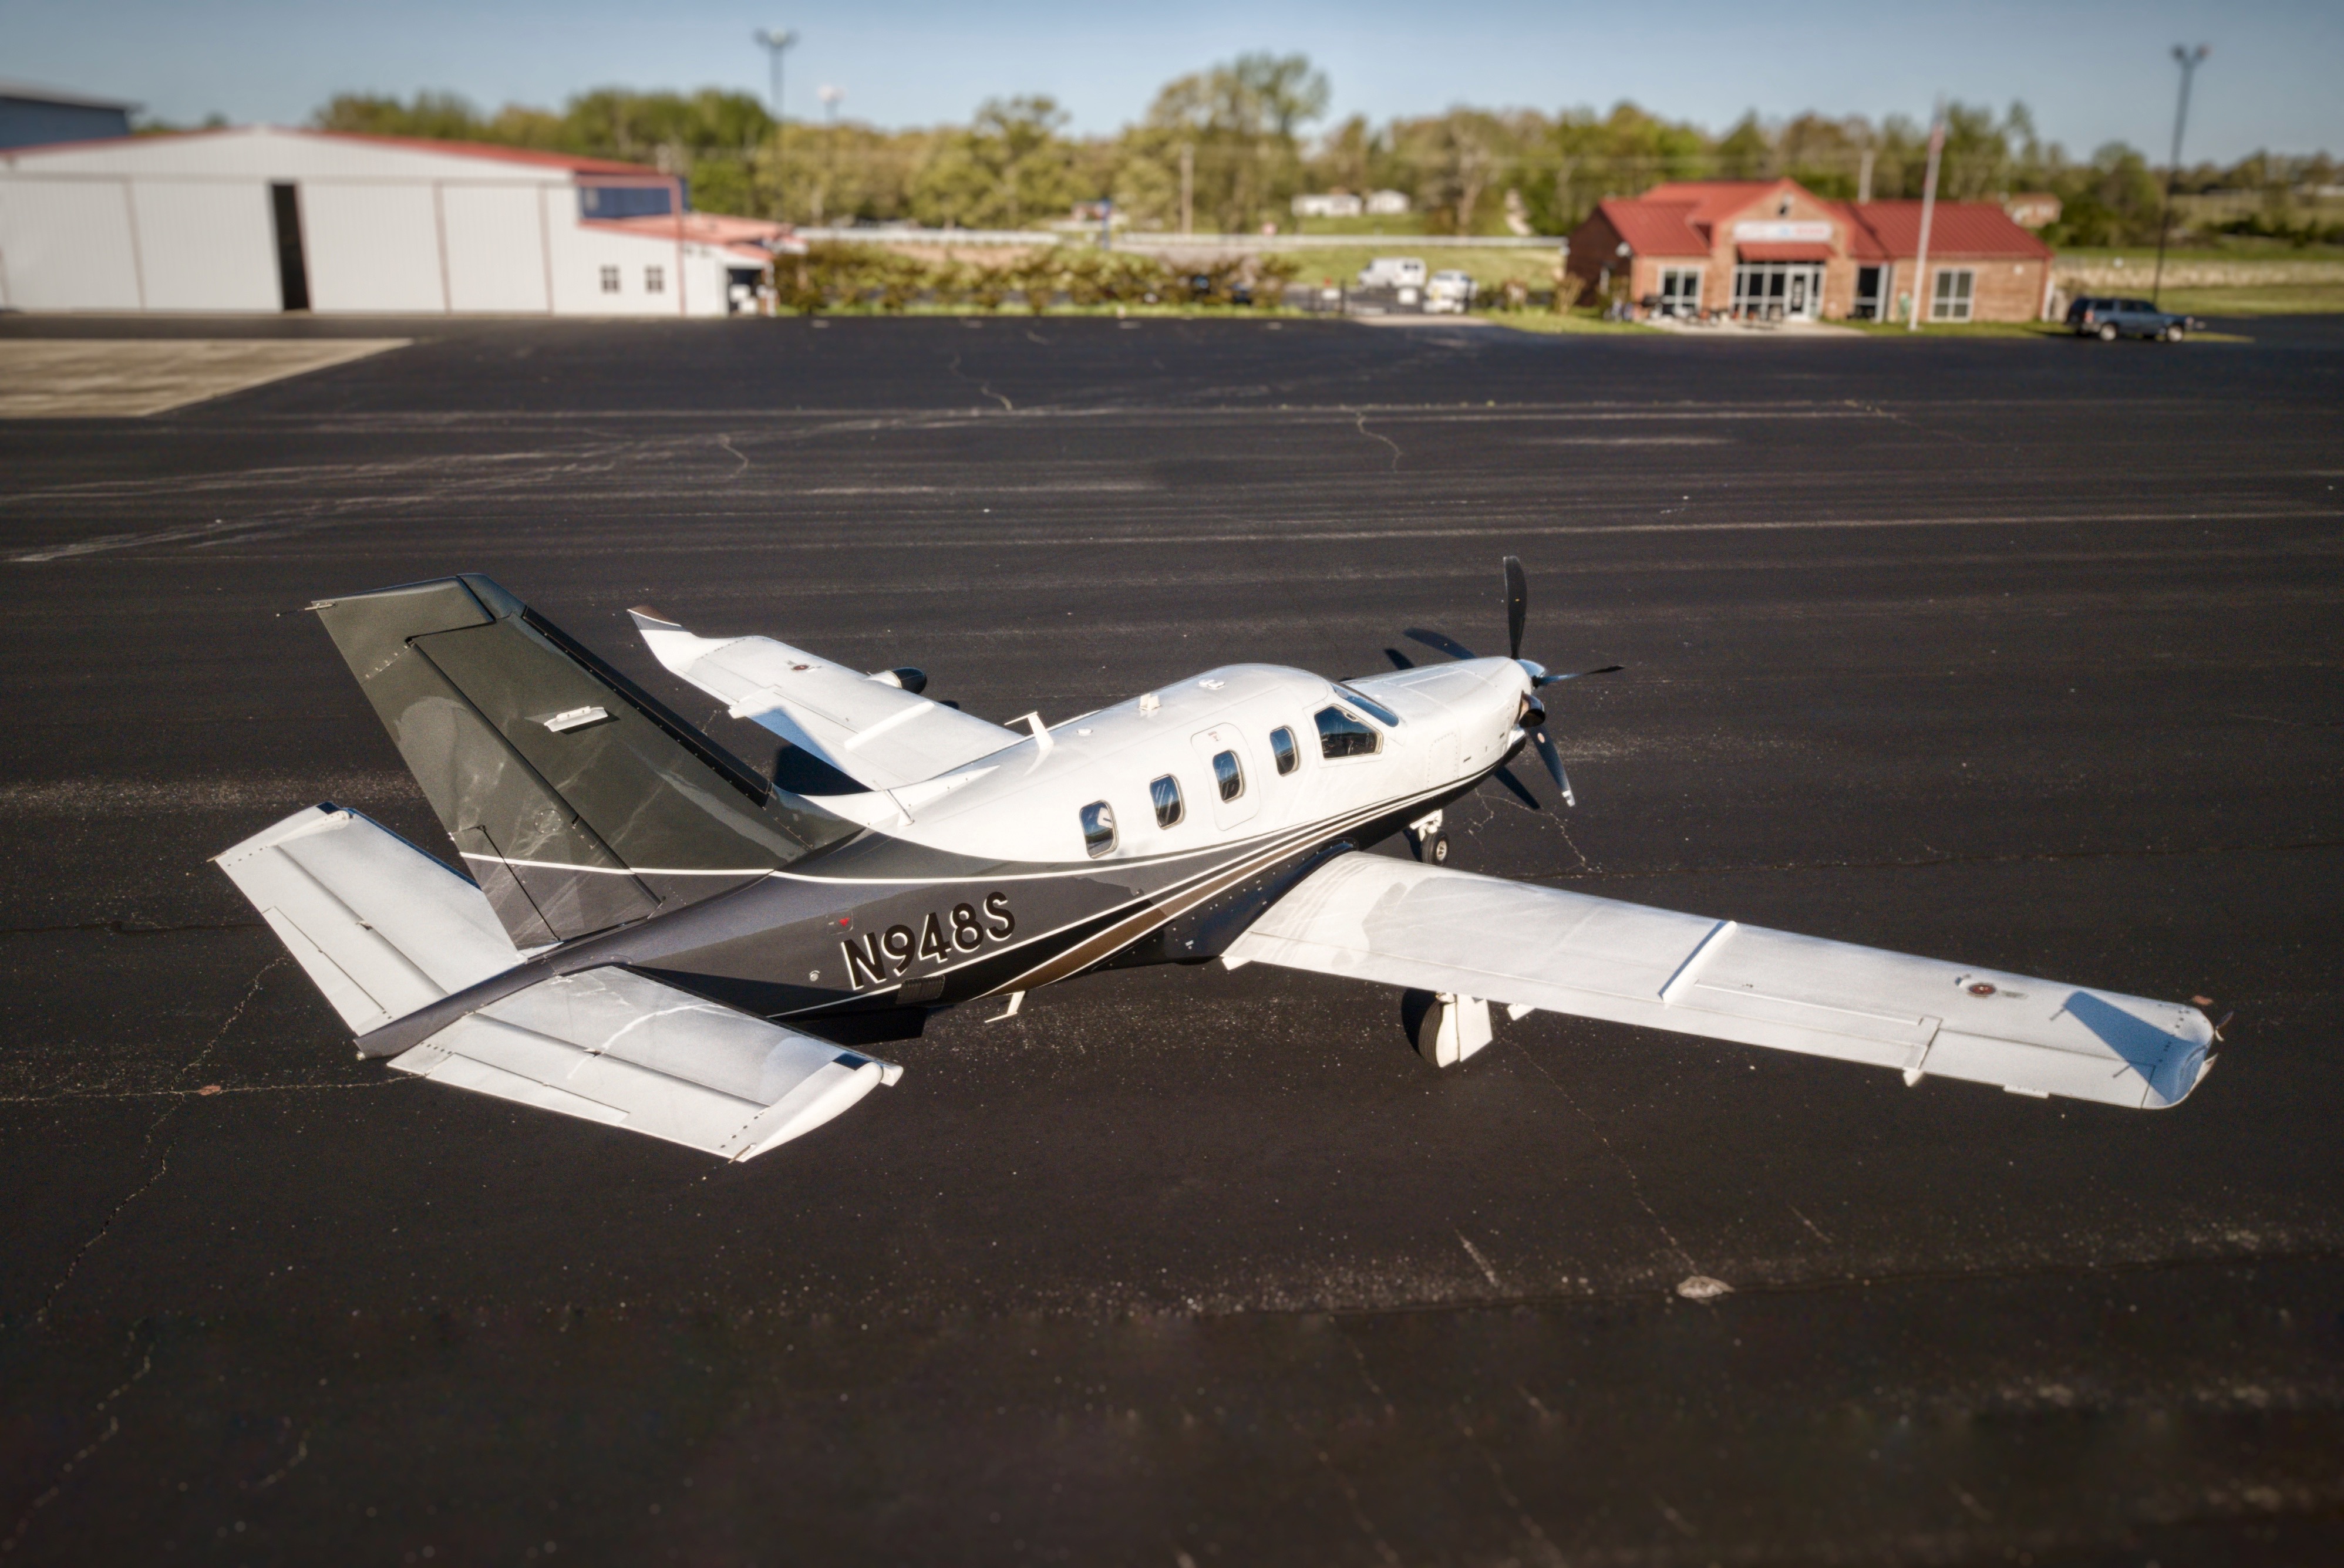
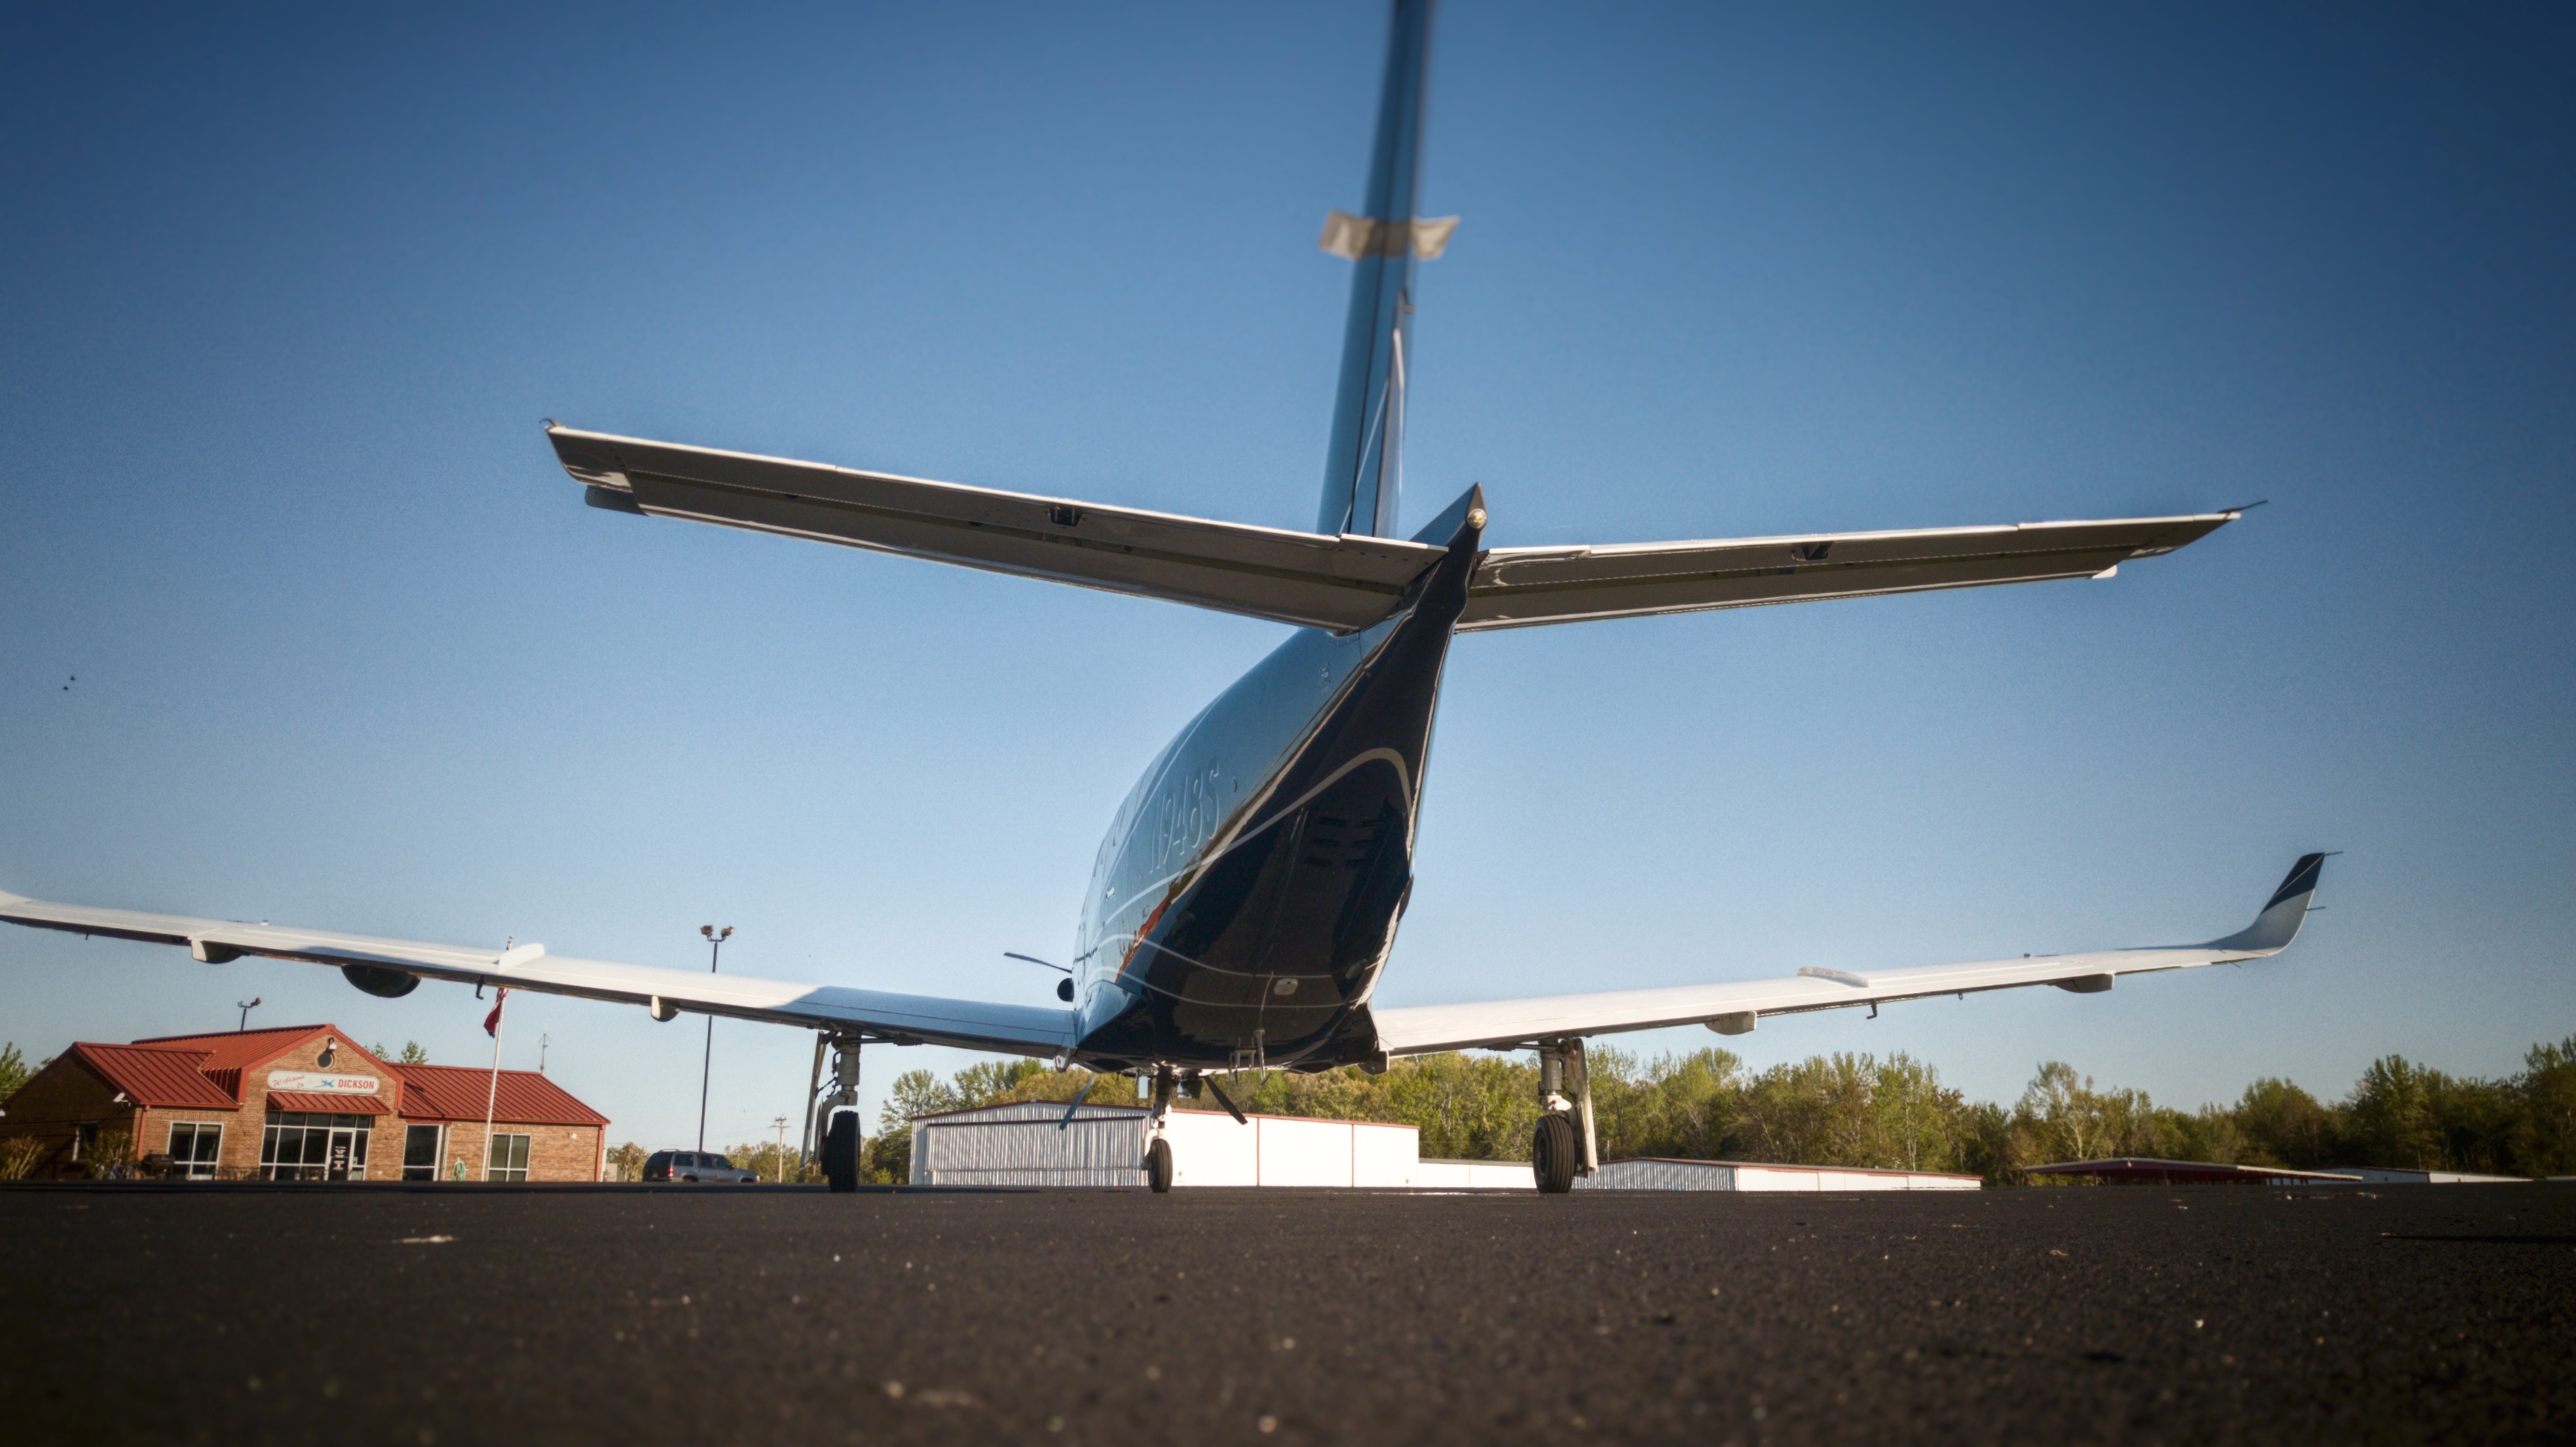
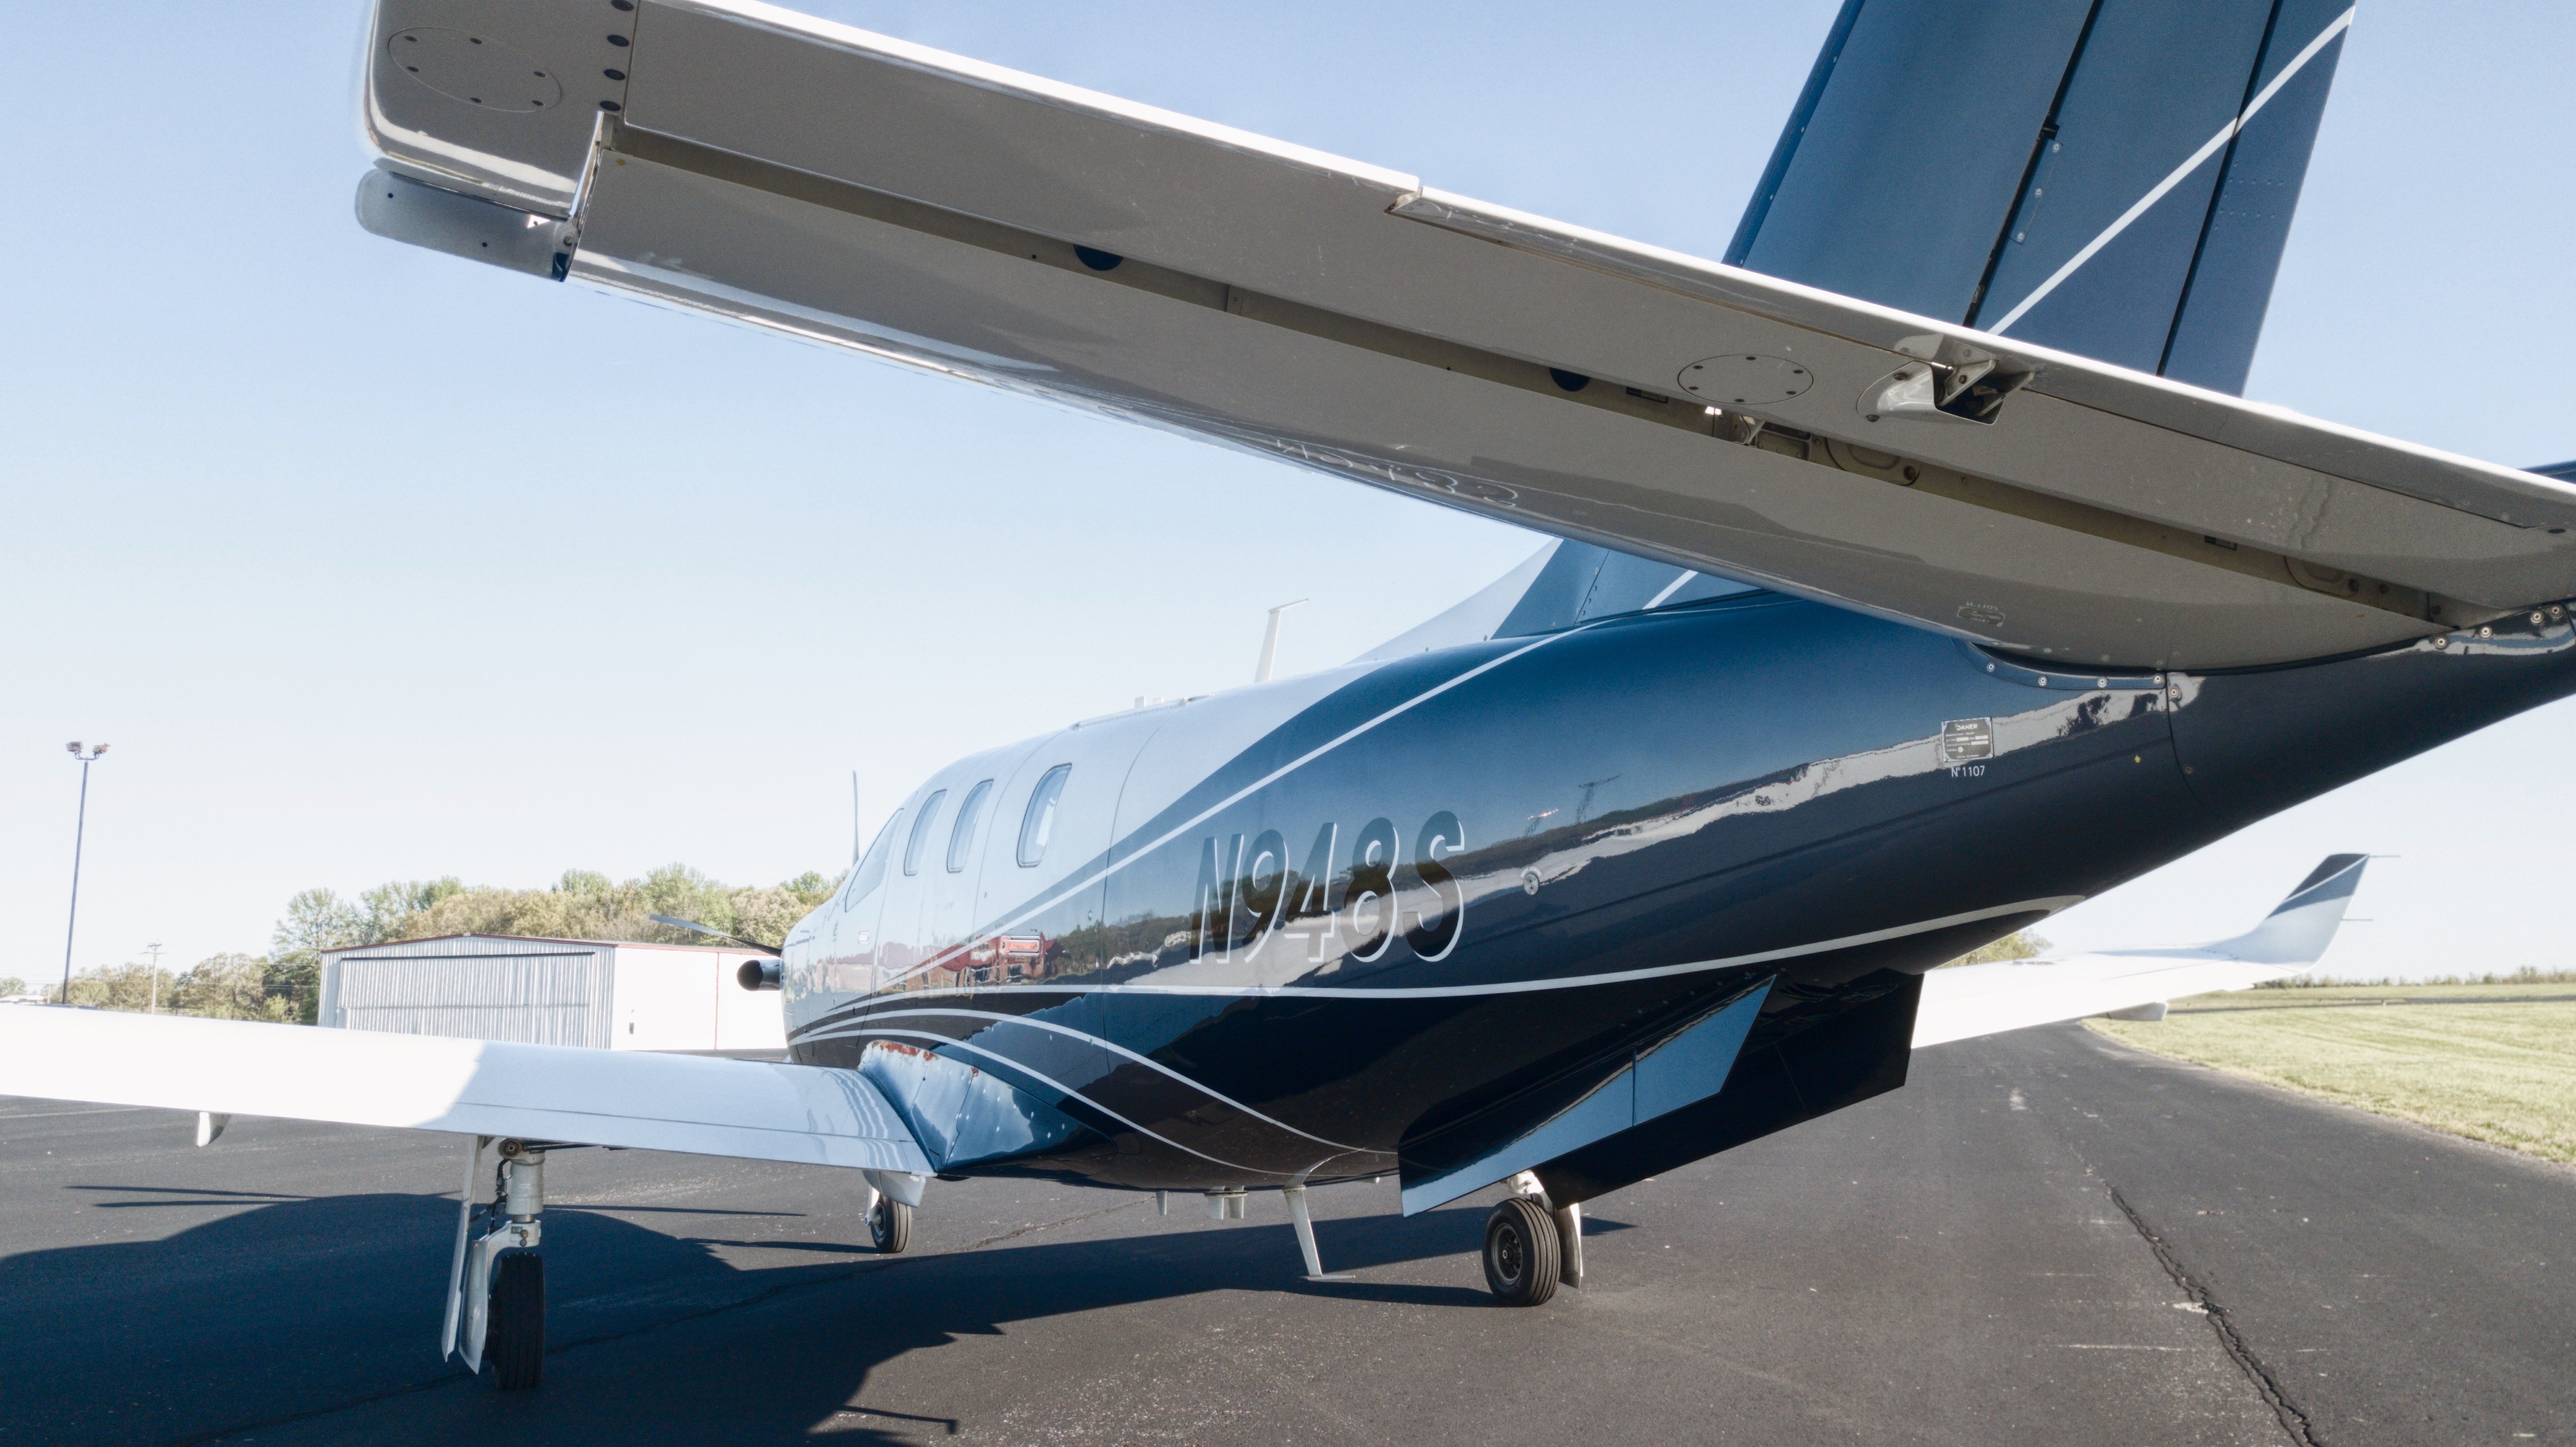
By reducing the frequency and intensity of washing, this gloss will persist well past when a traditional wax or sealant would wear off. The very next day, the coating had cured and the airplane was ready to be back in service. We took a short flight to get some finished pictures.
Here is a quick video showing around the plane