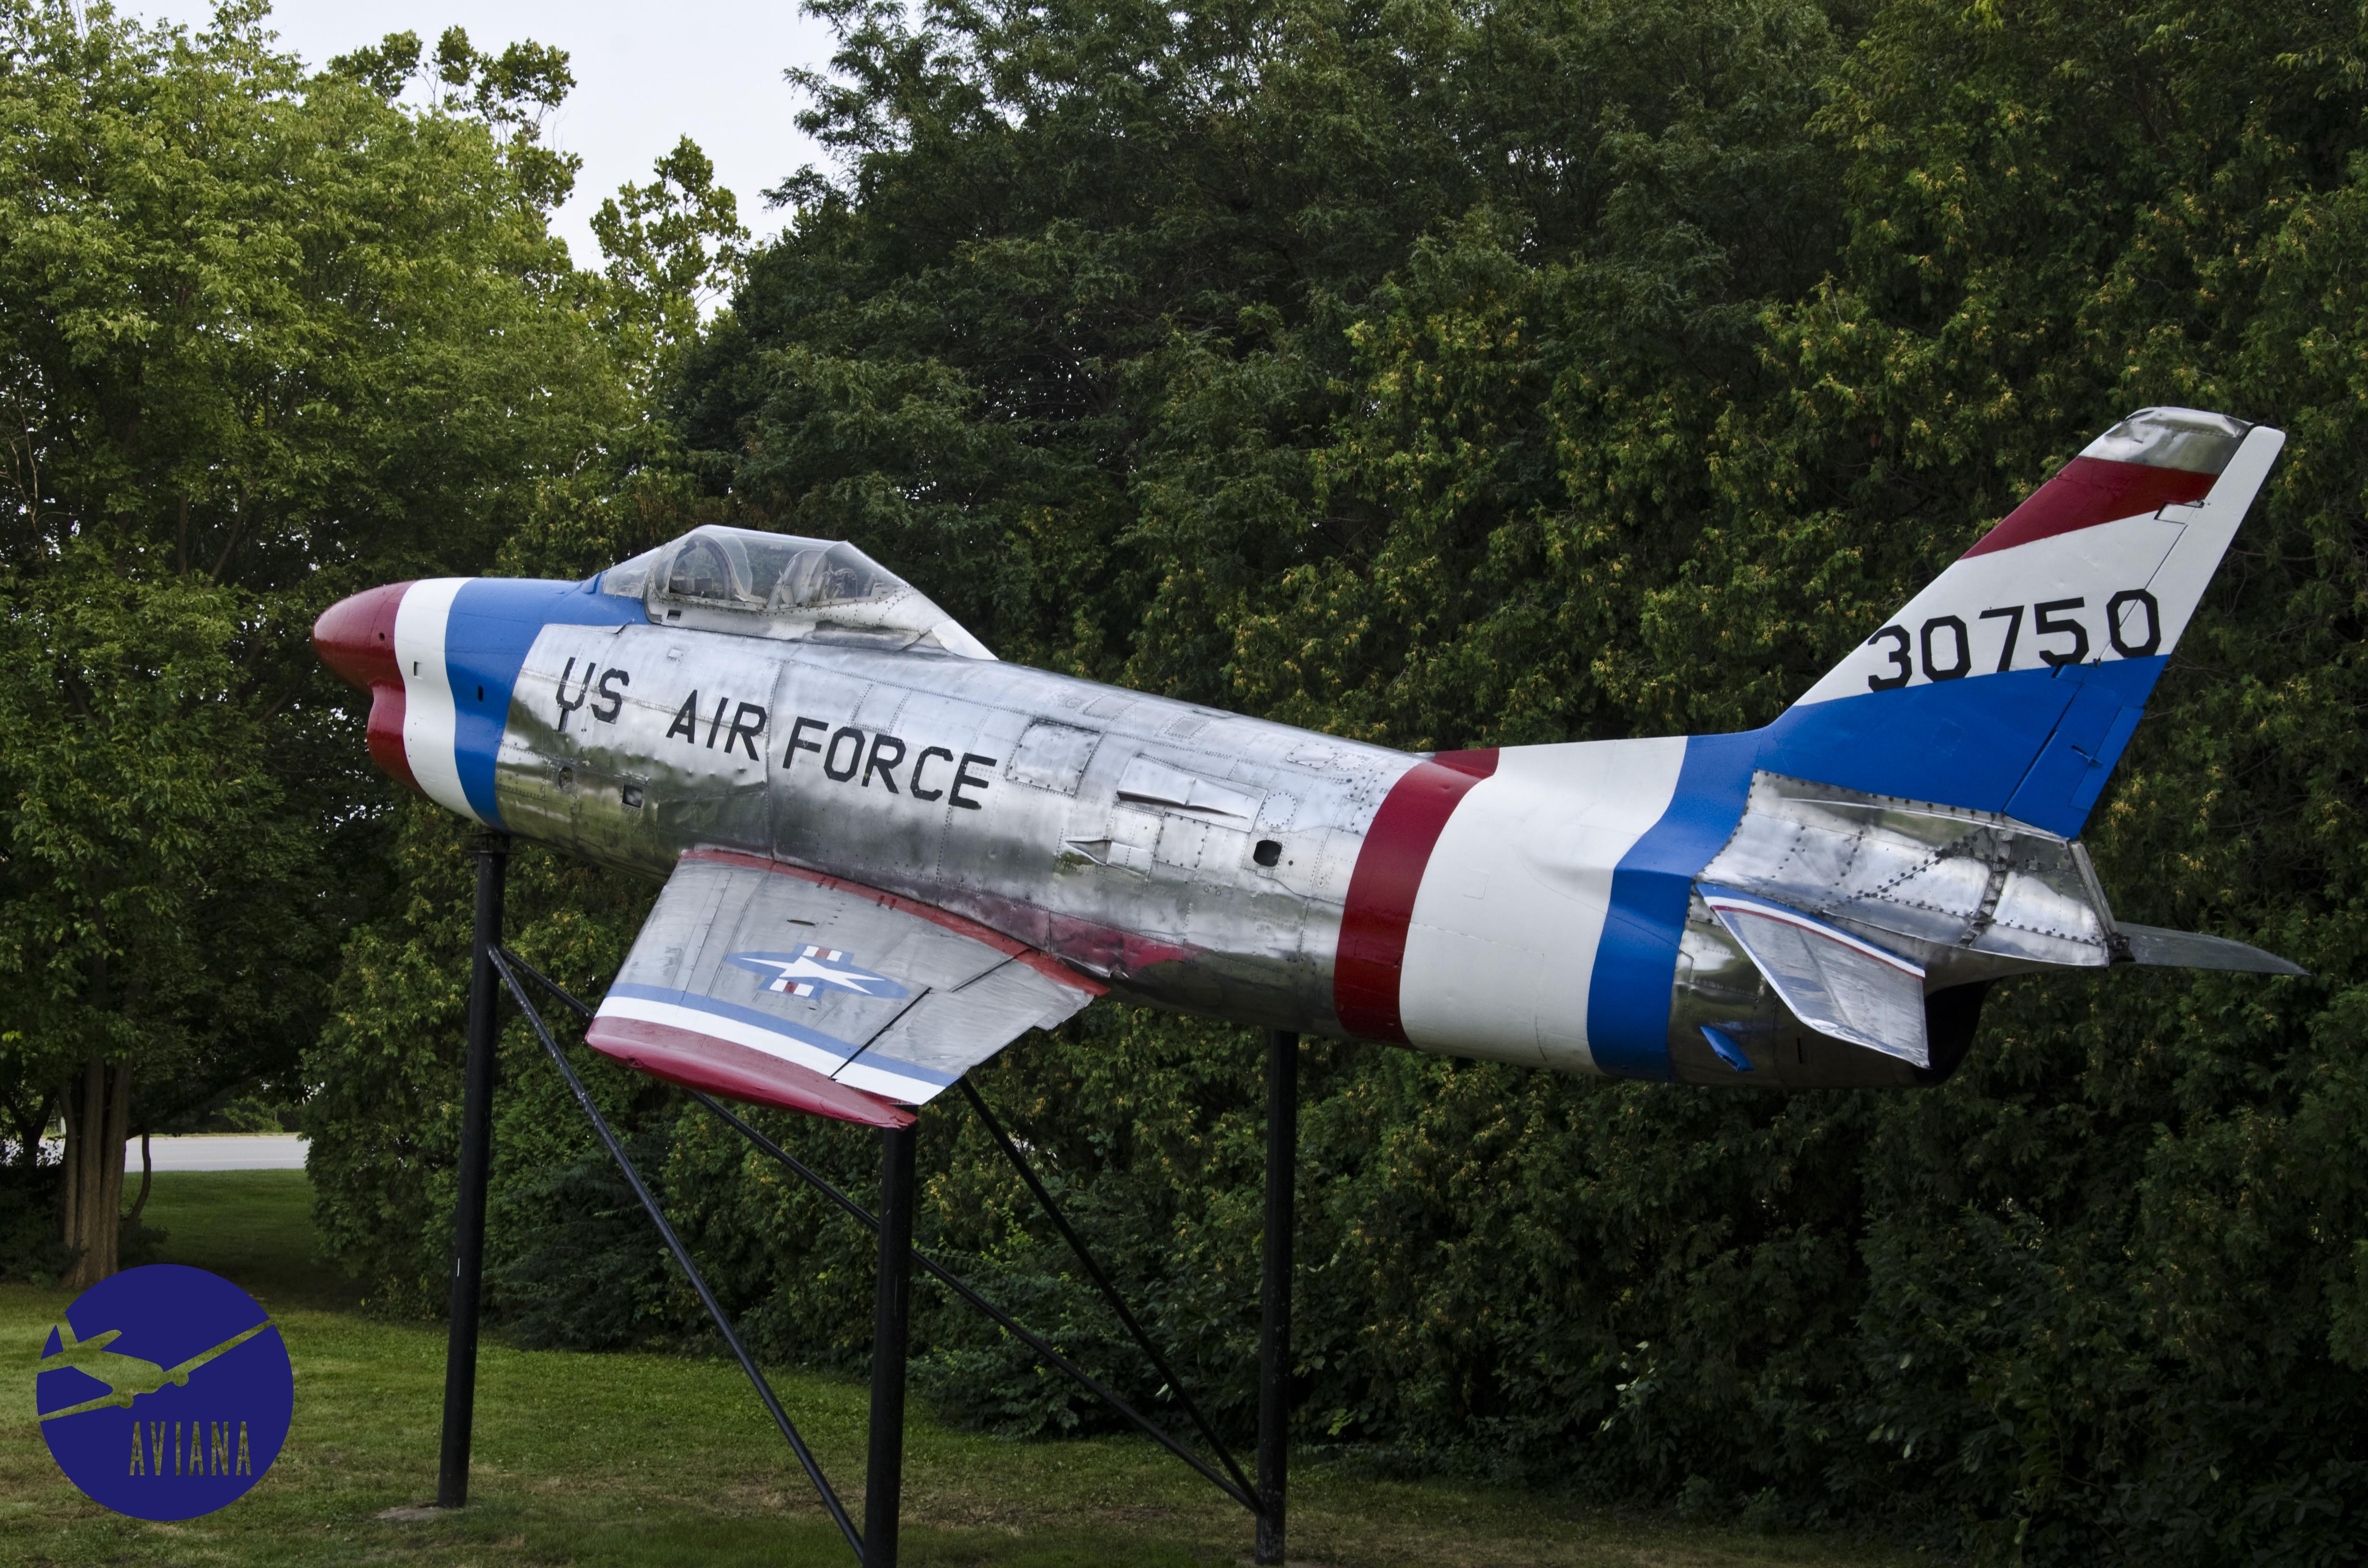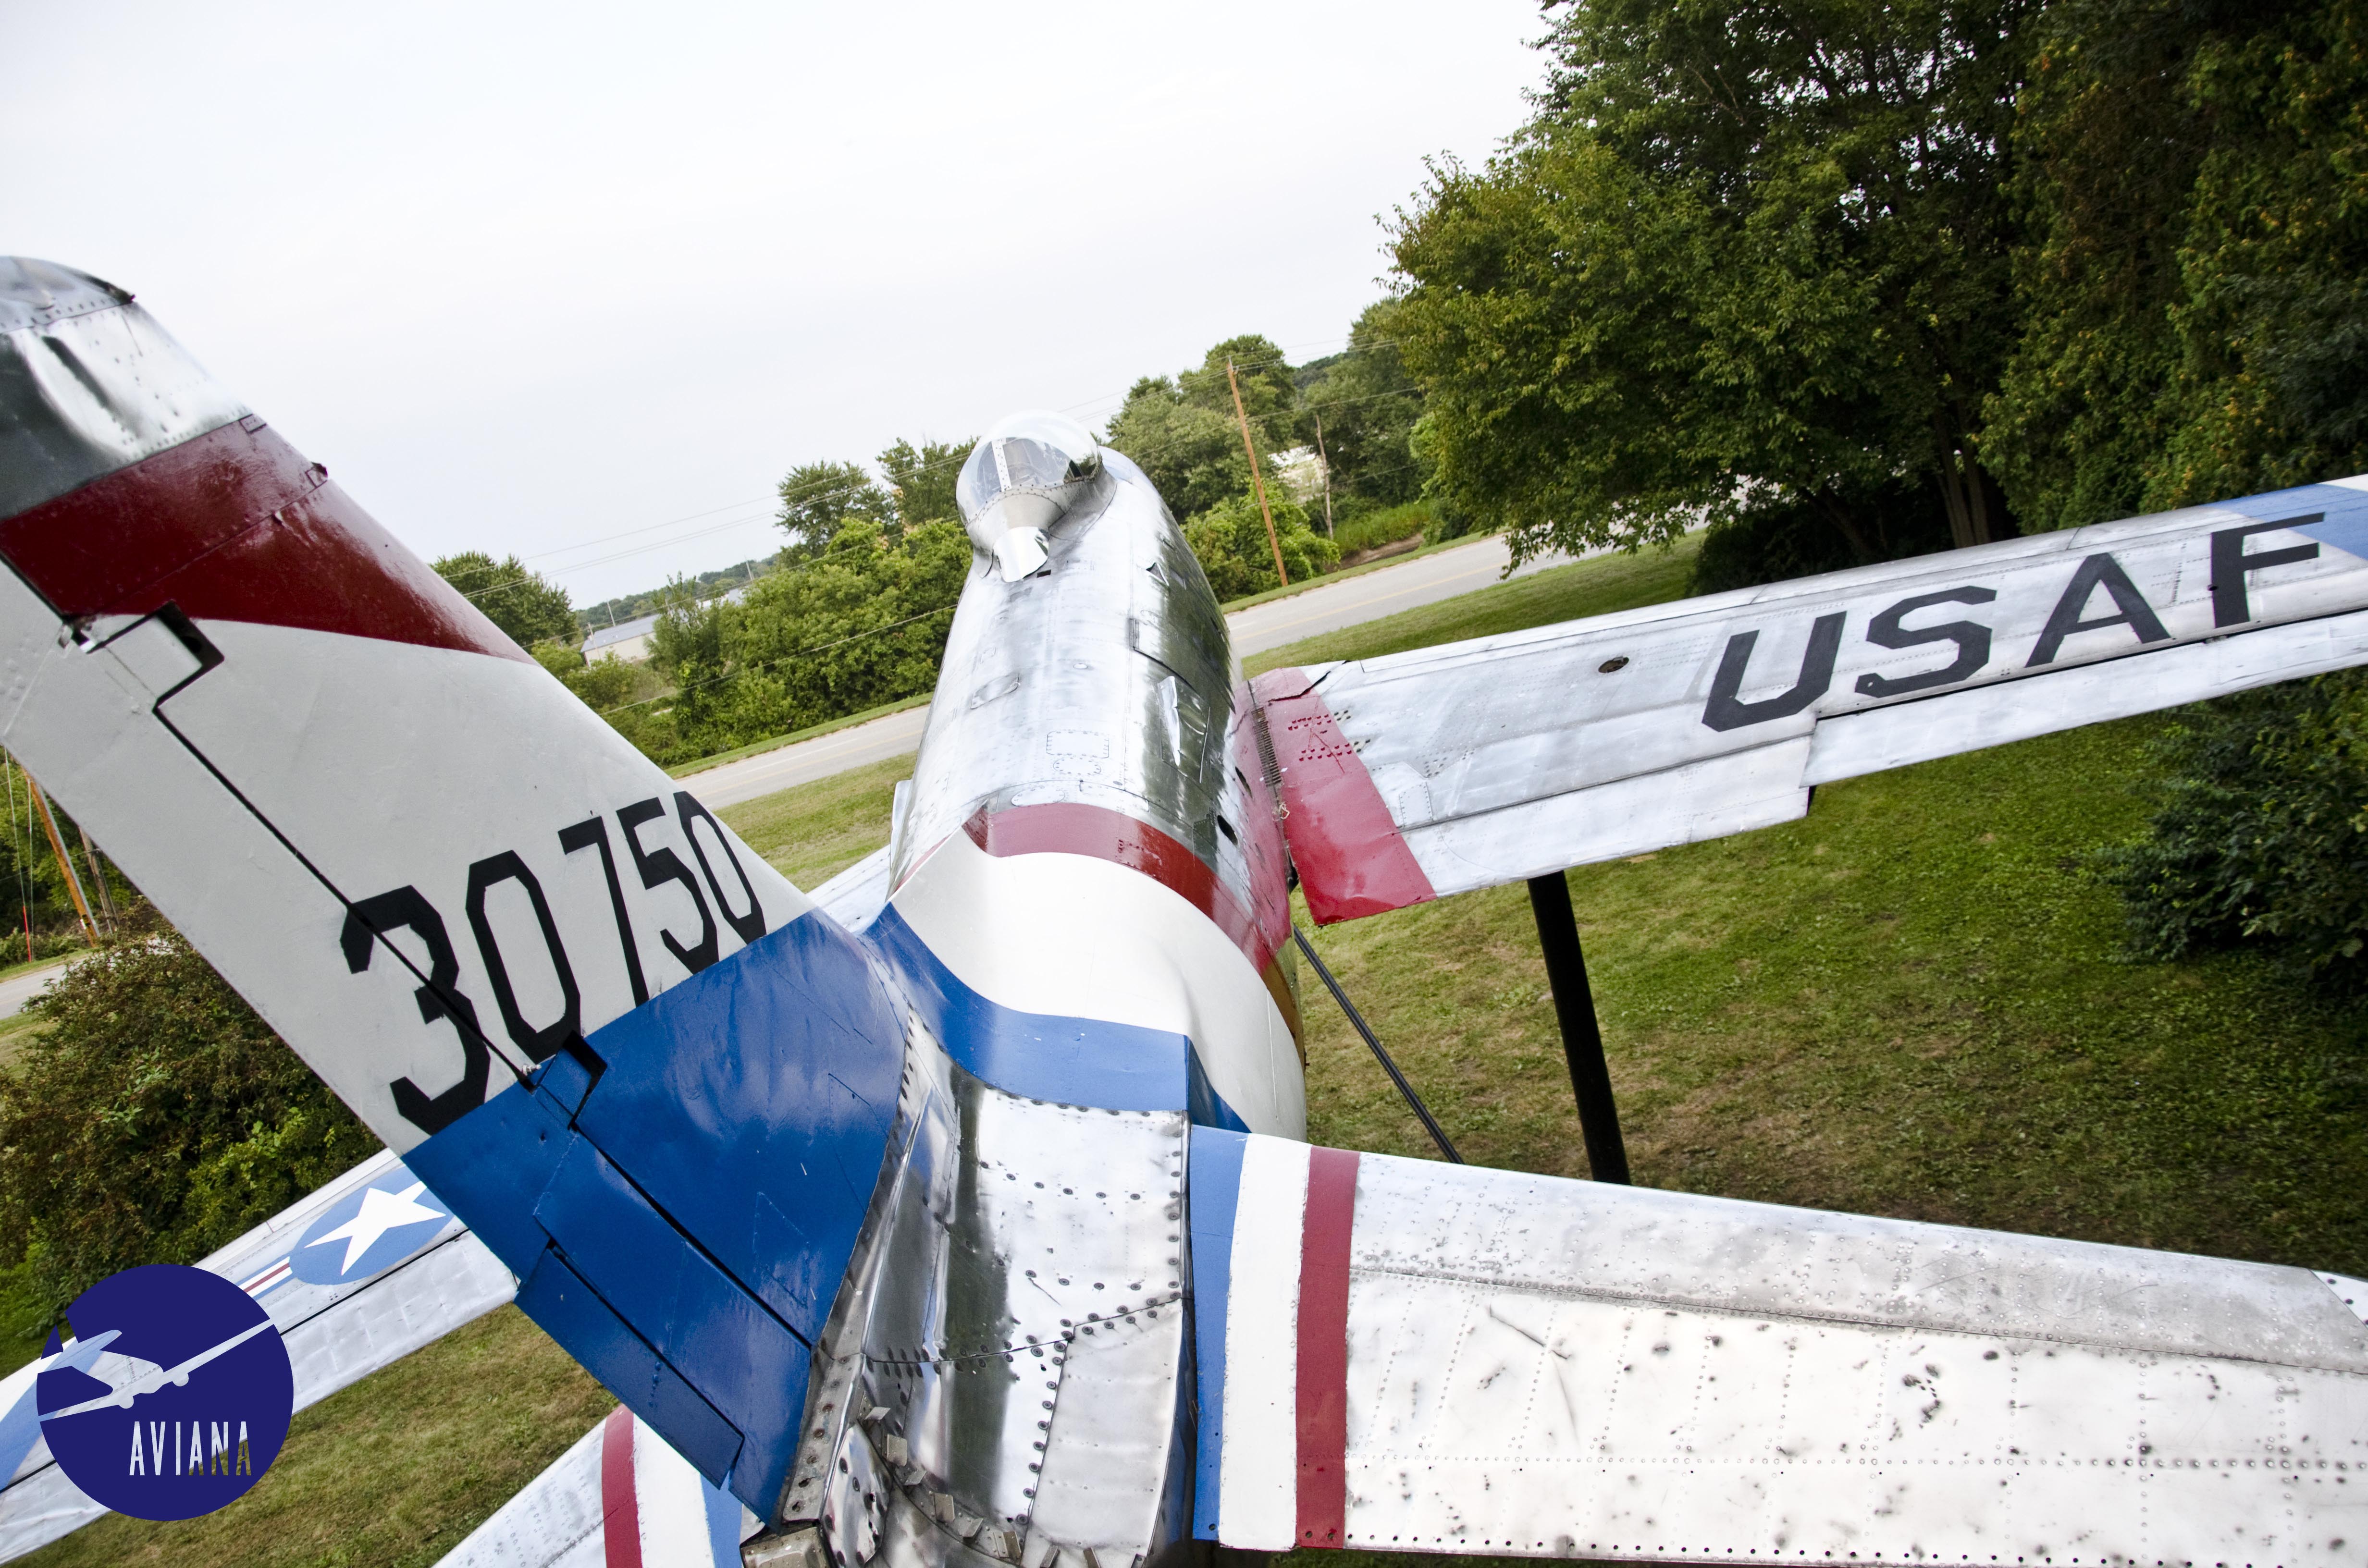

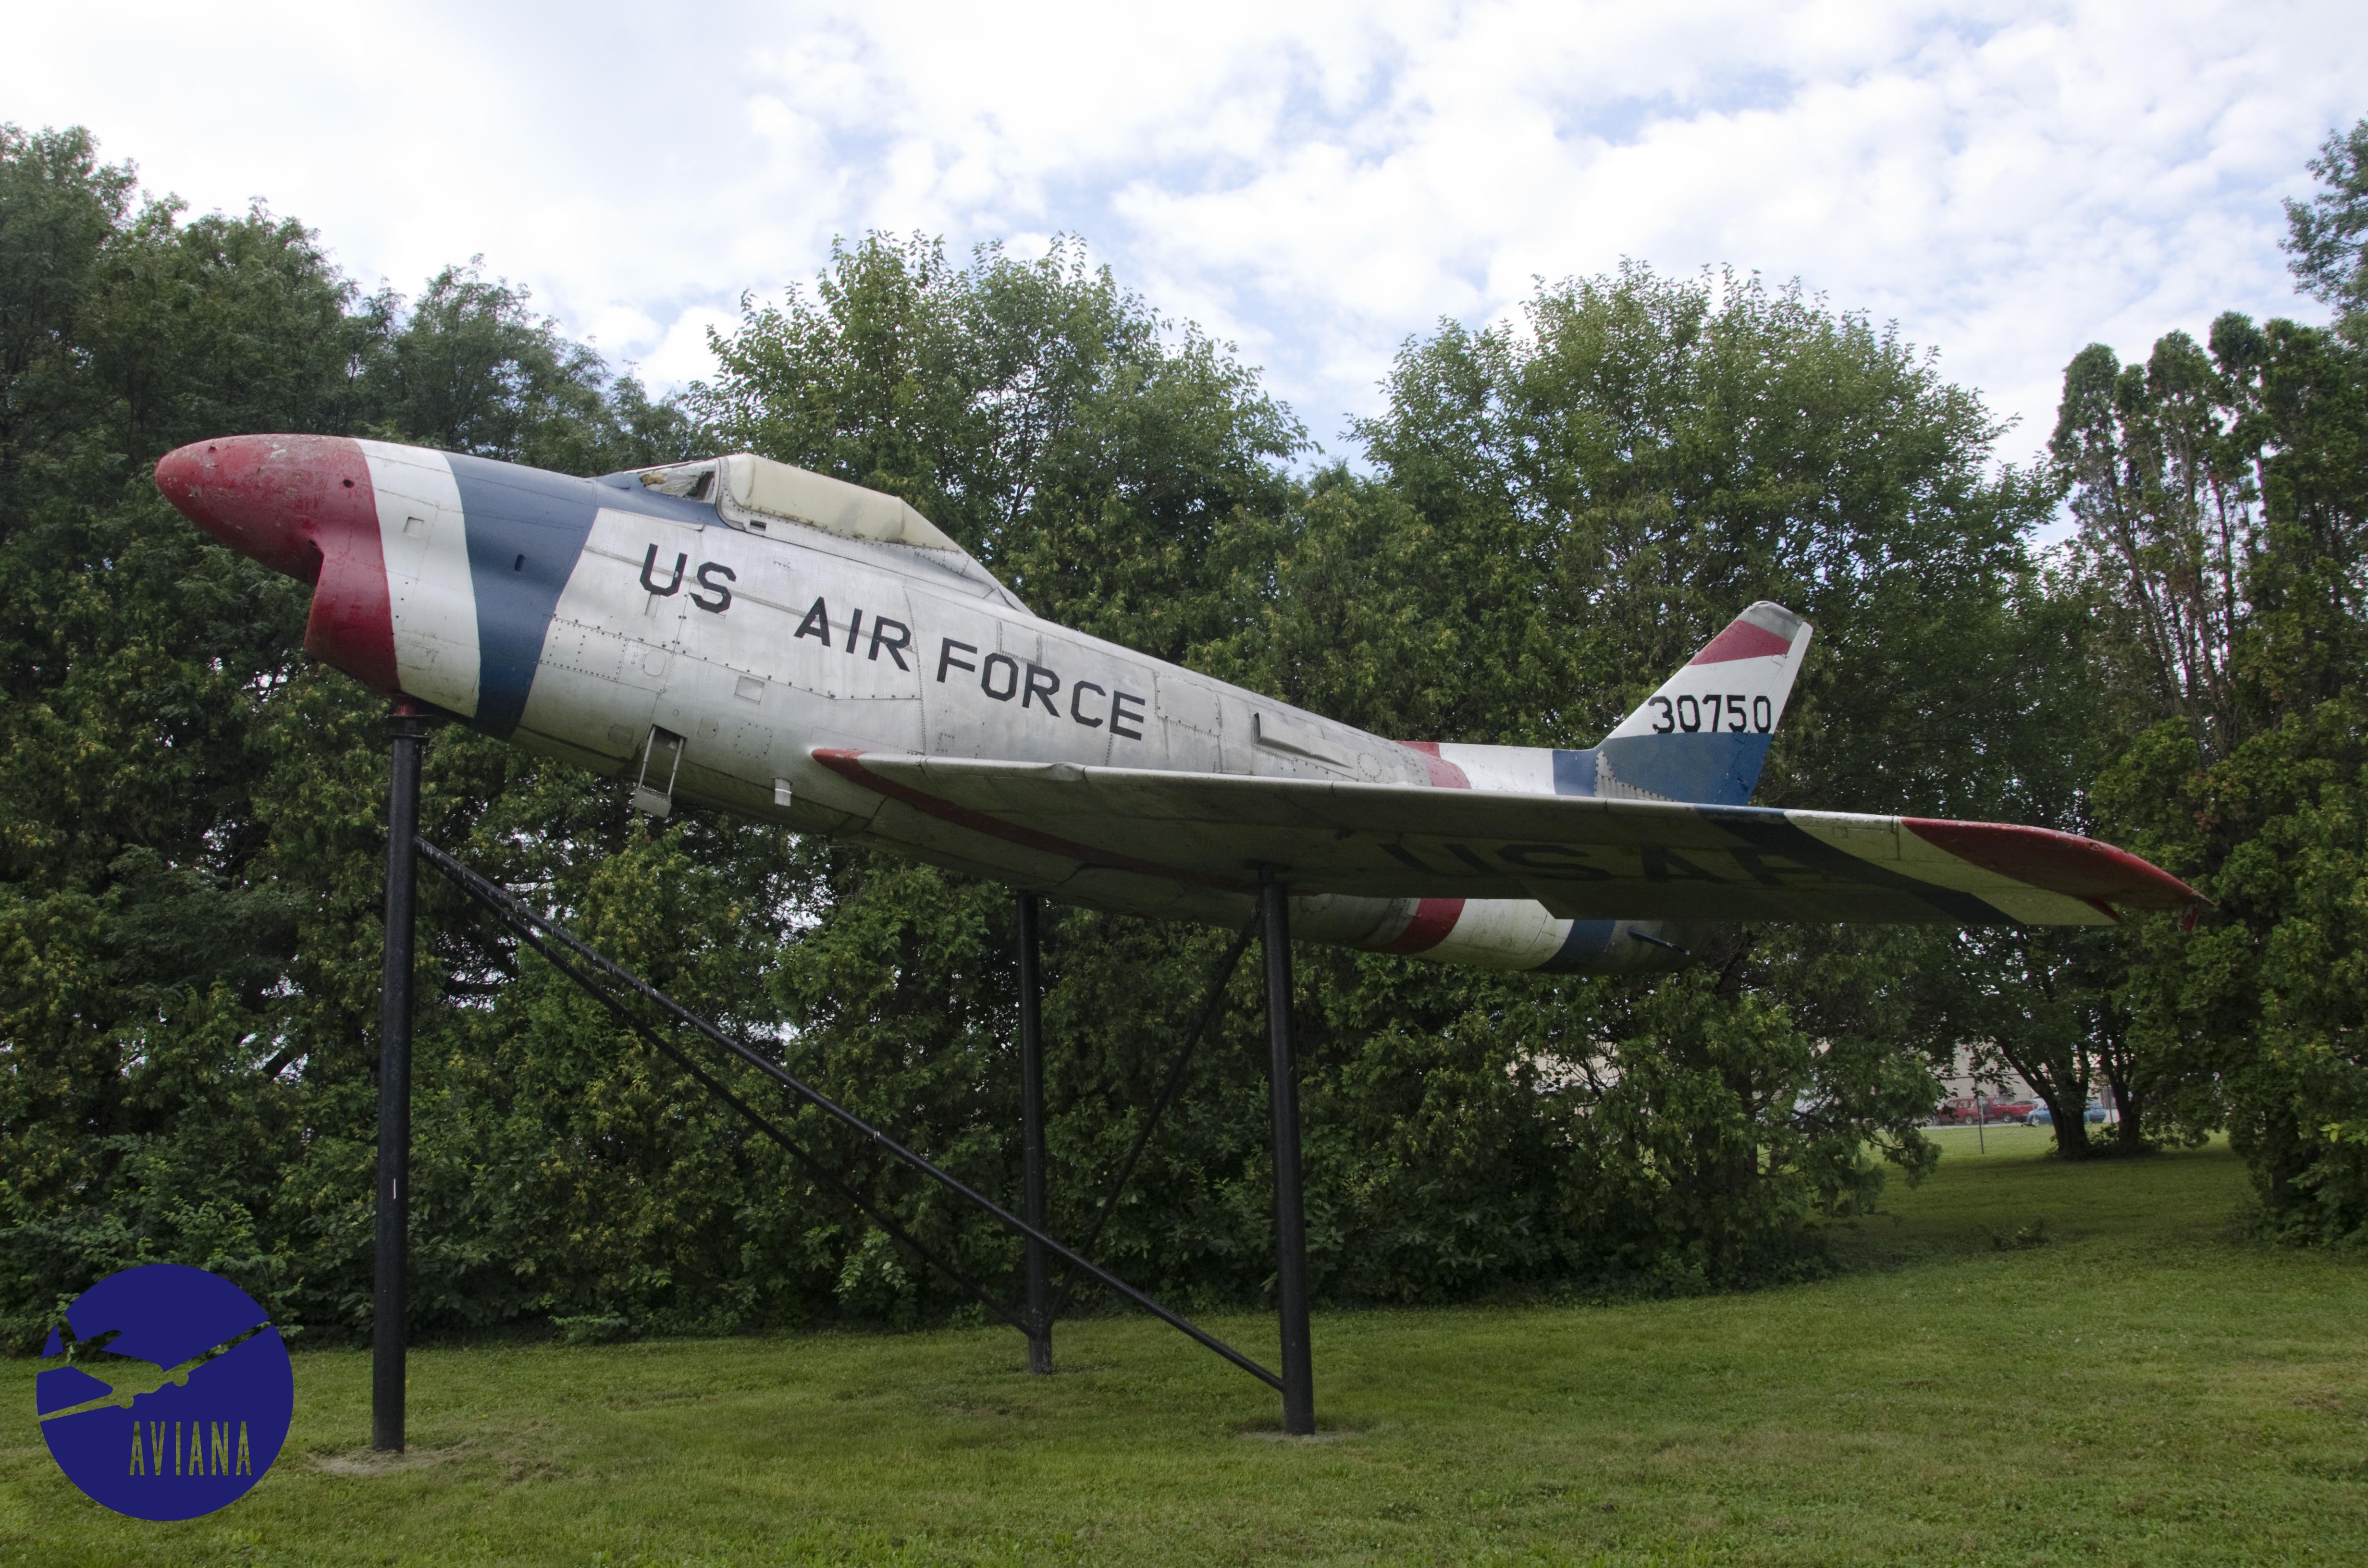
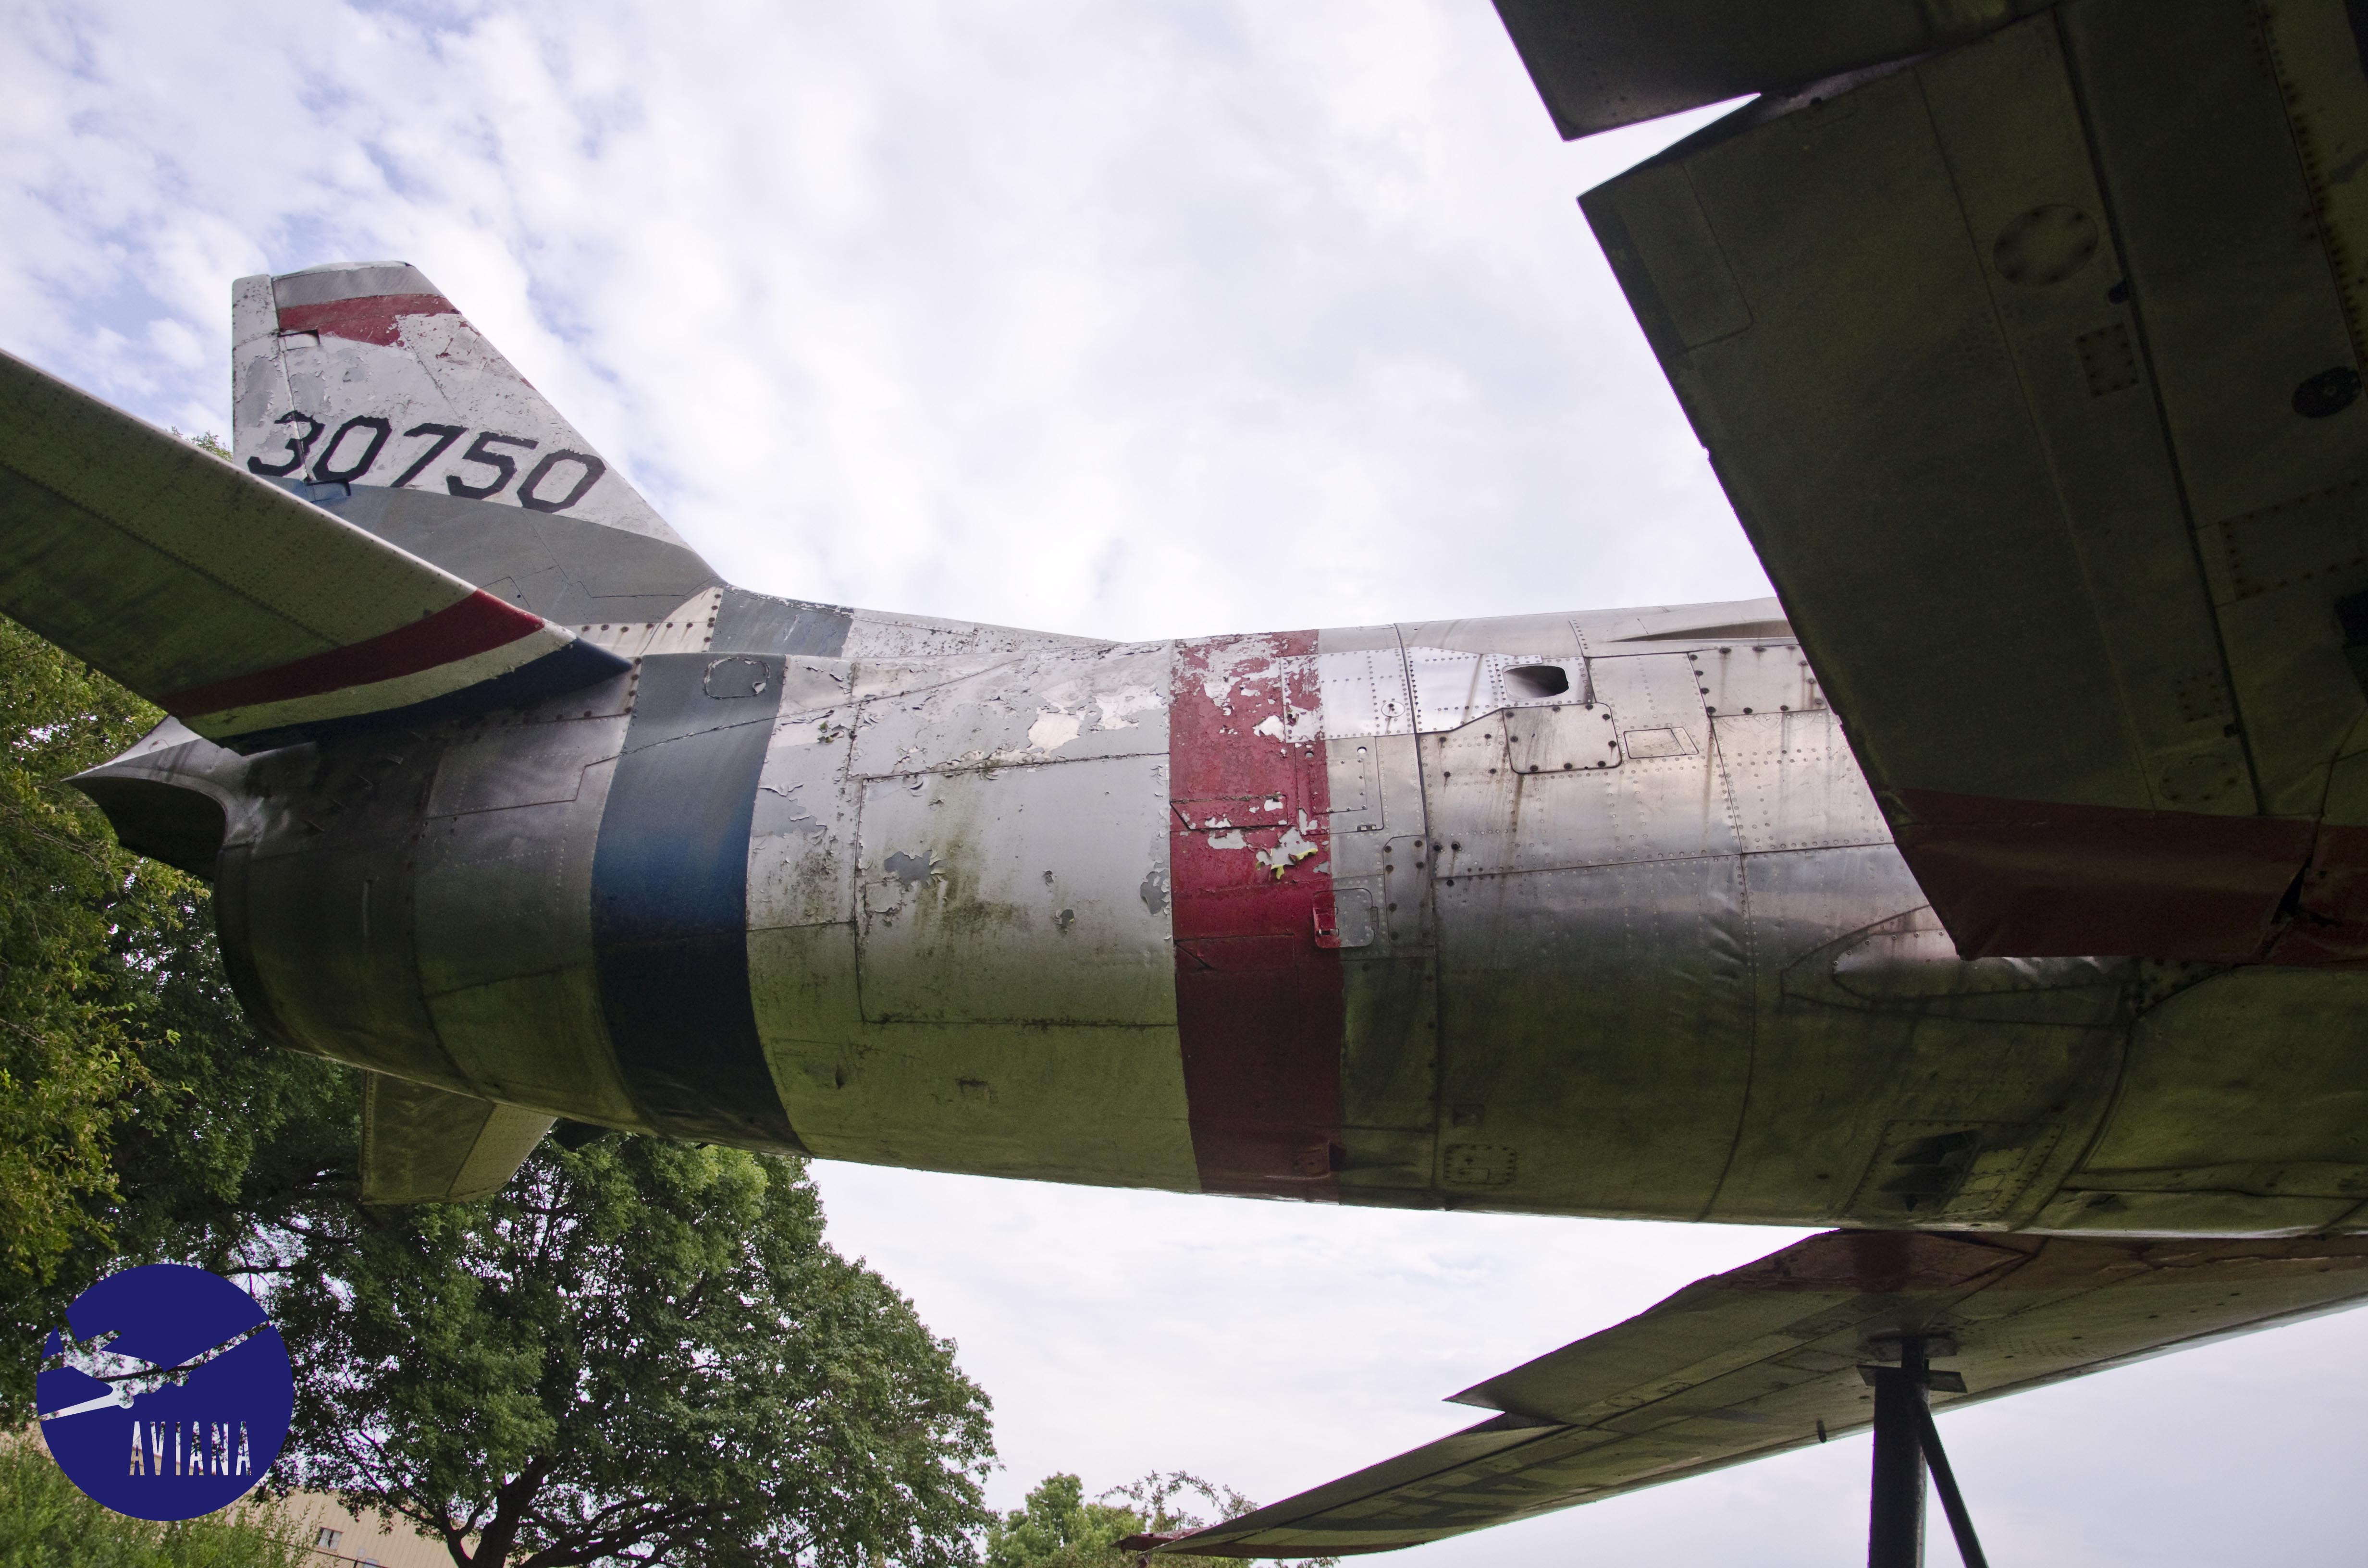
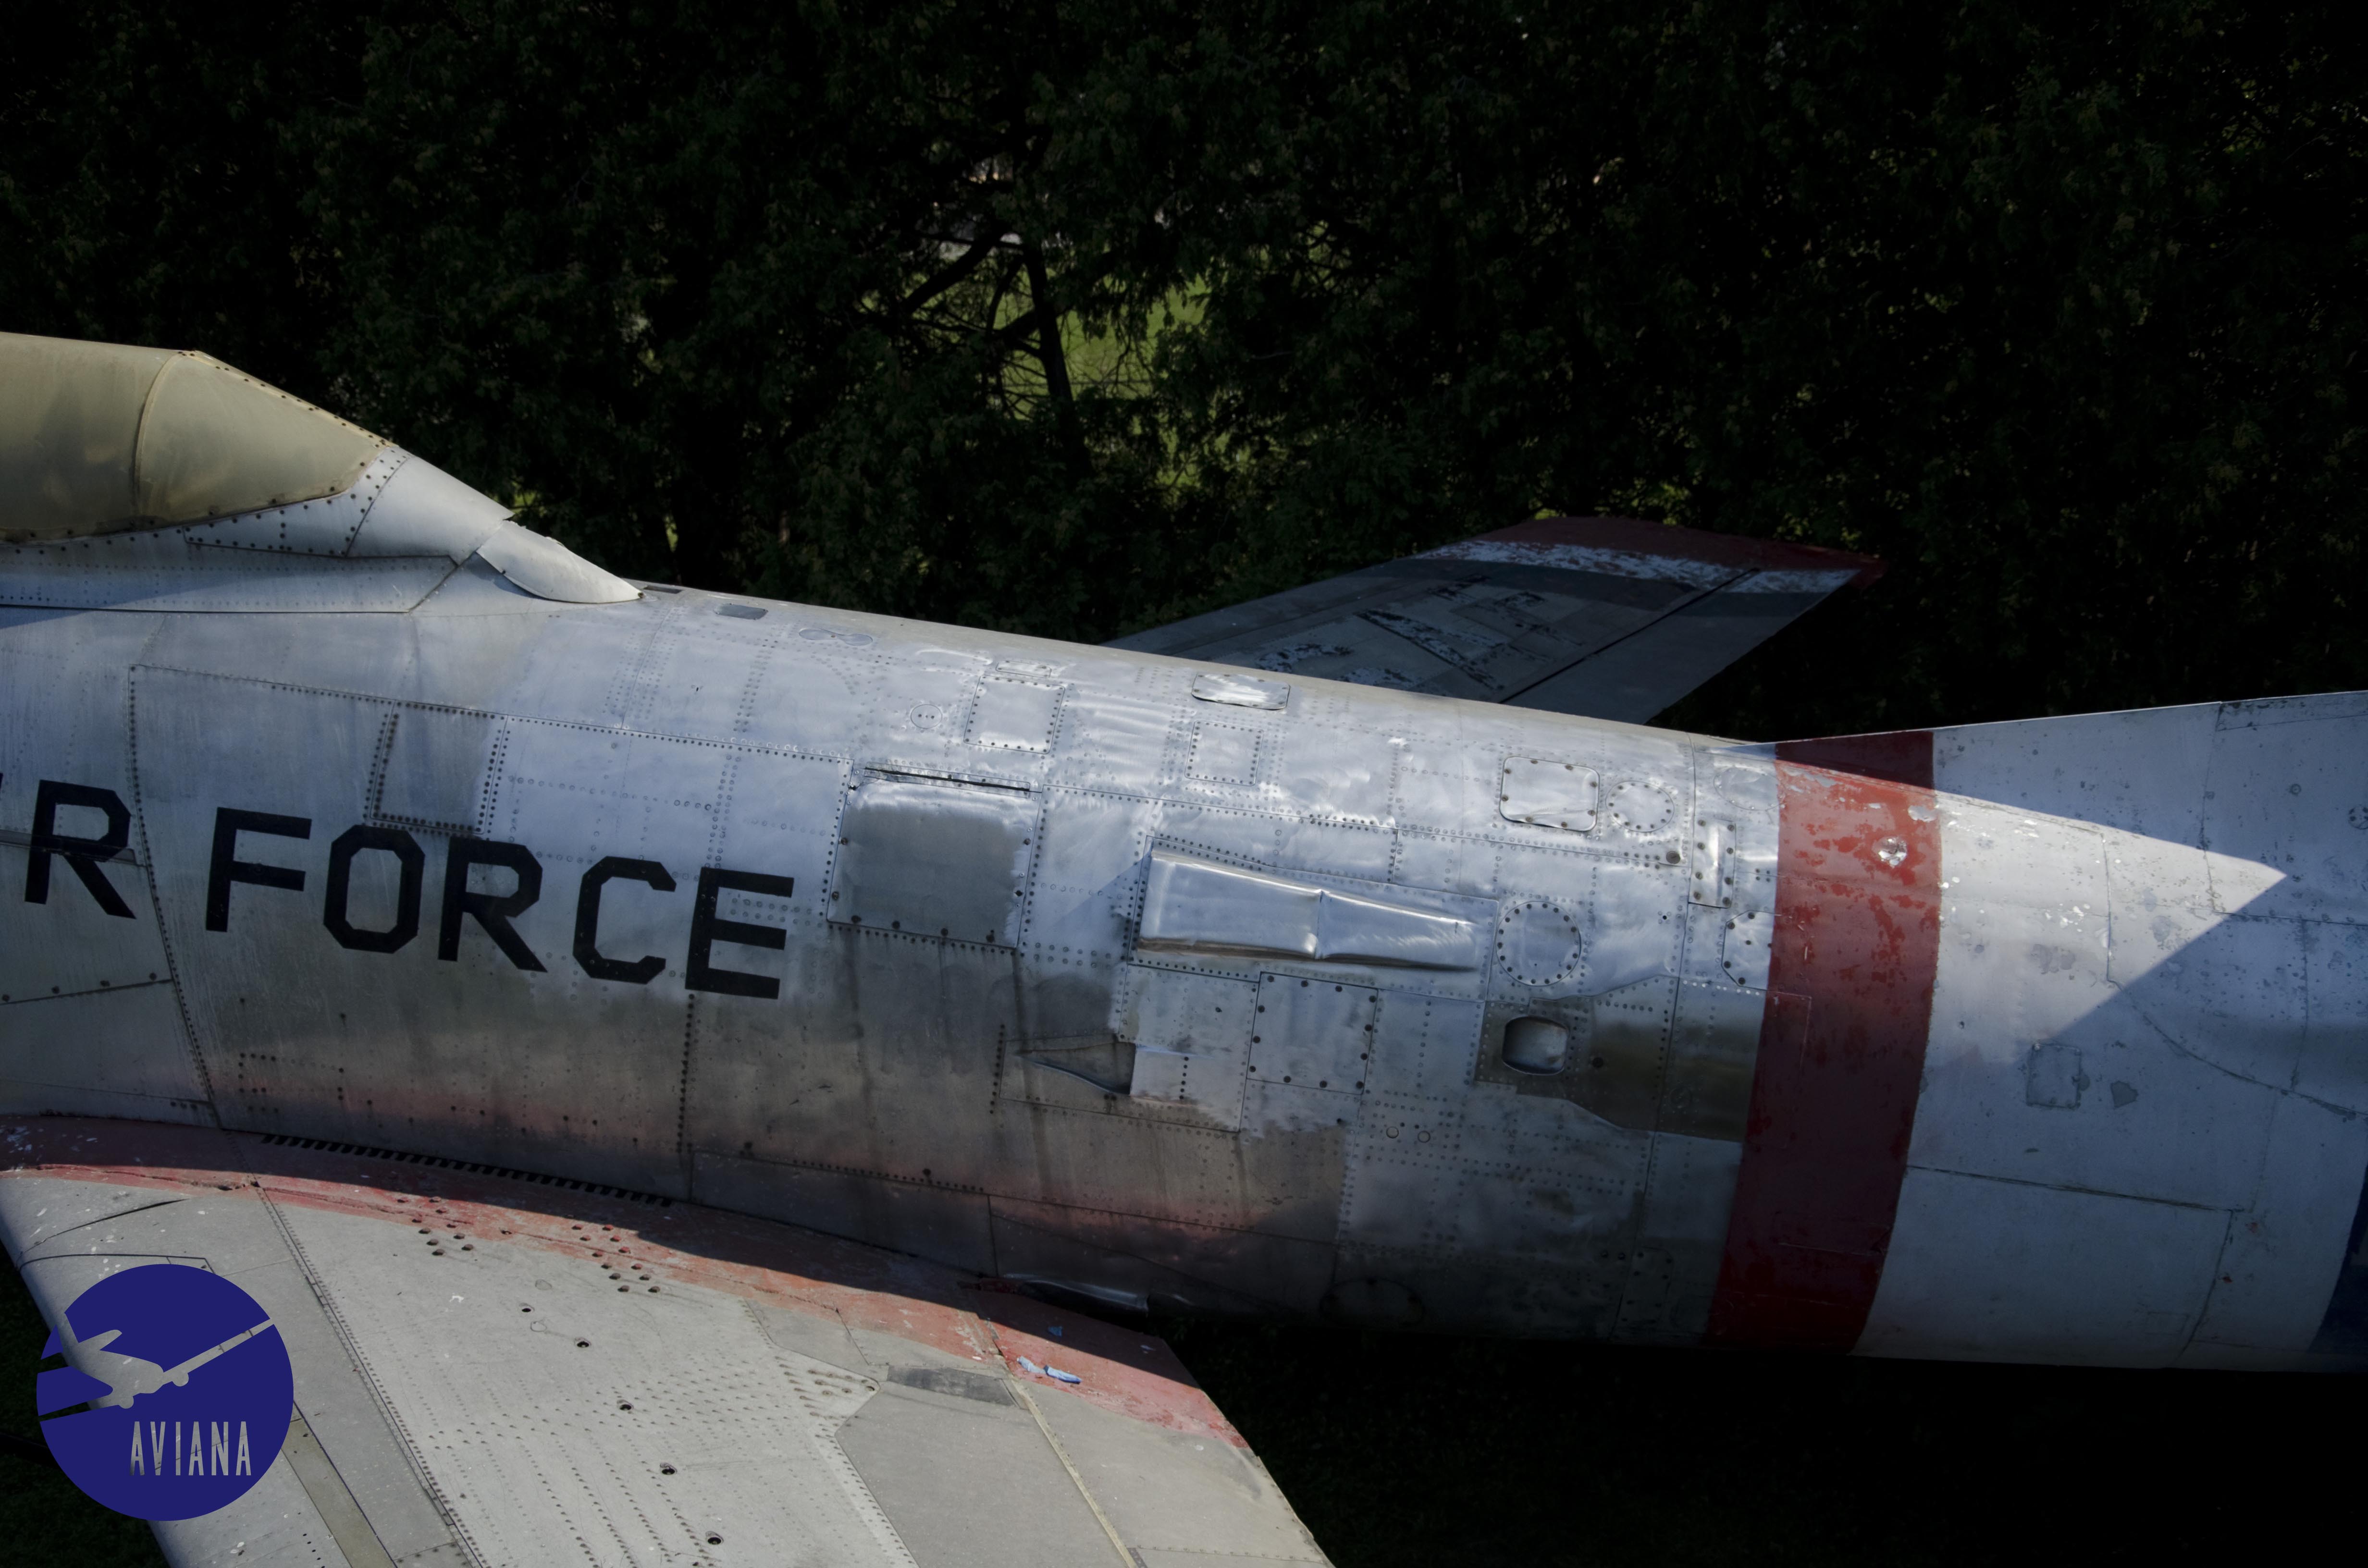
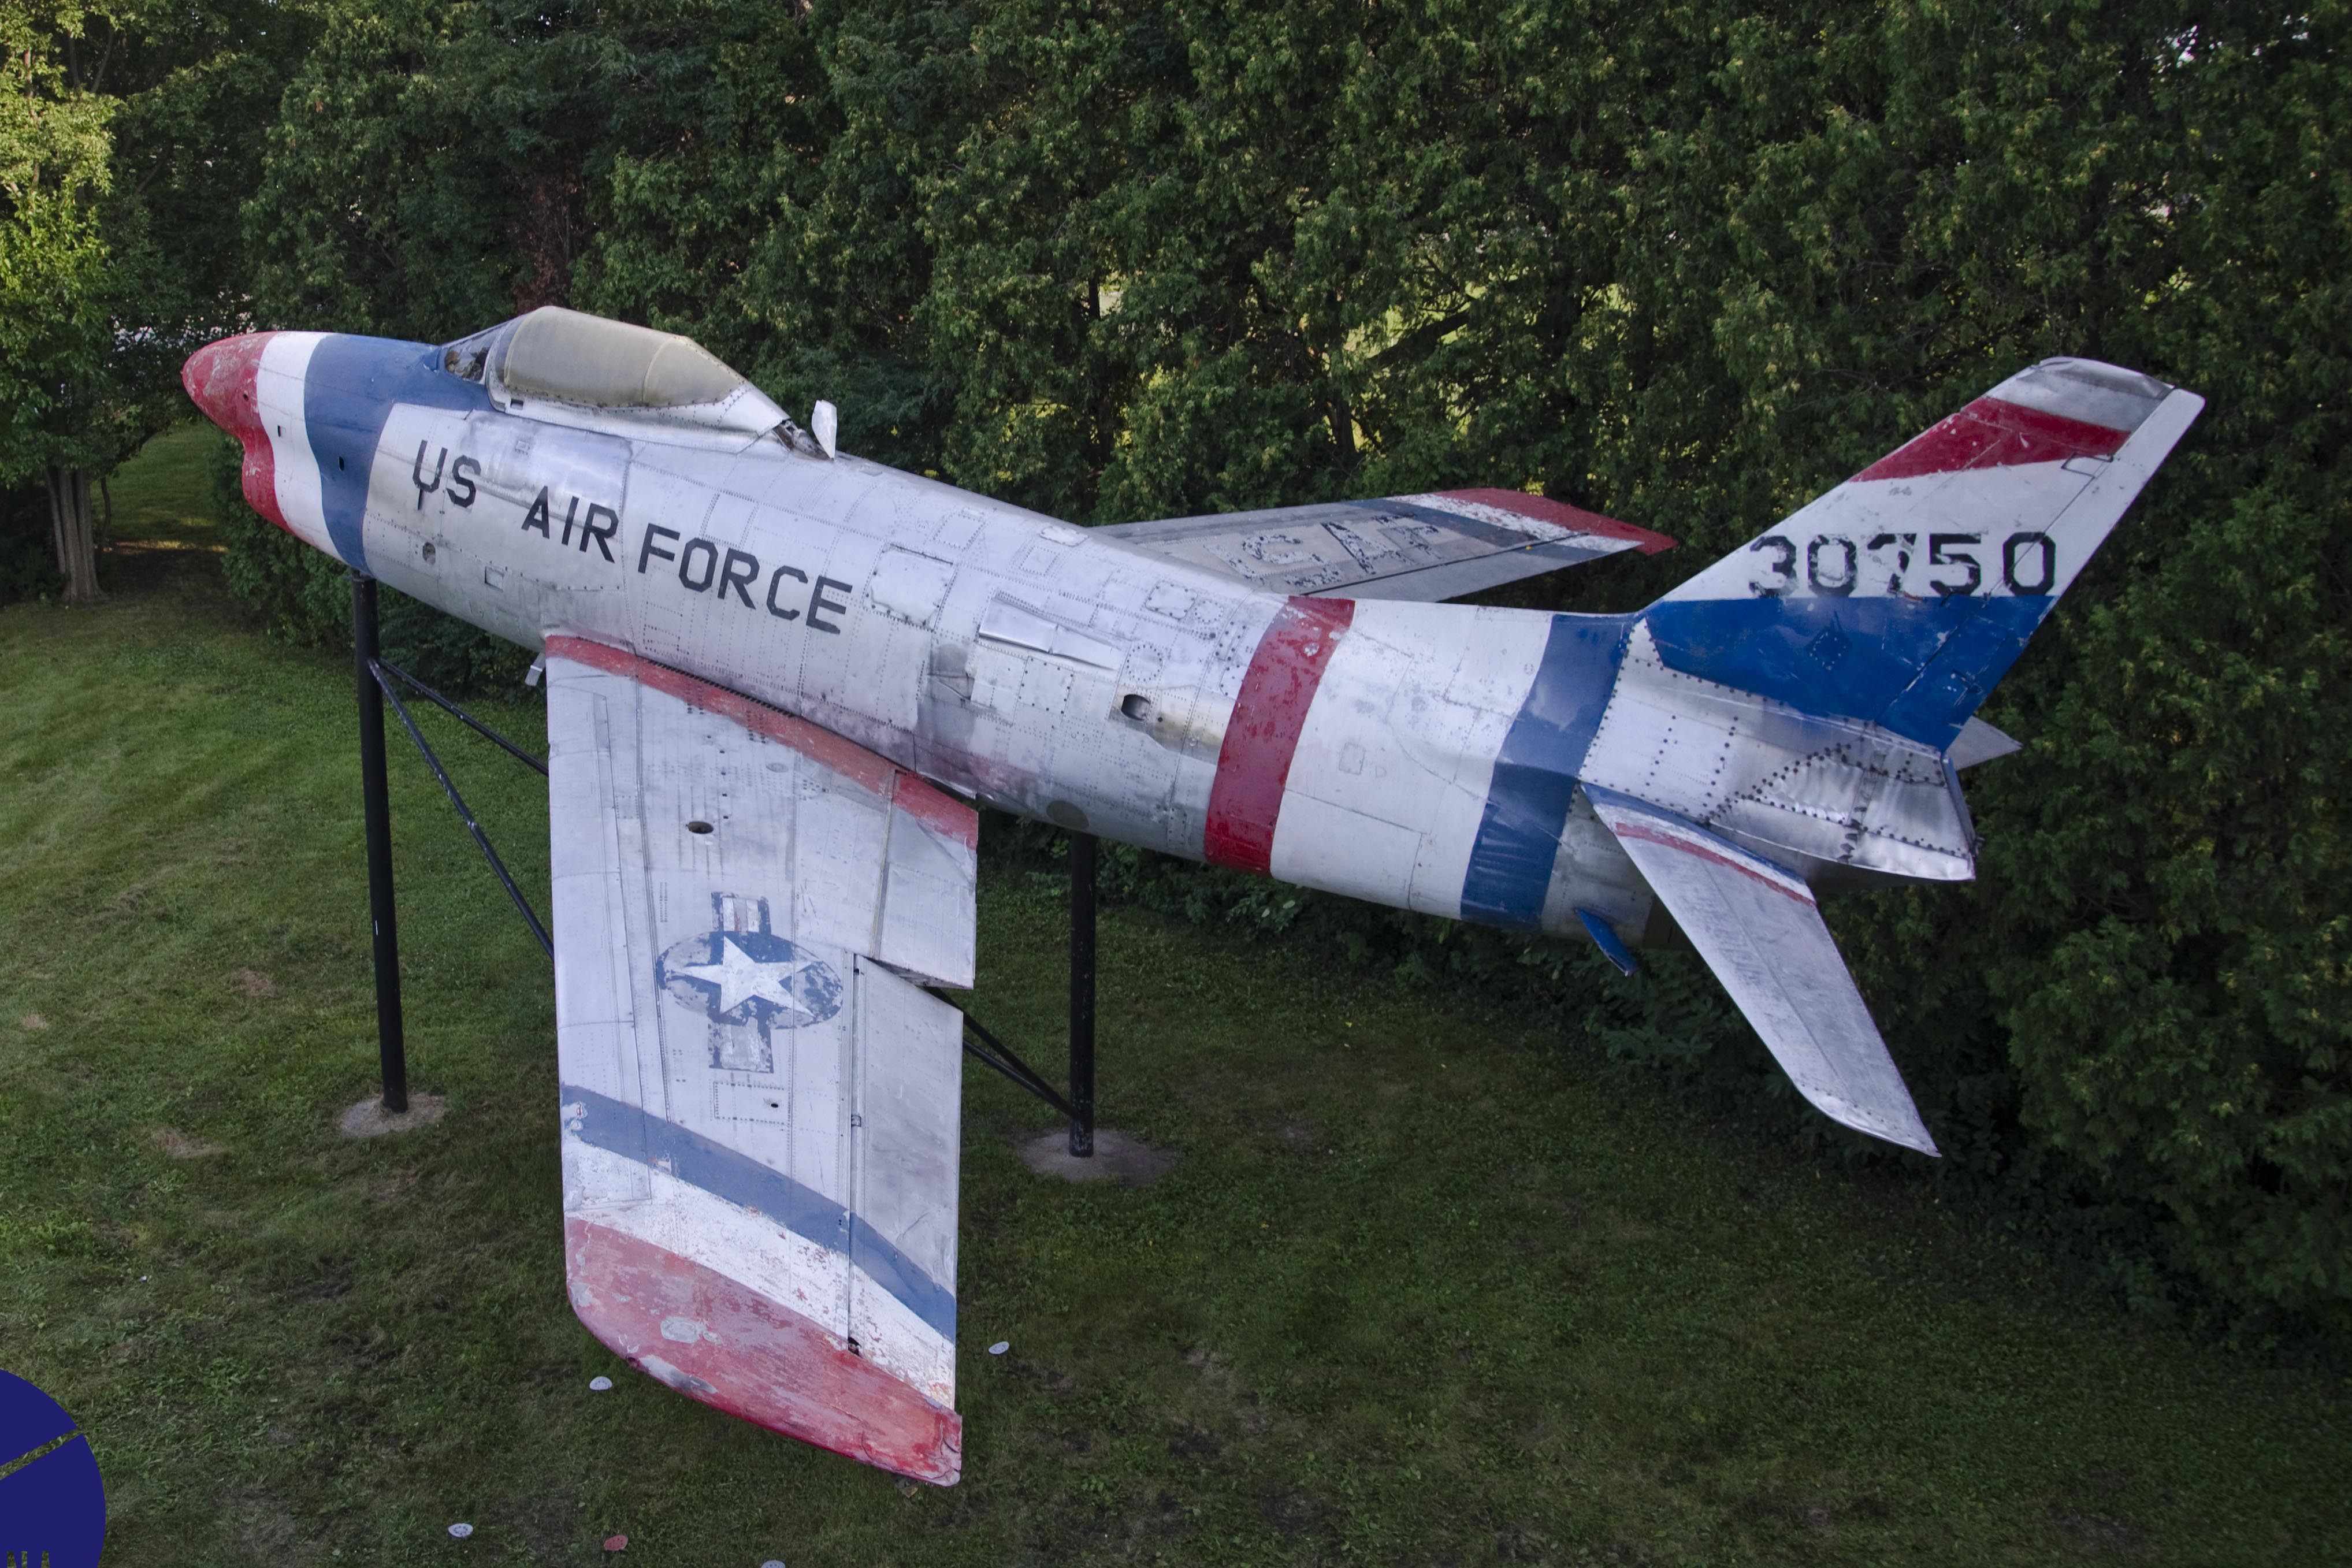
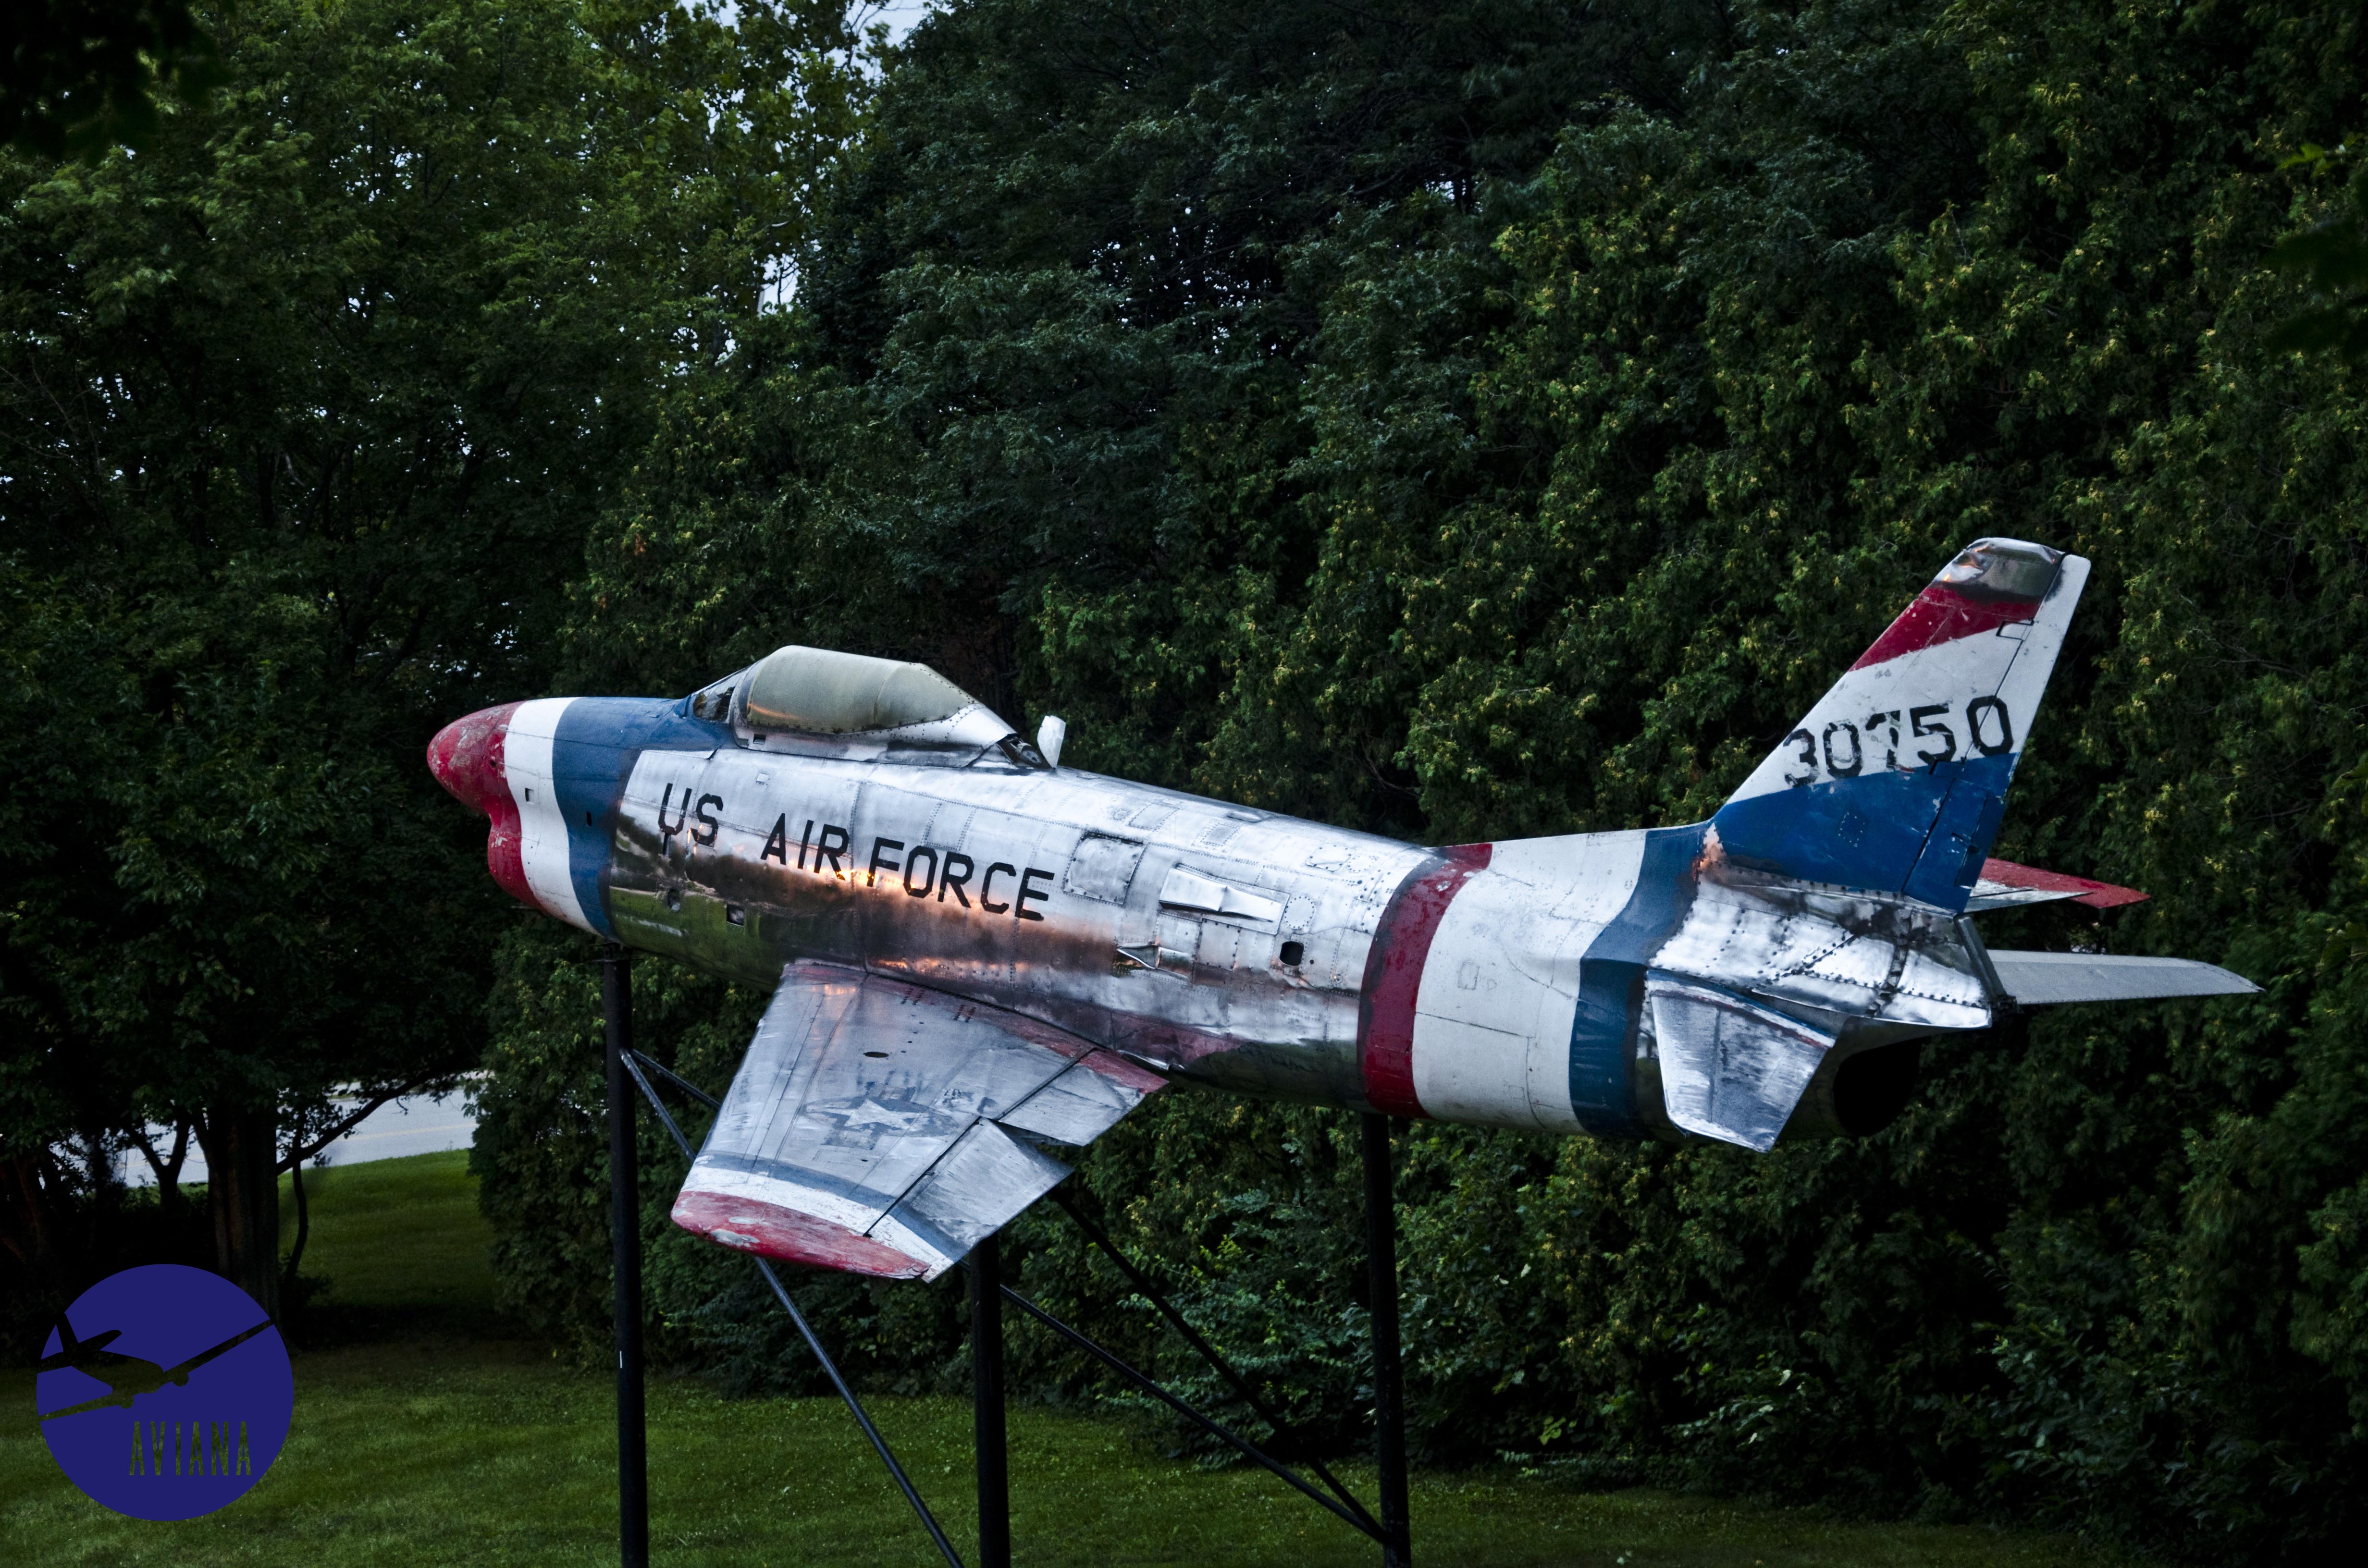
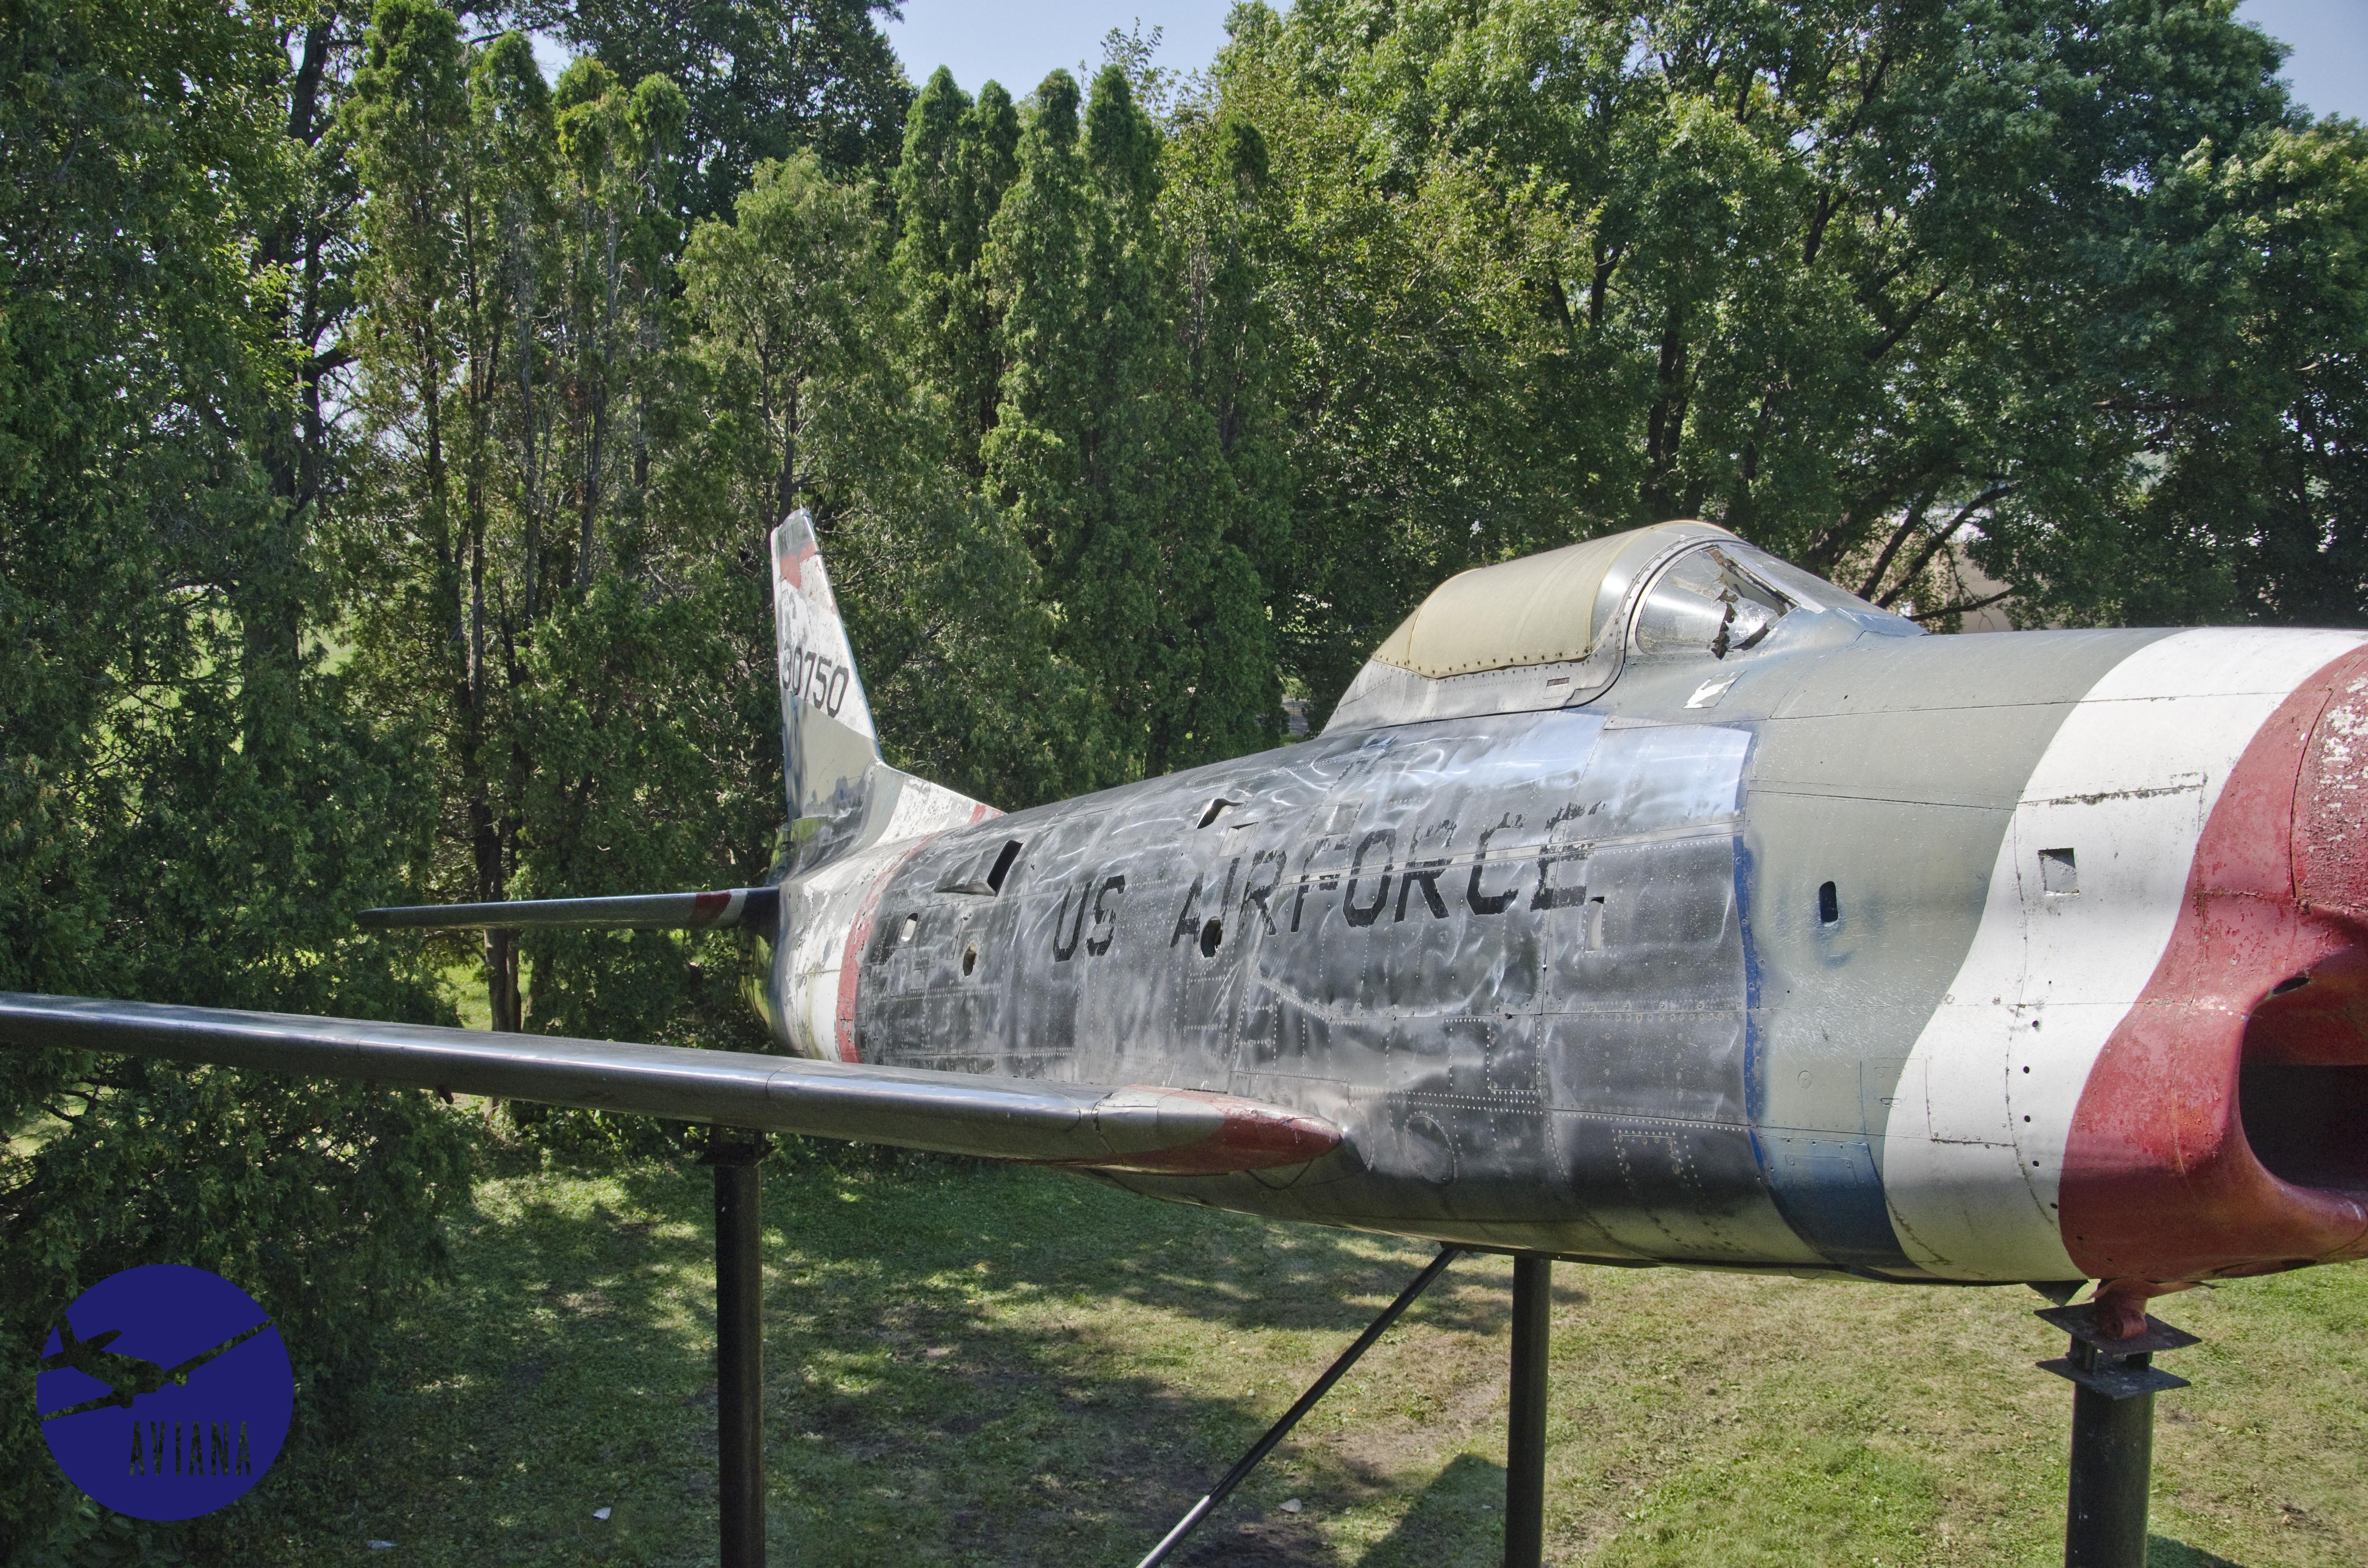
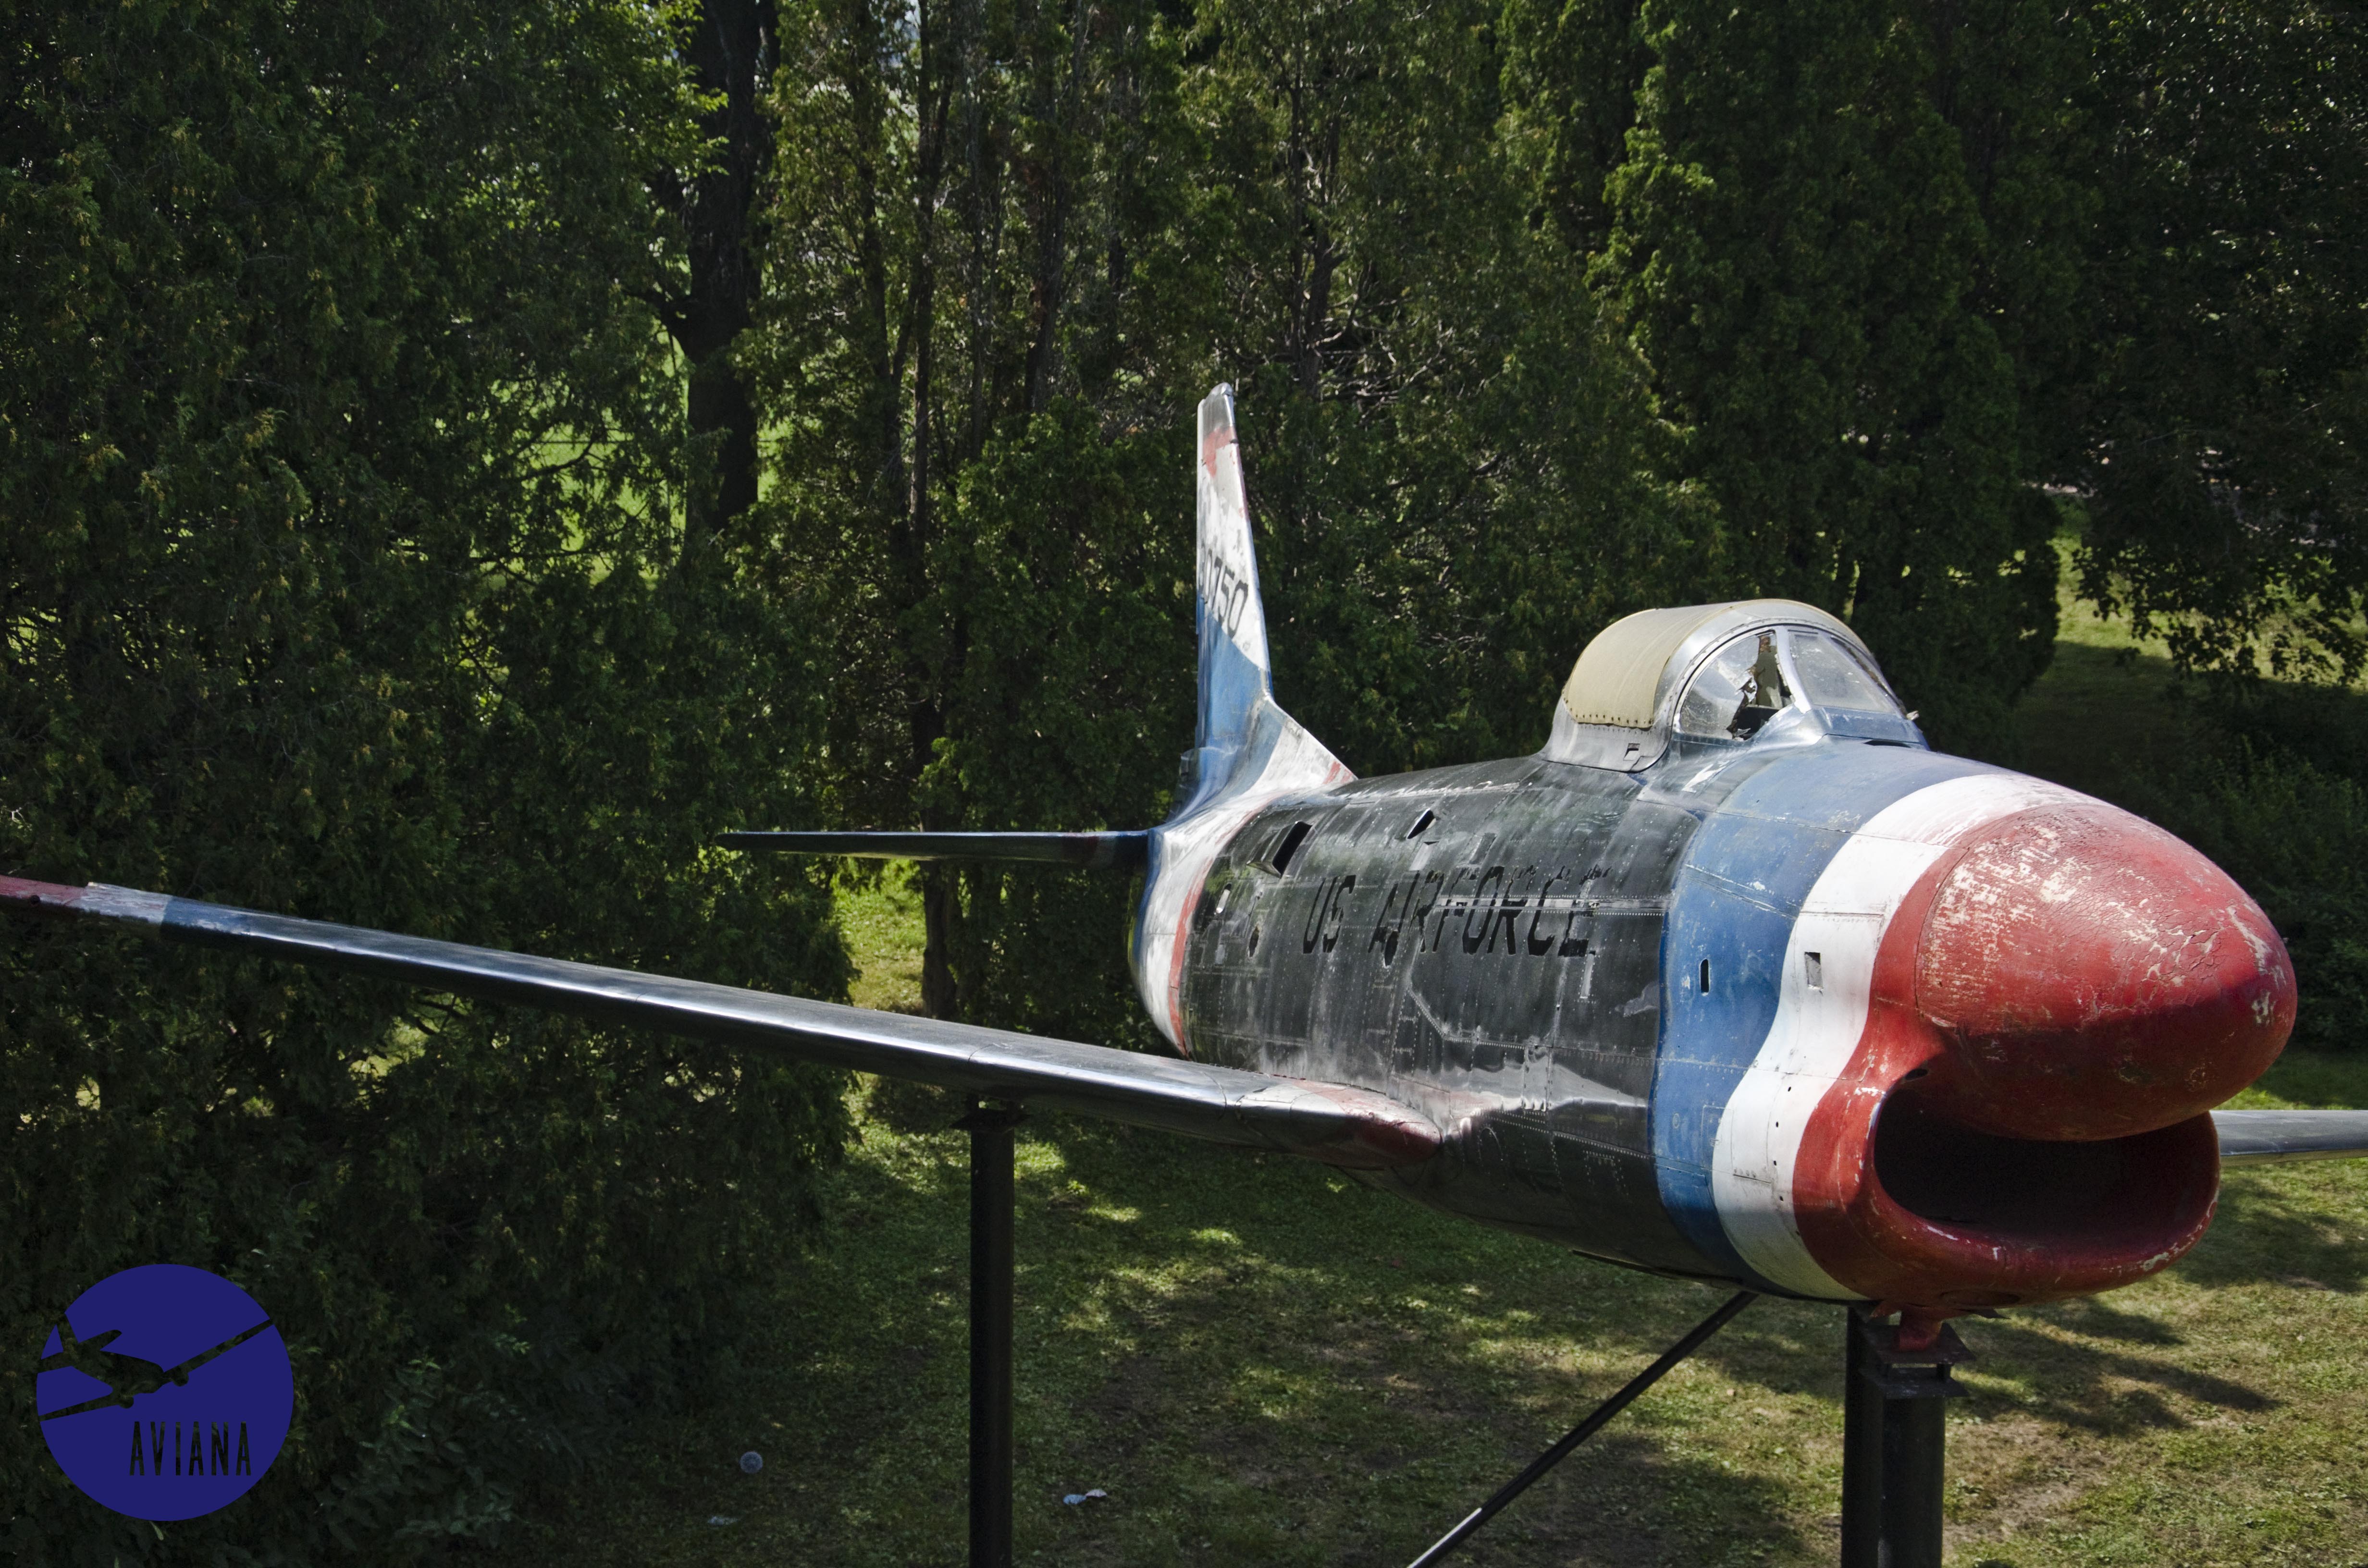
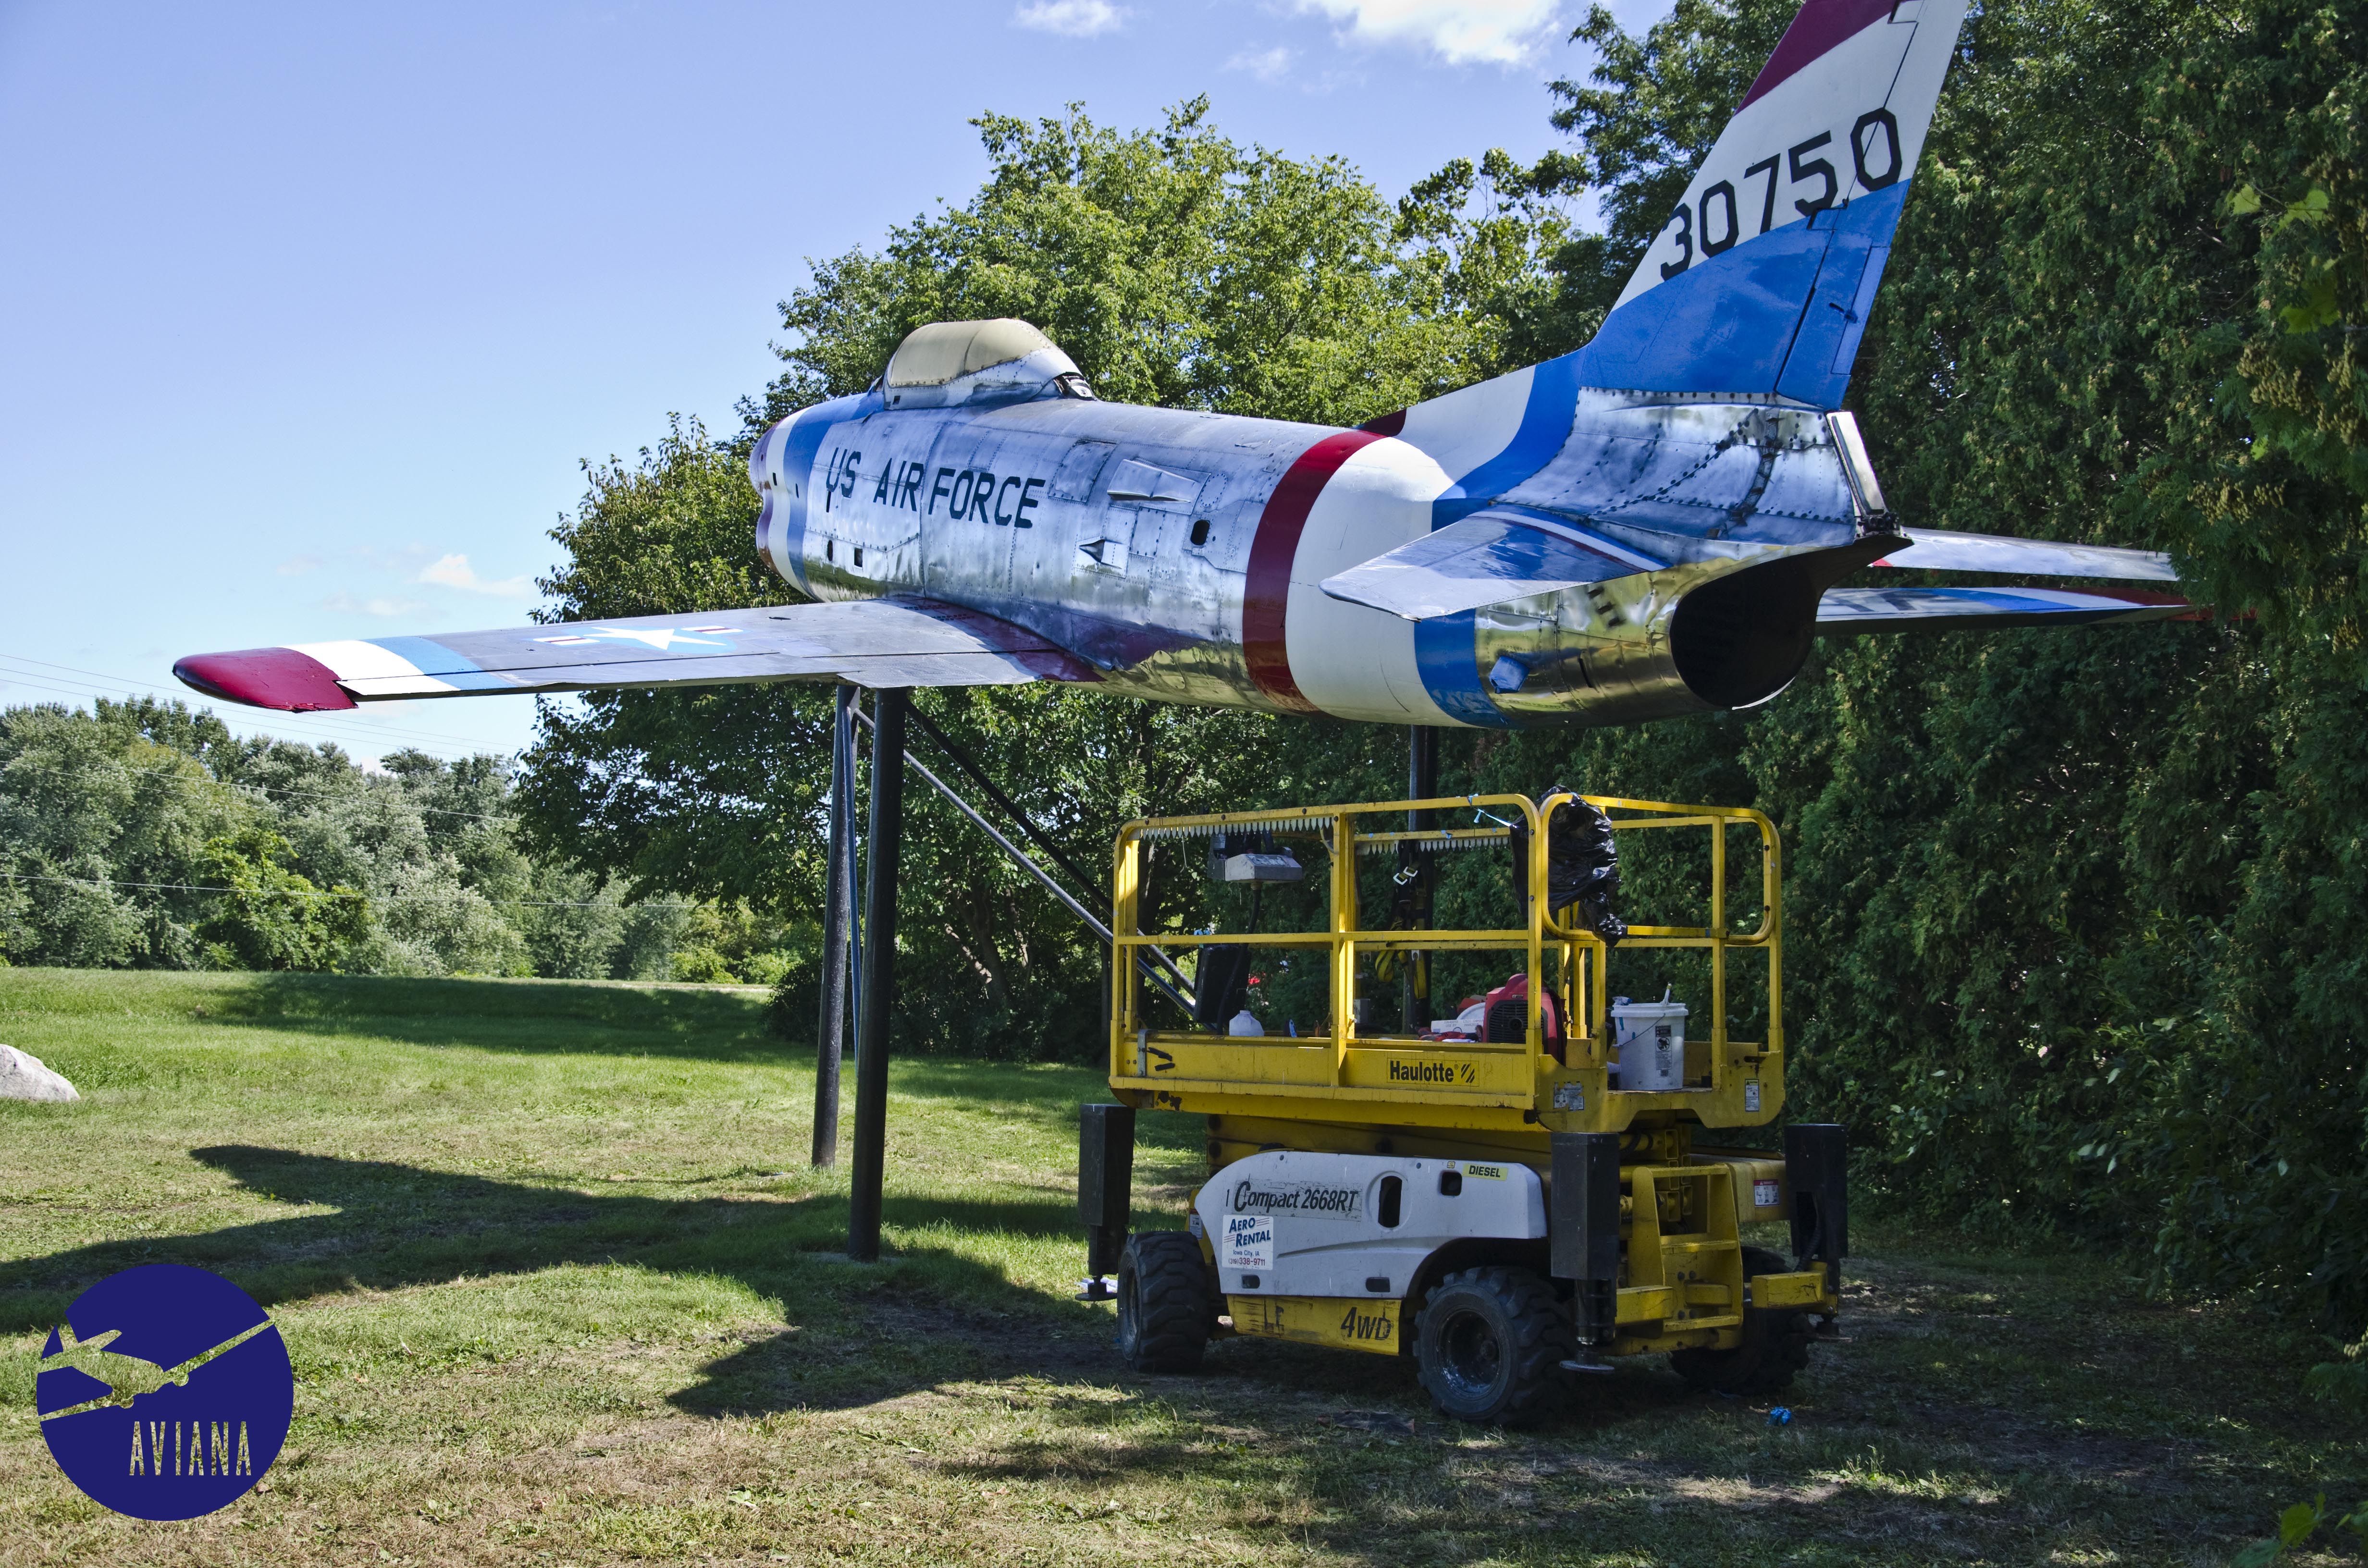
This F-86, perched in front of the Iowa City Airport, has a storied and tumultuous history. (as collected from passerby’s anecdotes)

It was flown in on its own power, and set on display while the engine, avionics, and anything else of value was removed. It was mounted at the Iowa City airport entrance, positioned low enough where people could, with a little help, climb onto the wing or crawl through the empty exhaust. Naturally, this also enabled some nefarious actors to vandalize the plane and damage the canopy. (keep in mind the anti-war movement was strong in Iowa City).
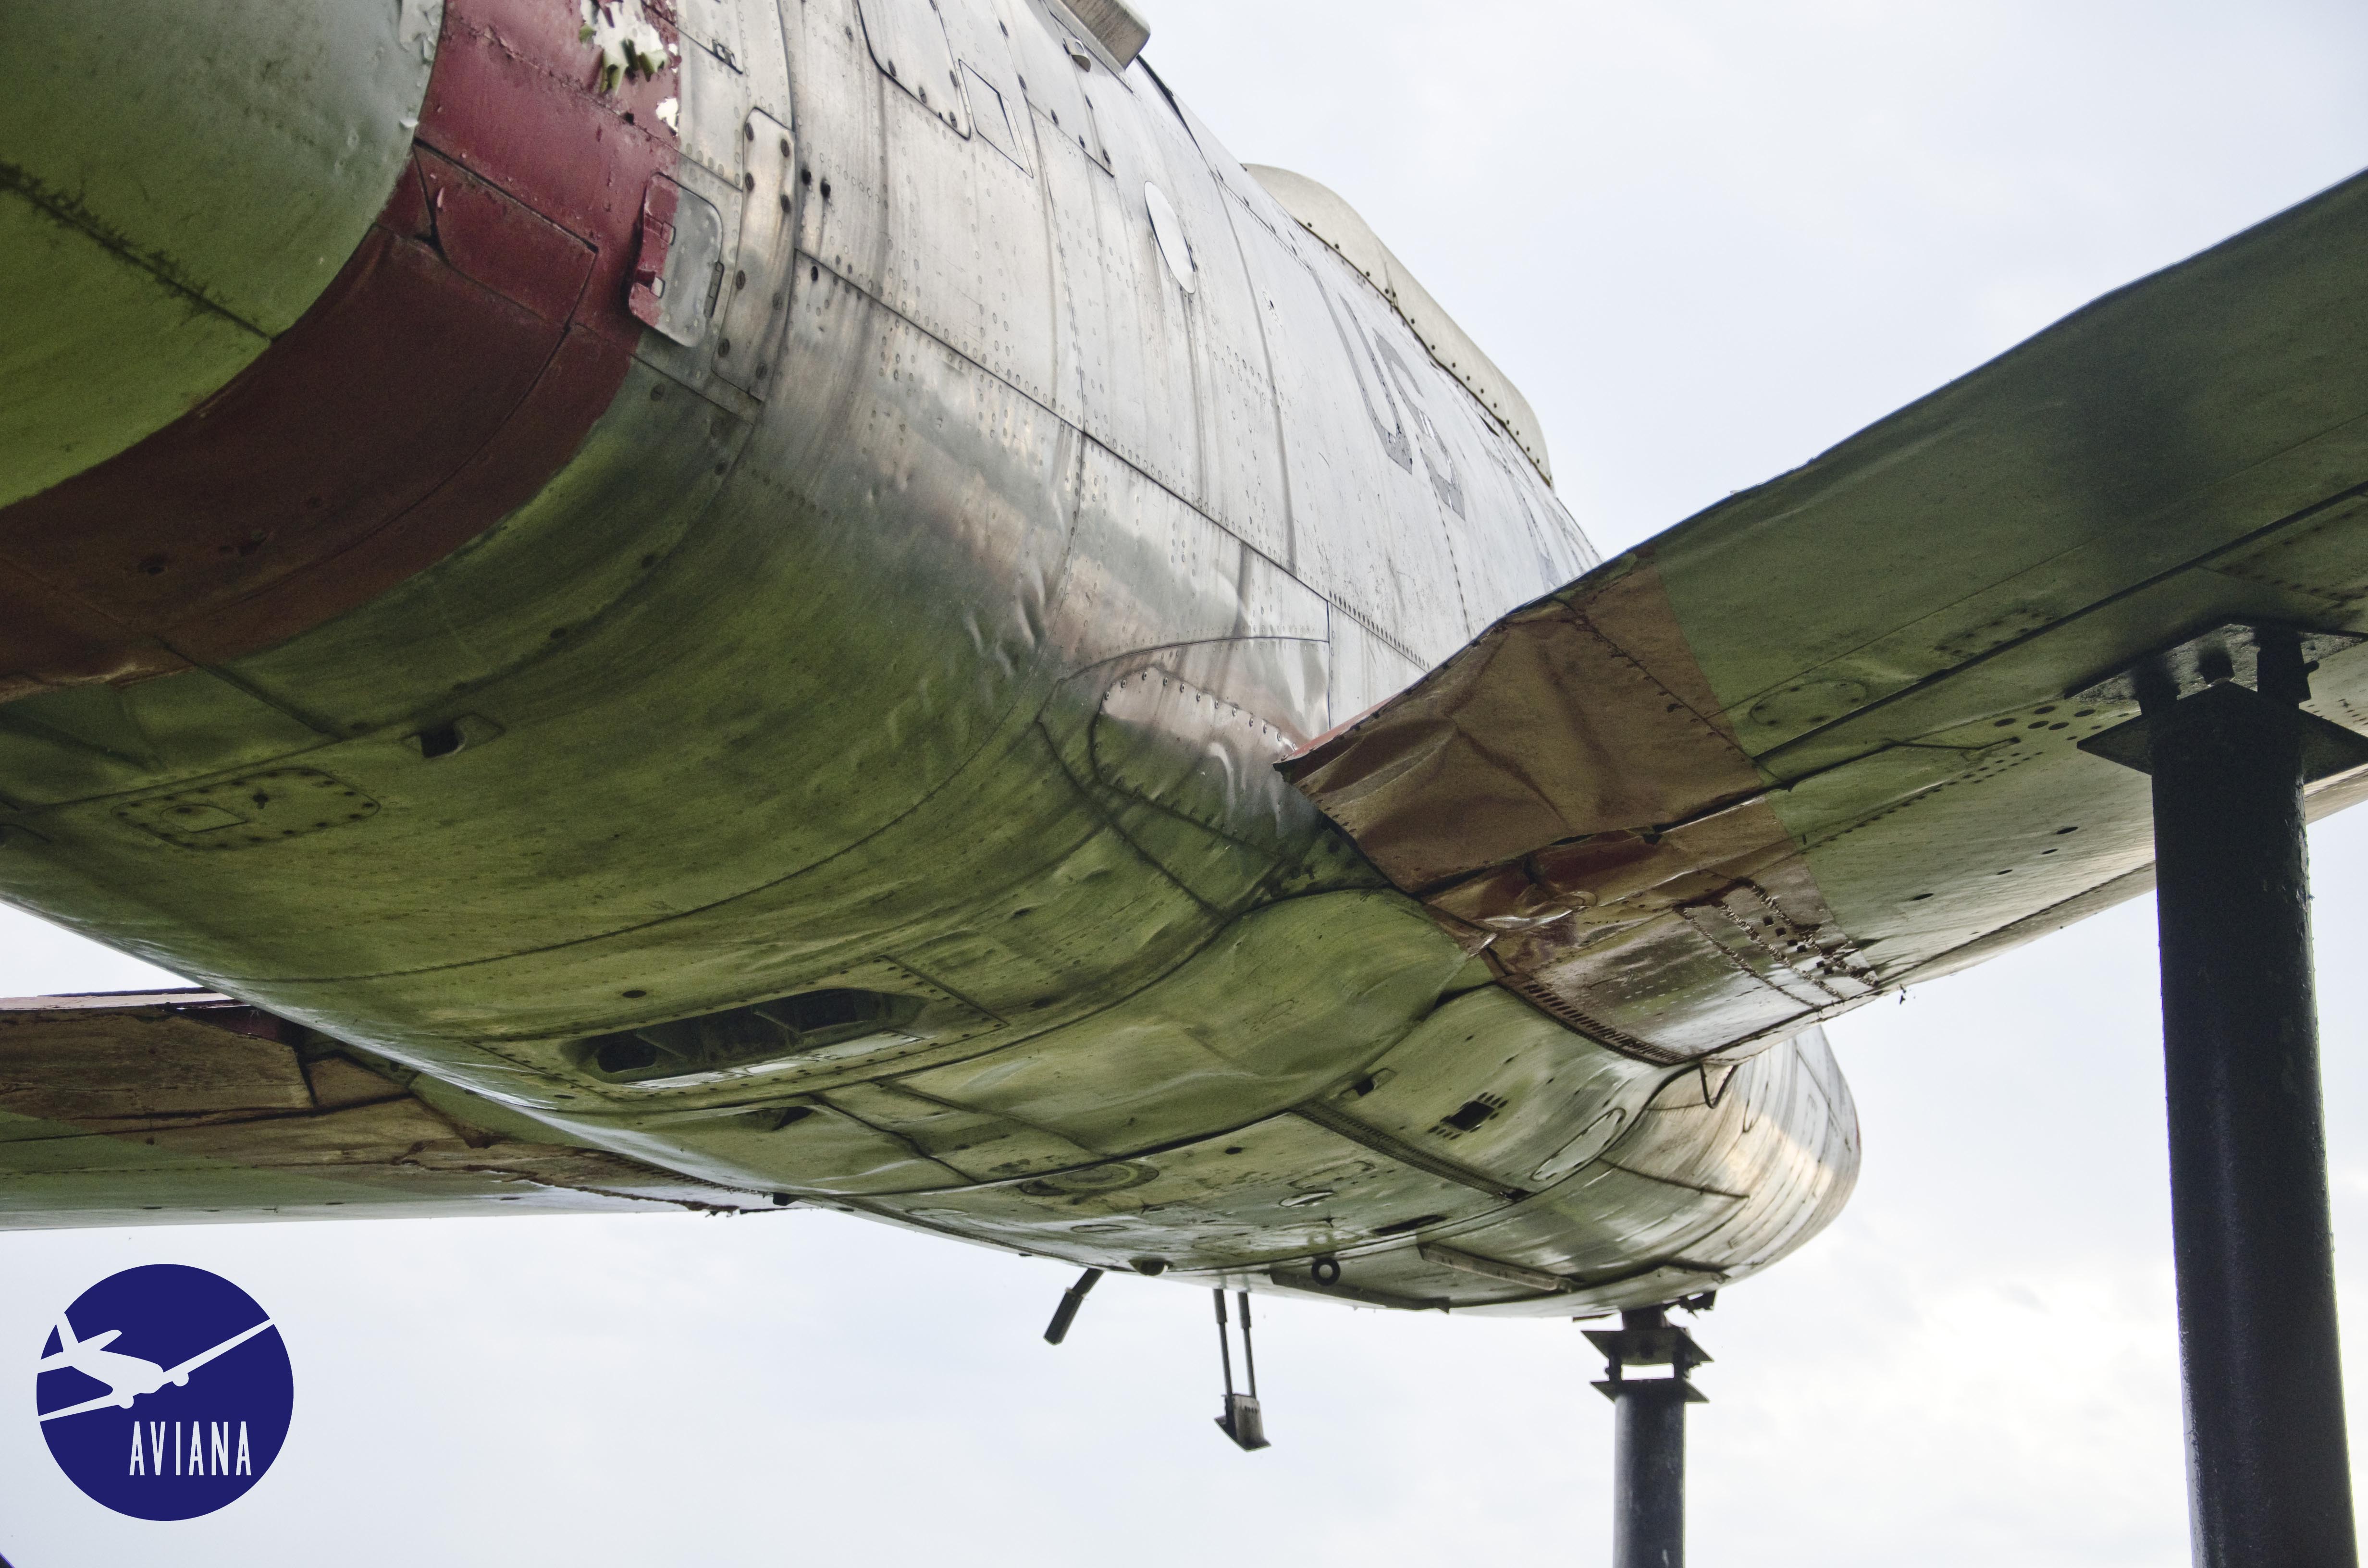
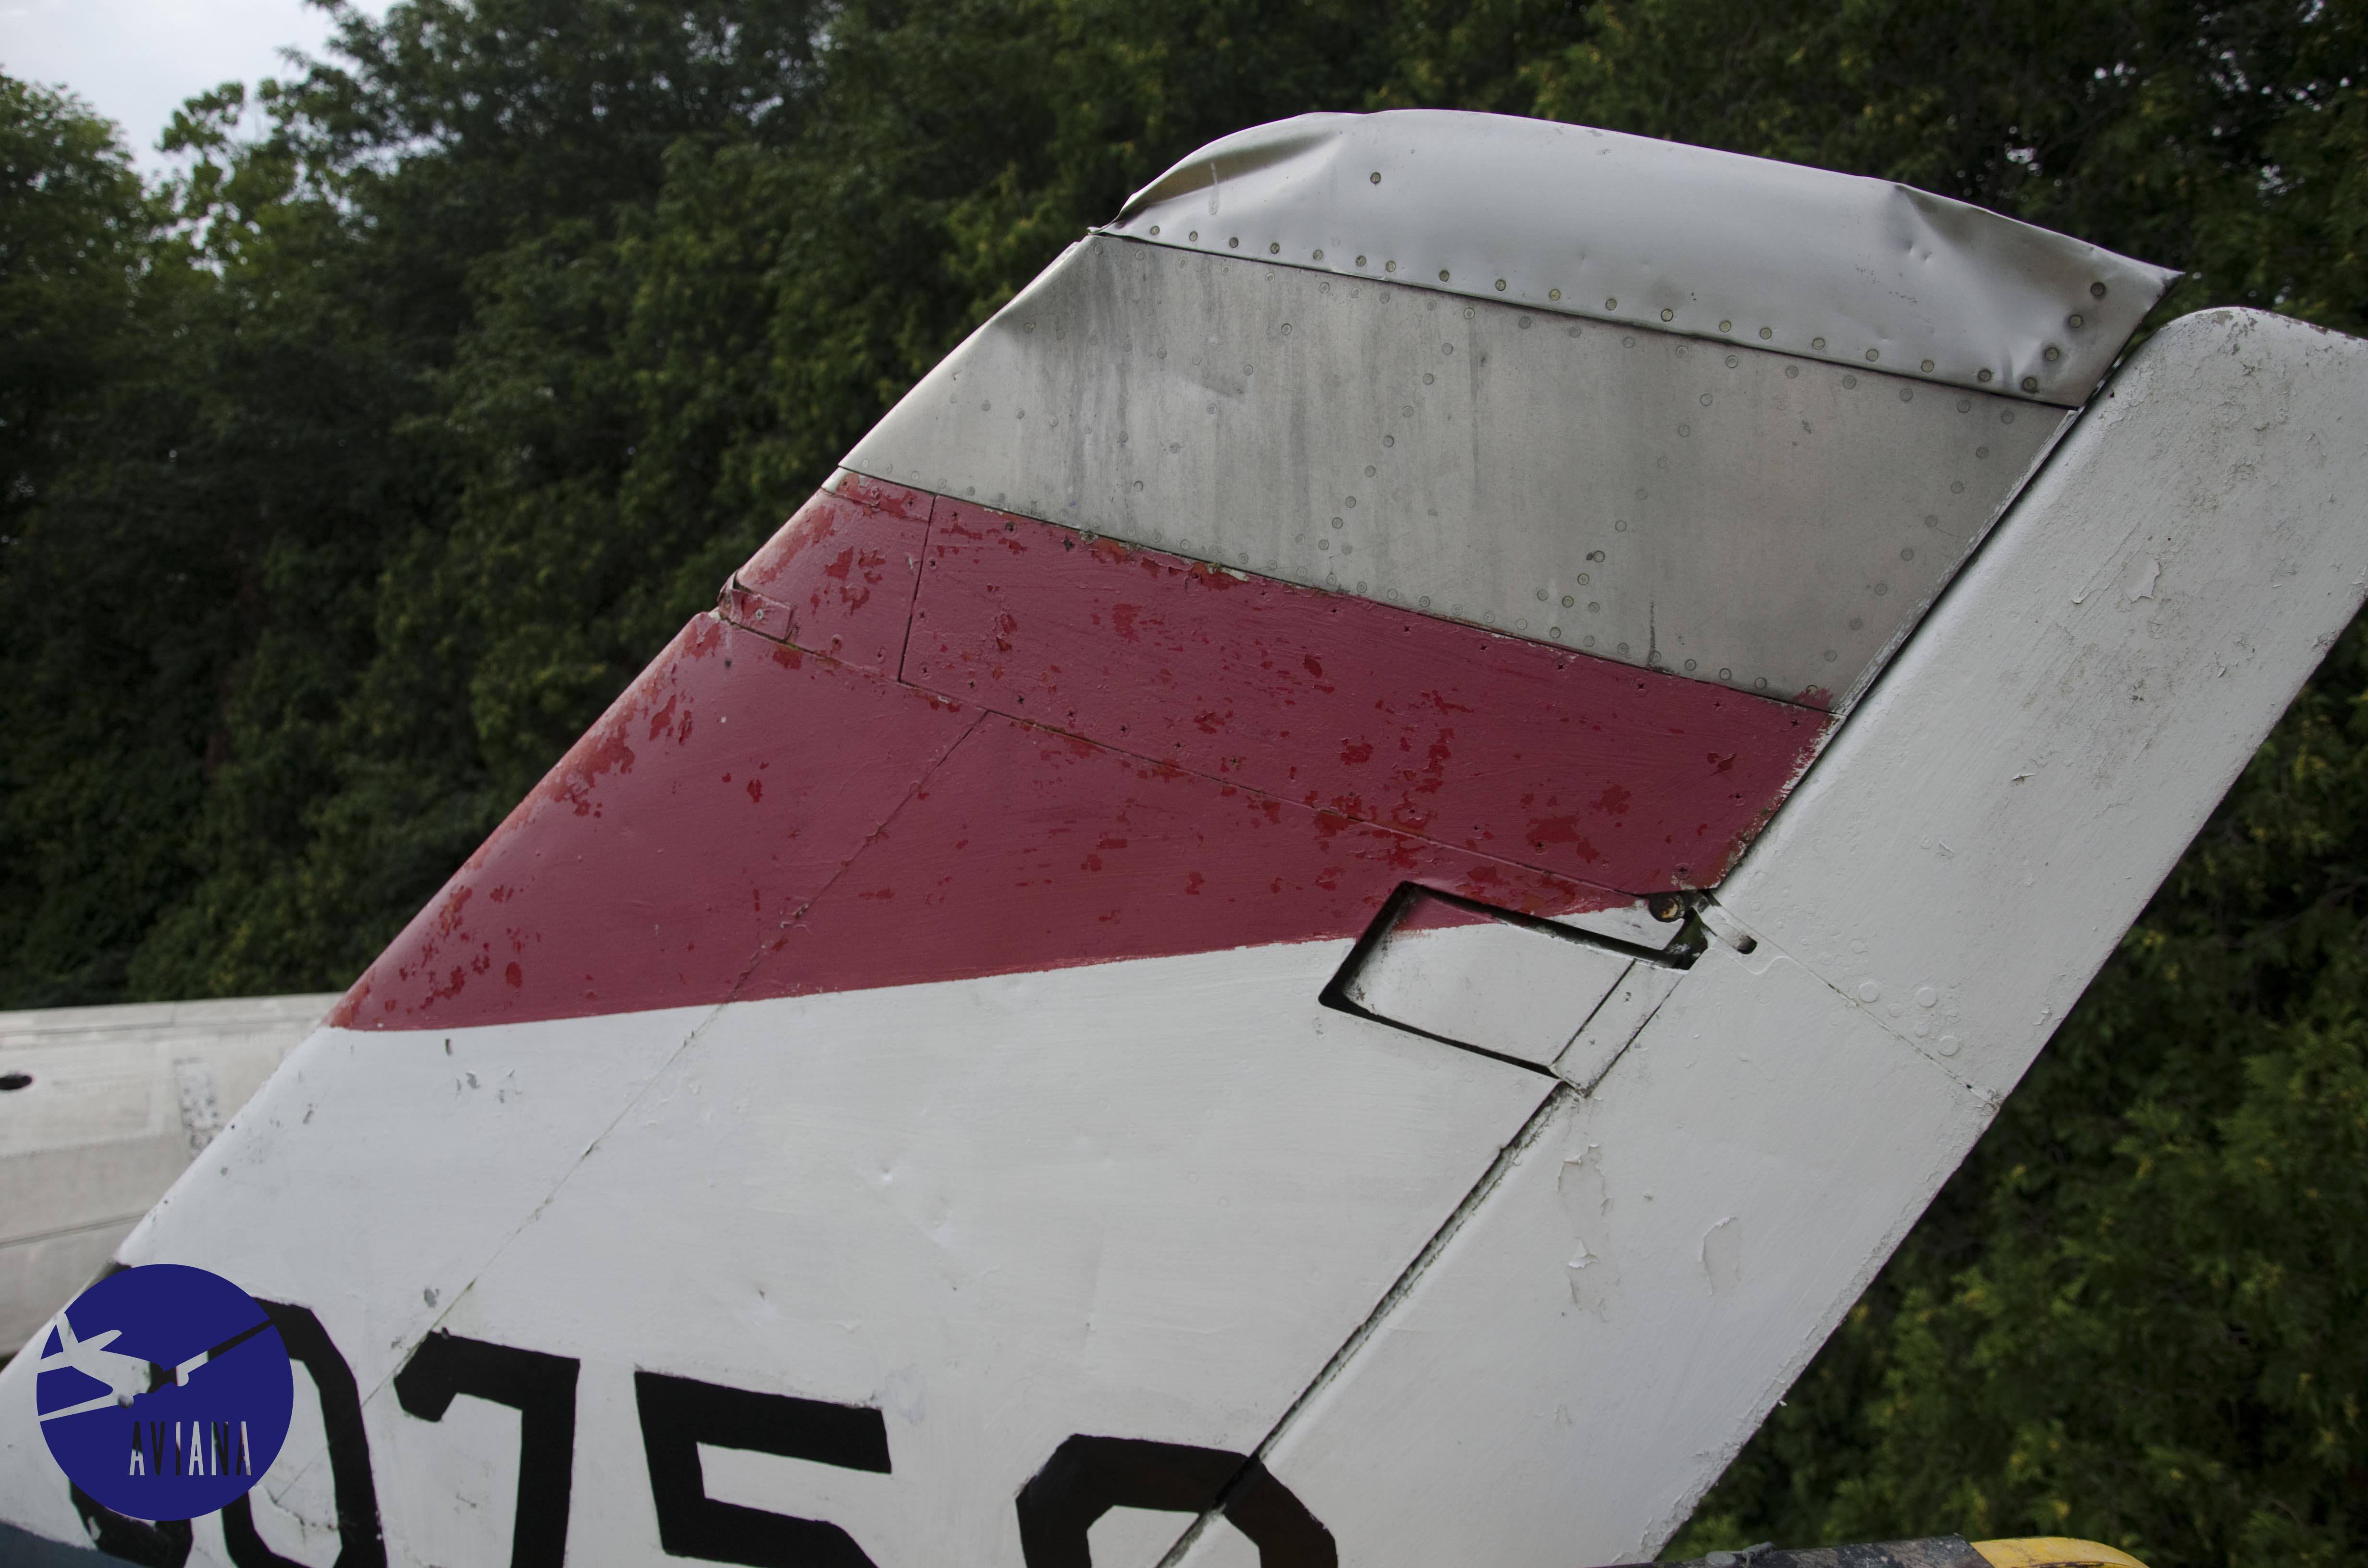
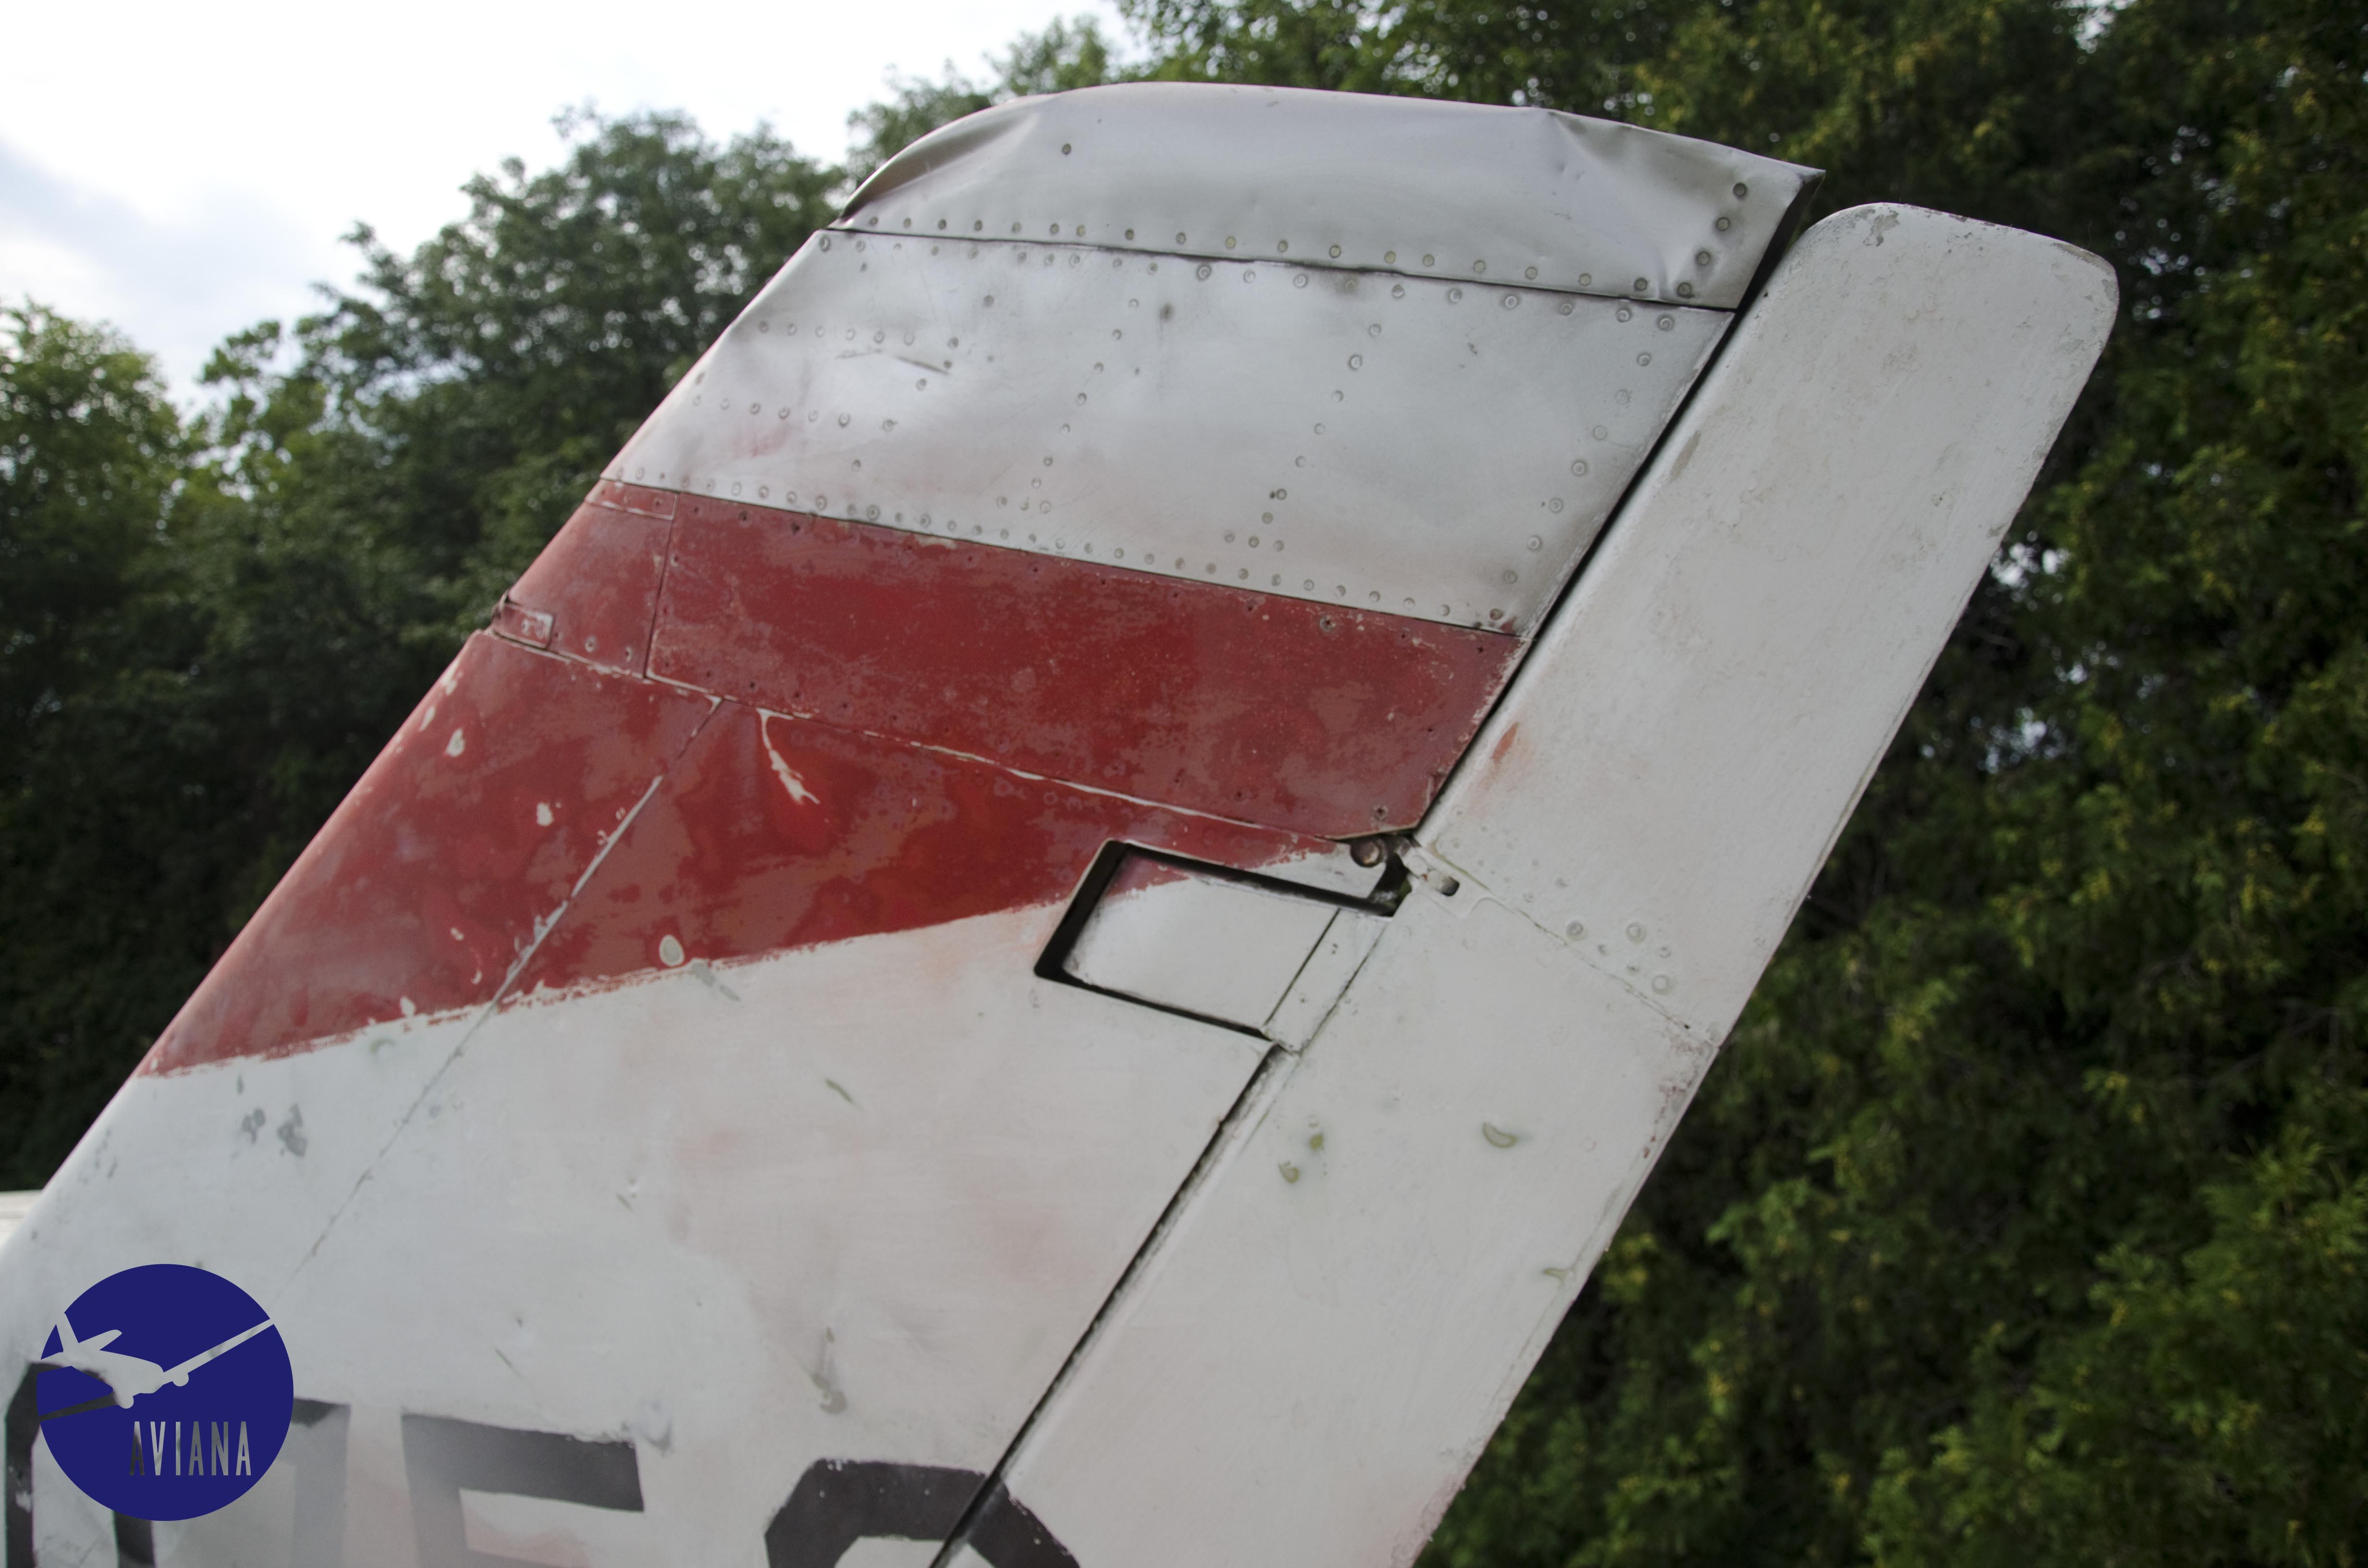
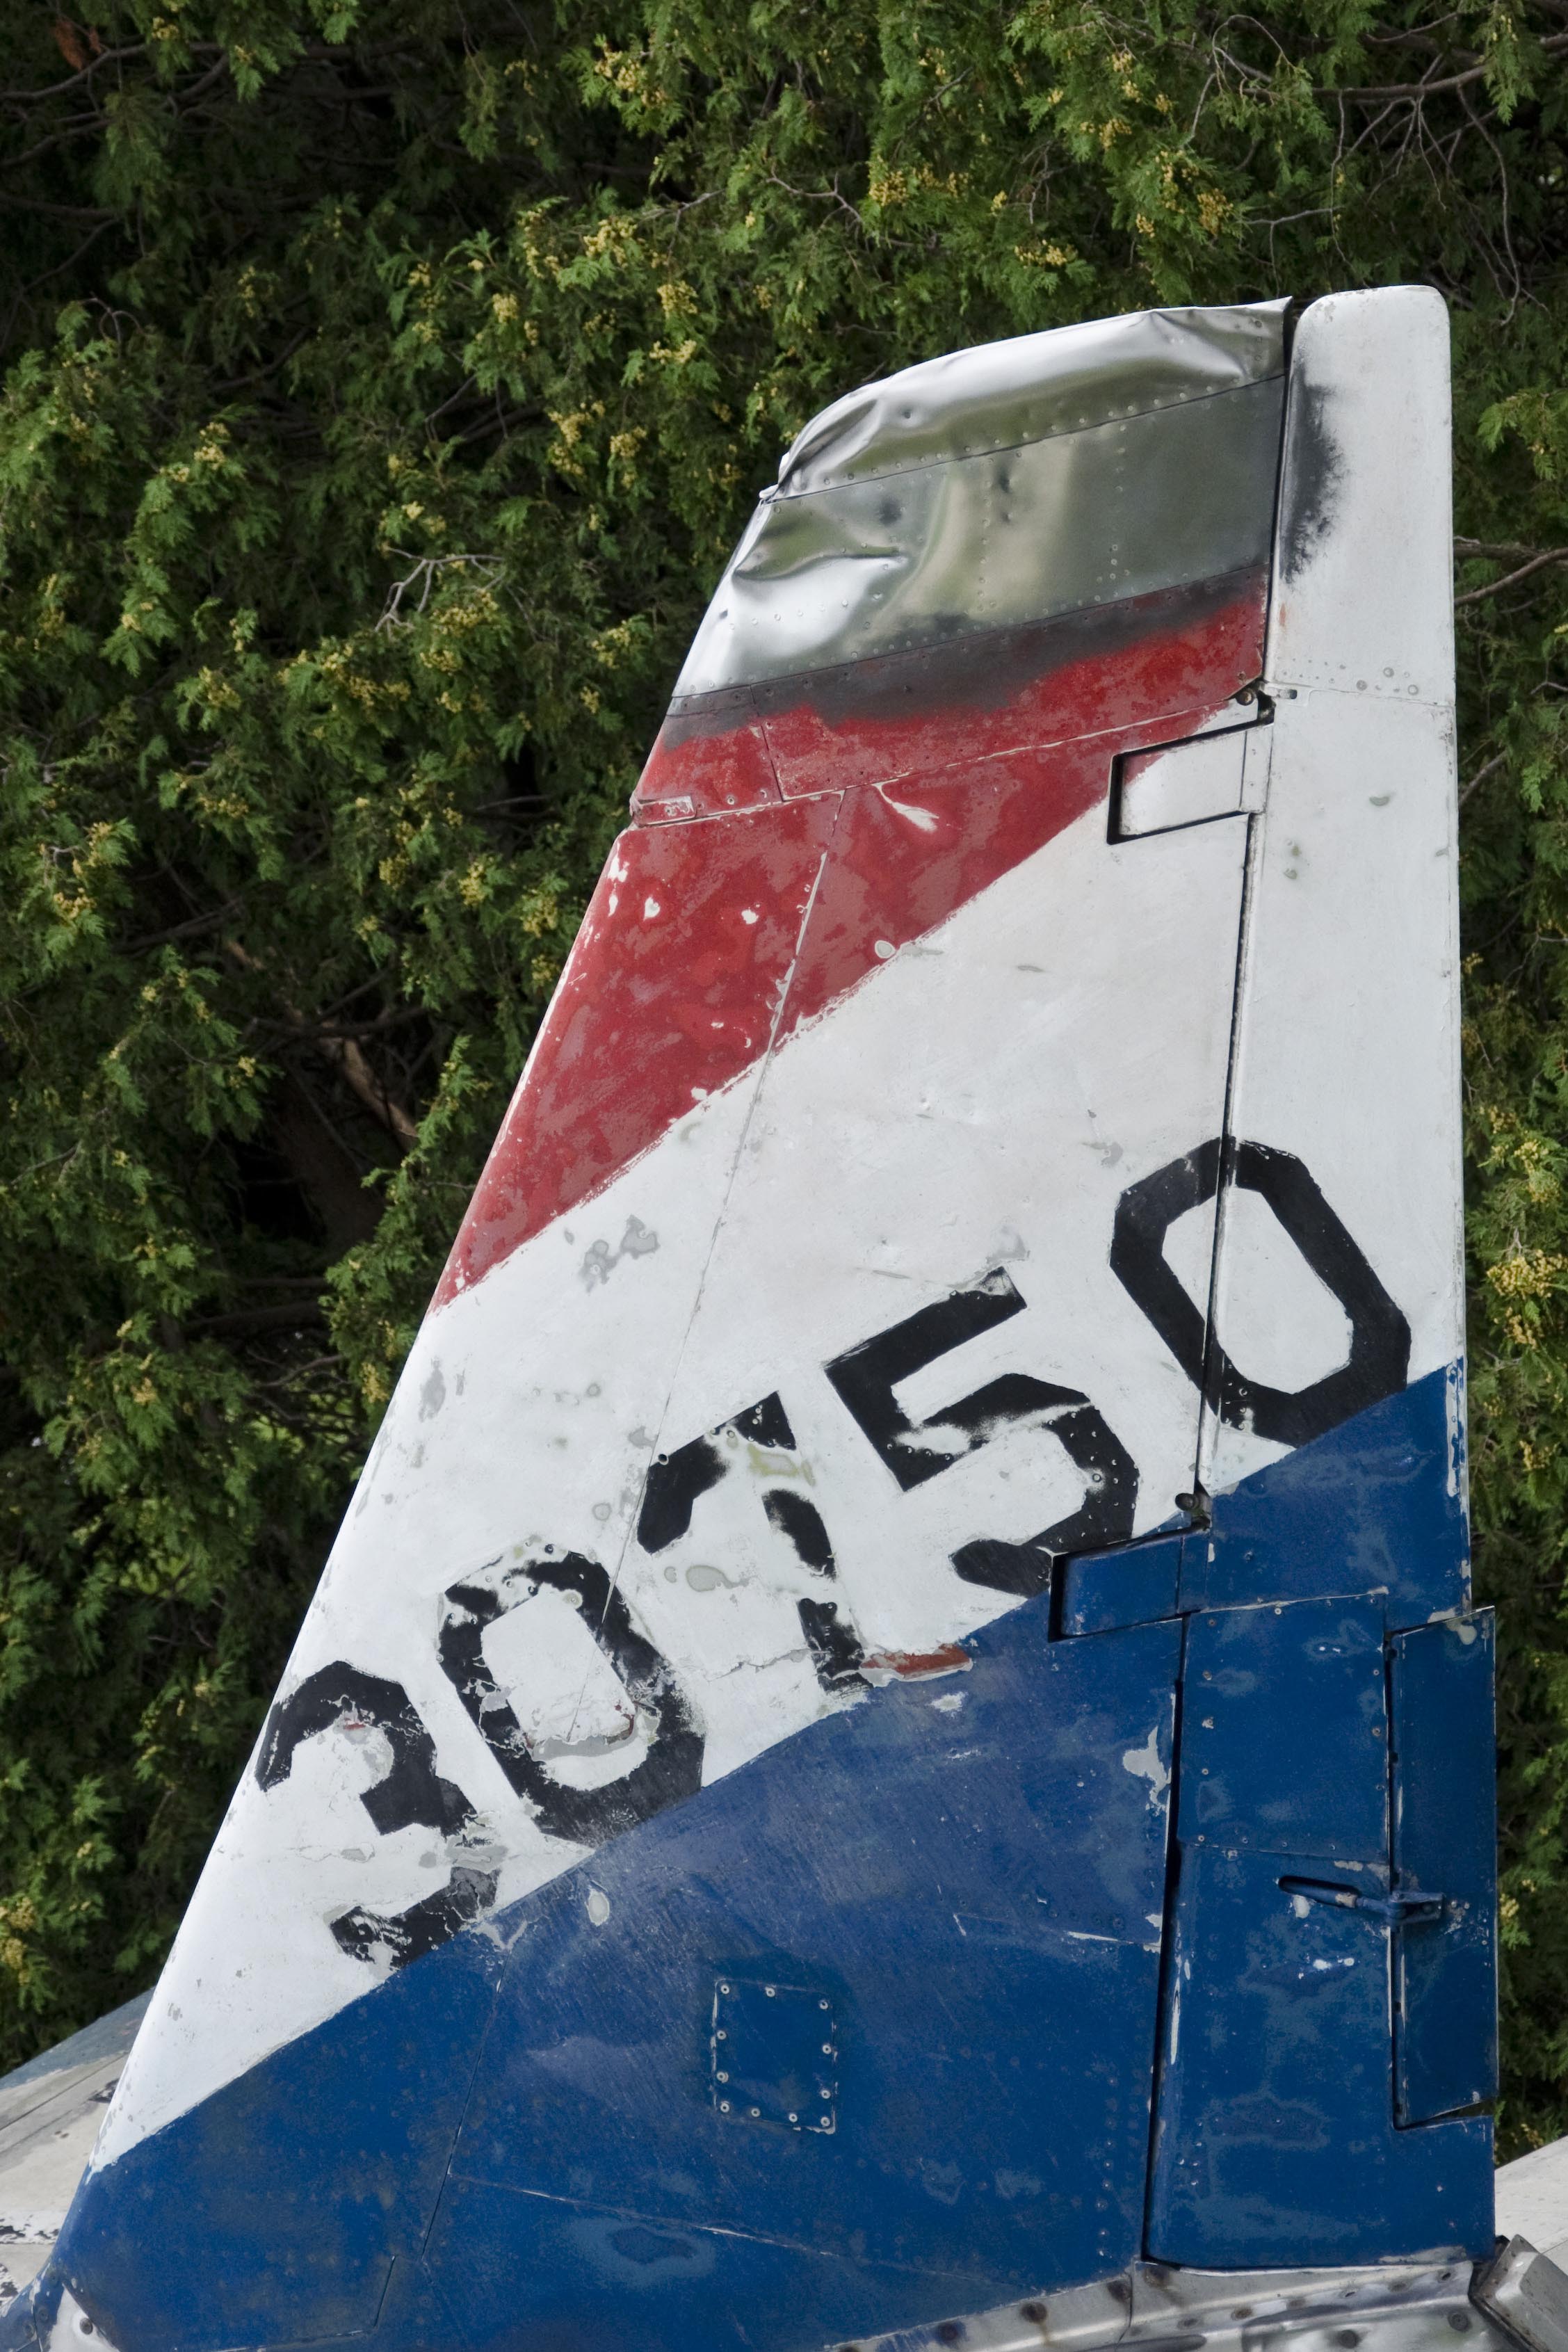
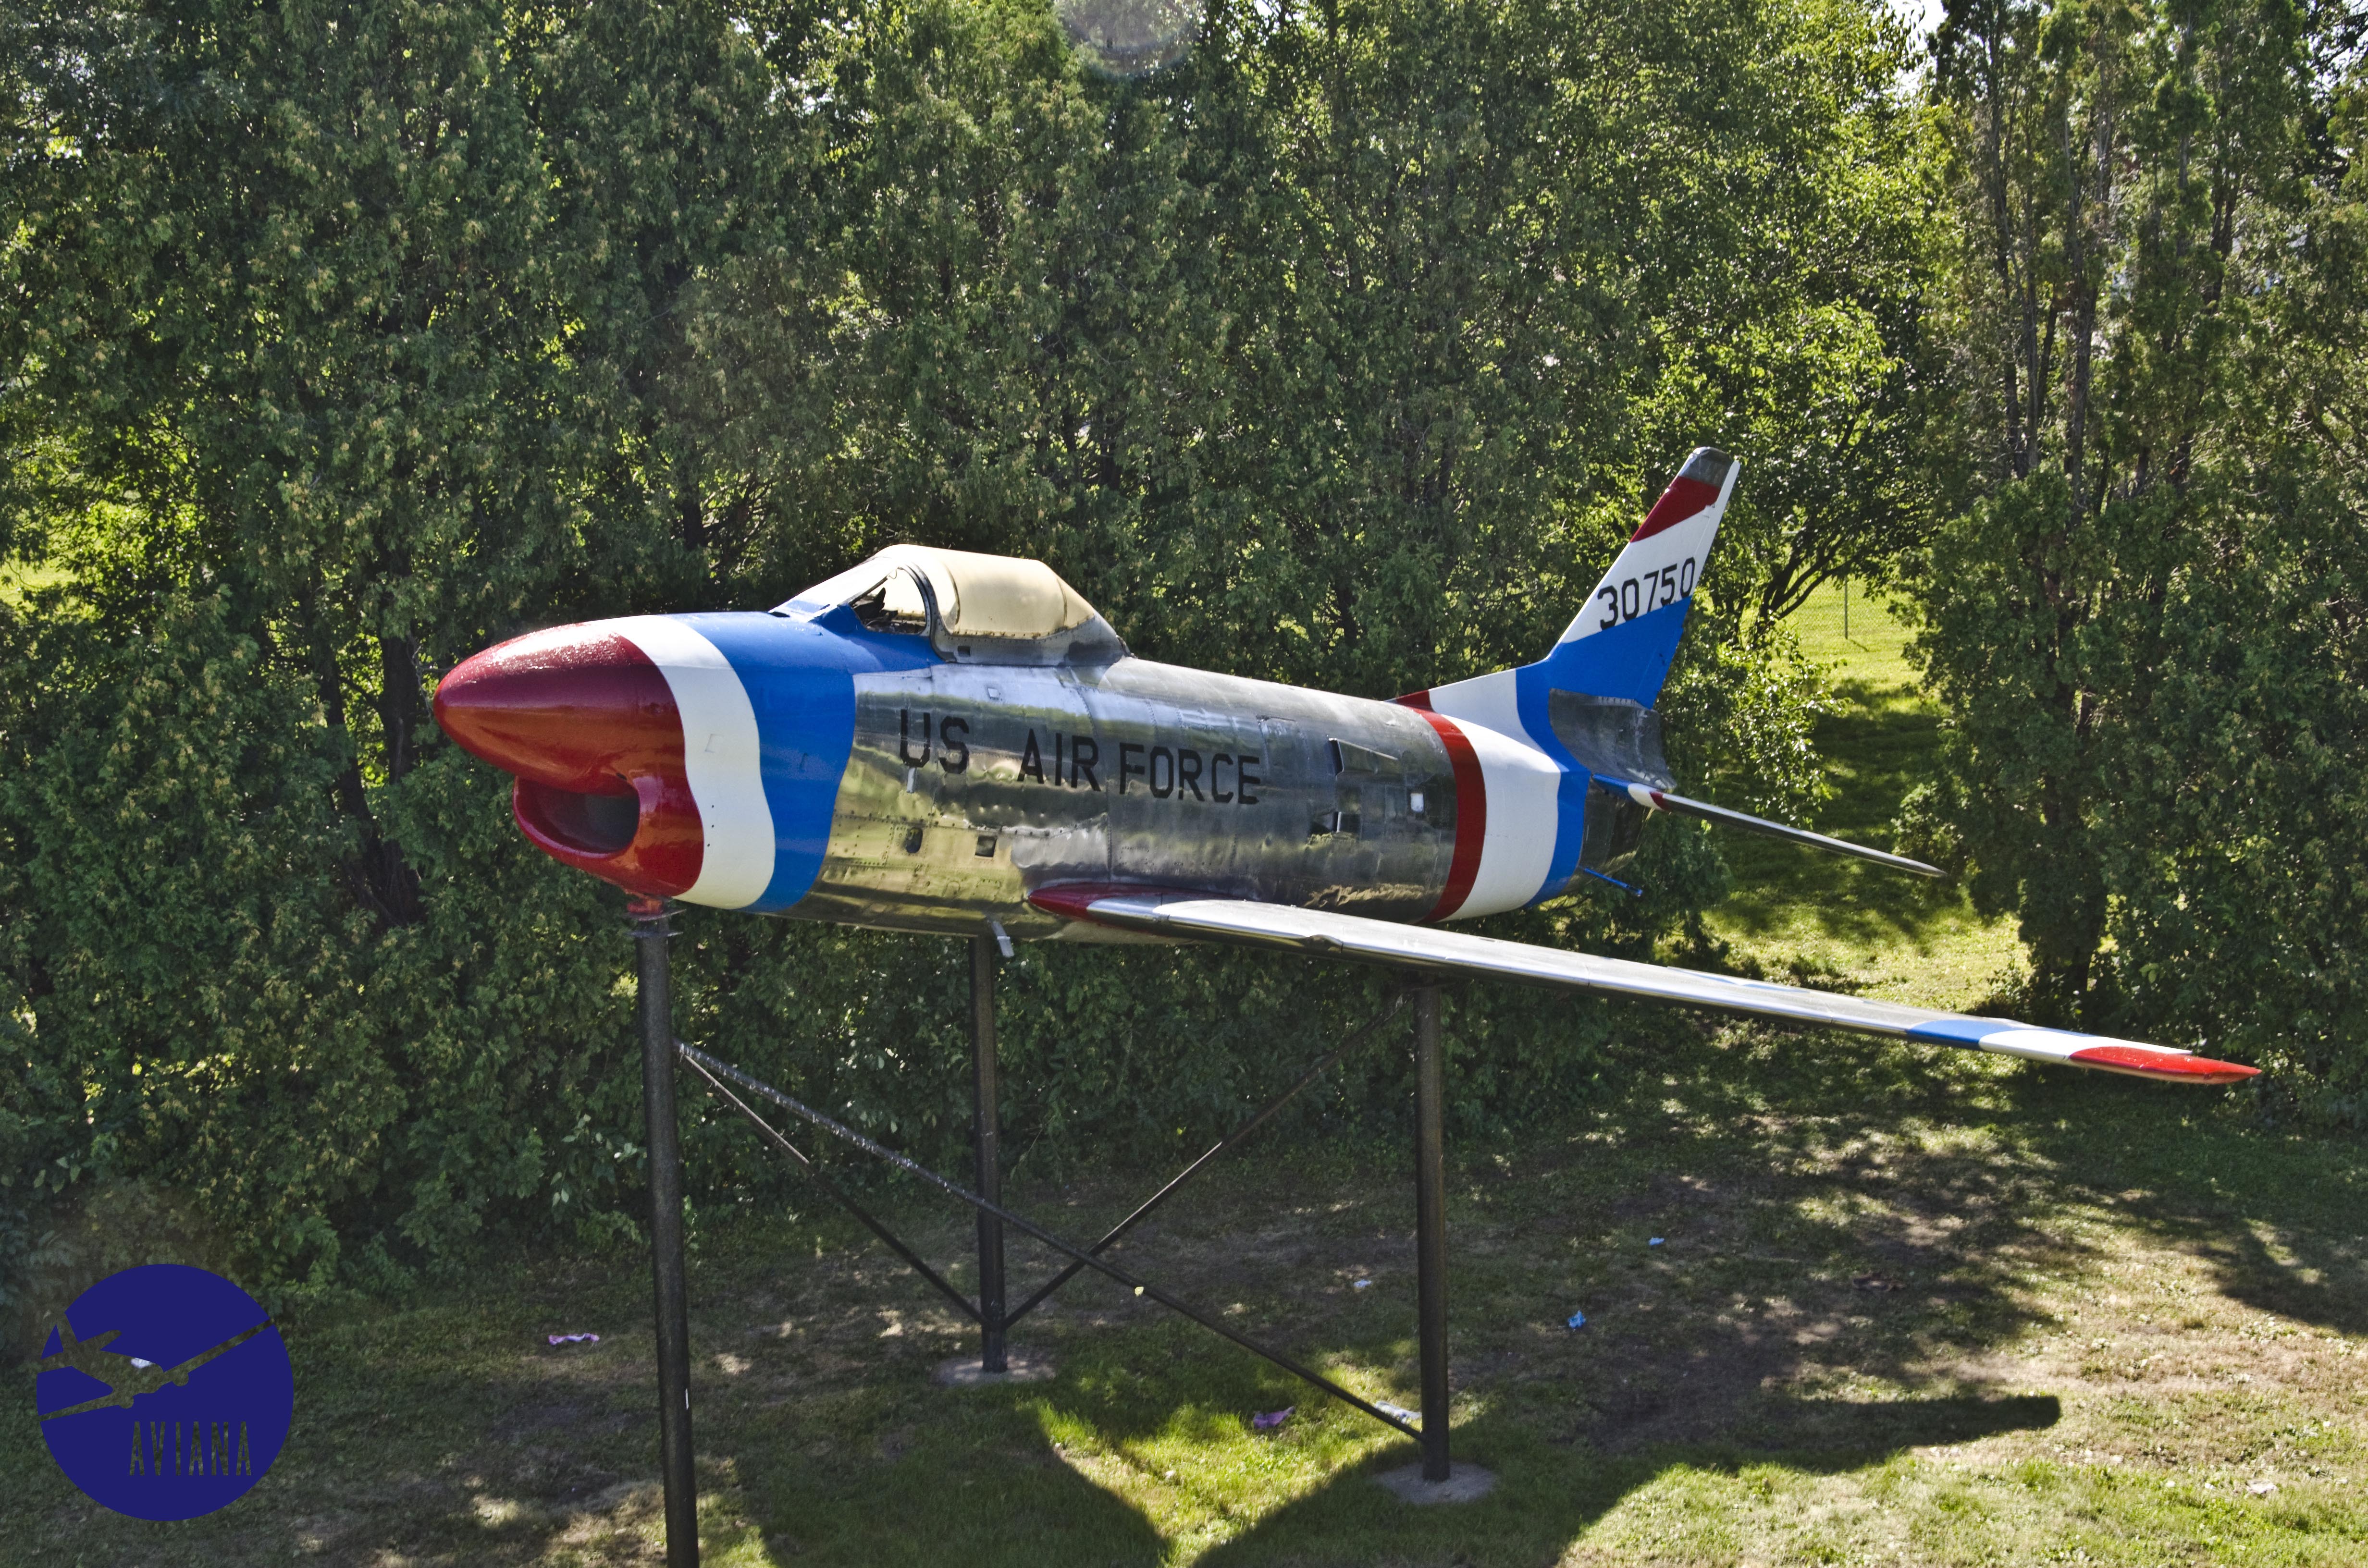
At one point the plane was chopped up and removed by a green space initiative and hauled off for scrap metal. Little did they realize this aircraft was on loan from the USAF, coupled with protests from local veterans groups, the plane was returned, after the wings and tails were reattached by a body shop in Cedar Rapids, the plane was replaced at the Iowa City Airport entrance. Sadly, upon closer inspection, much of the damage done by this removal is still visible.
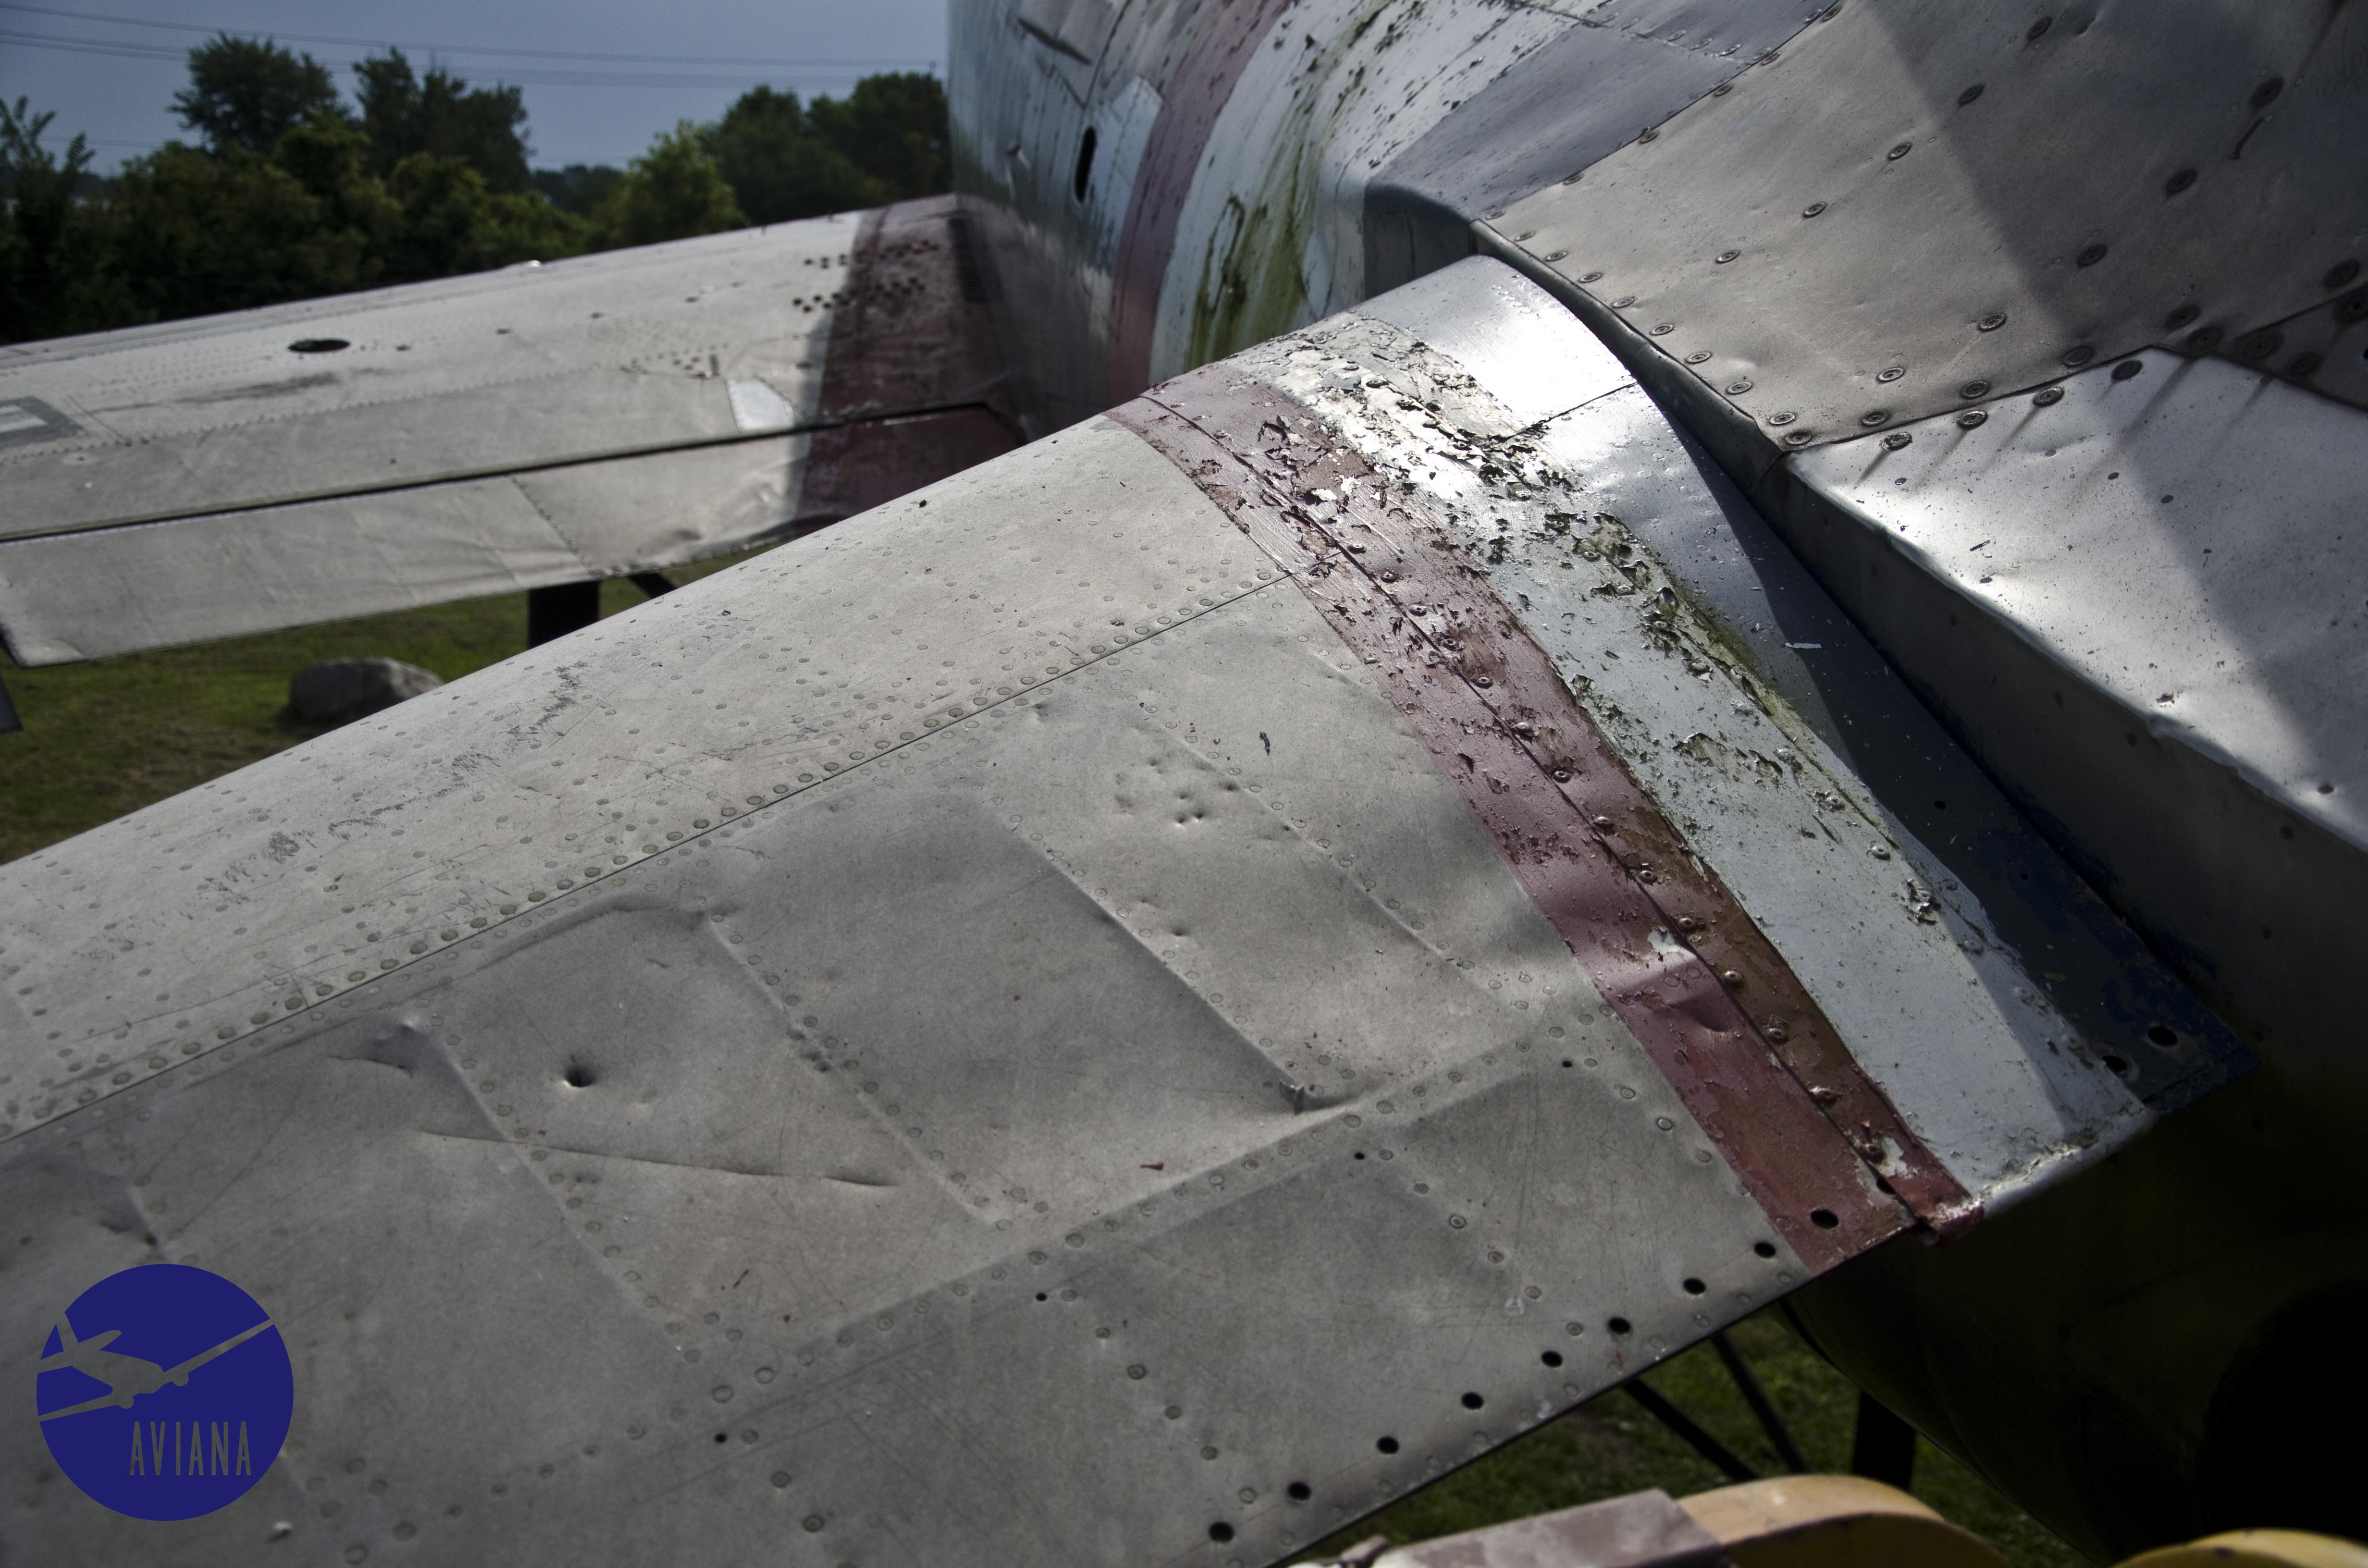
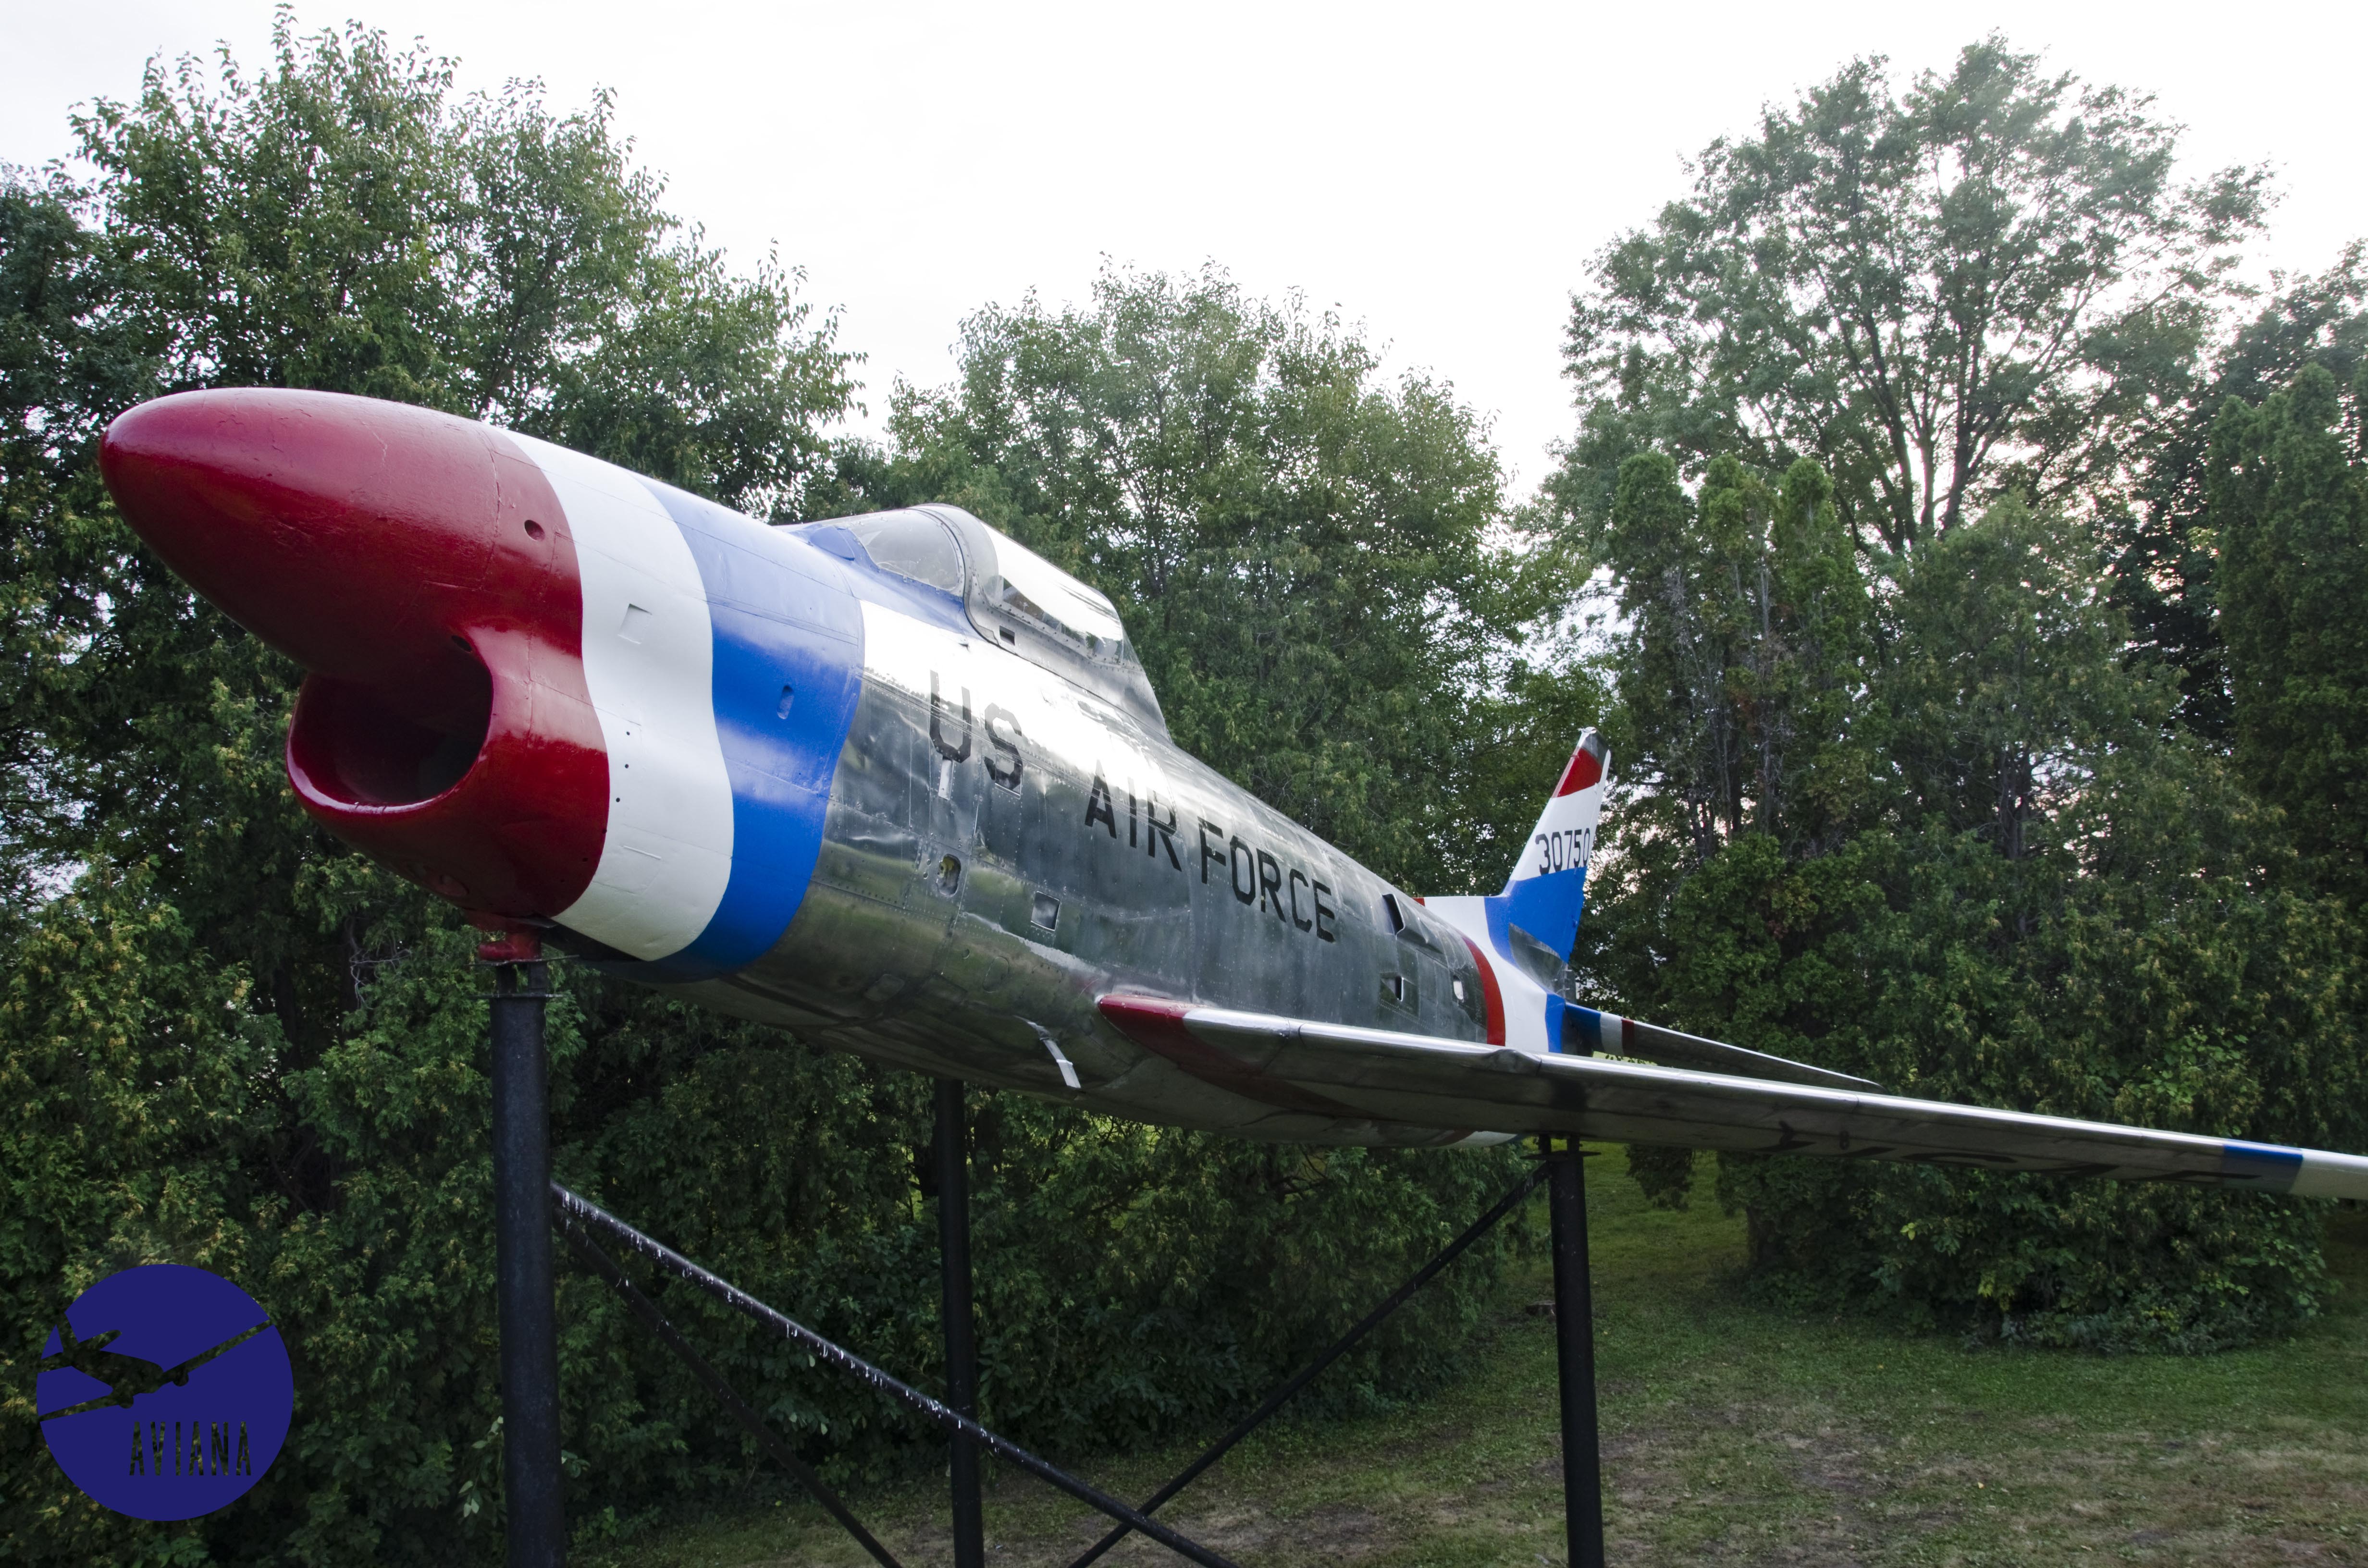
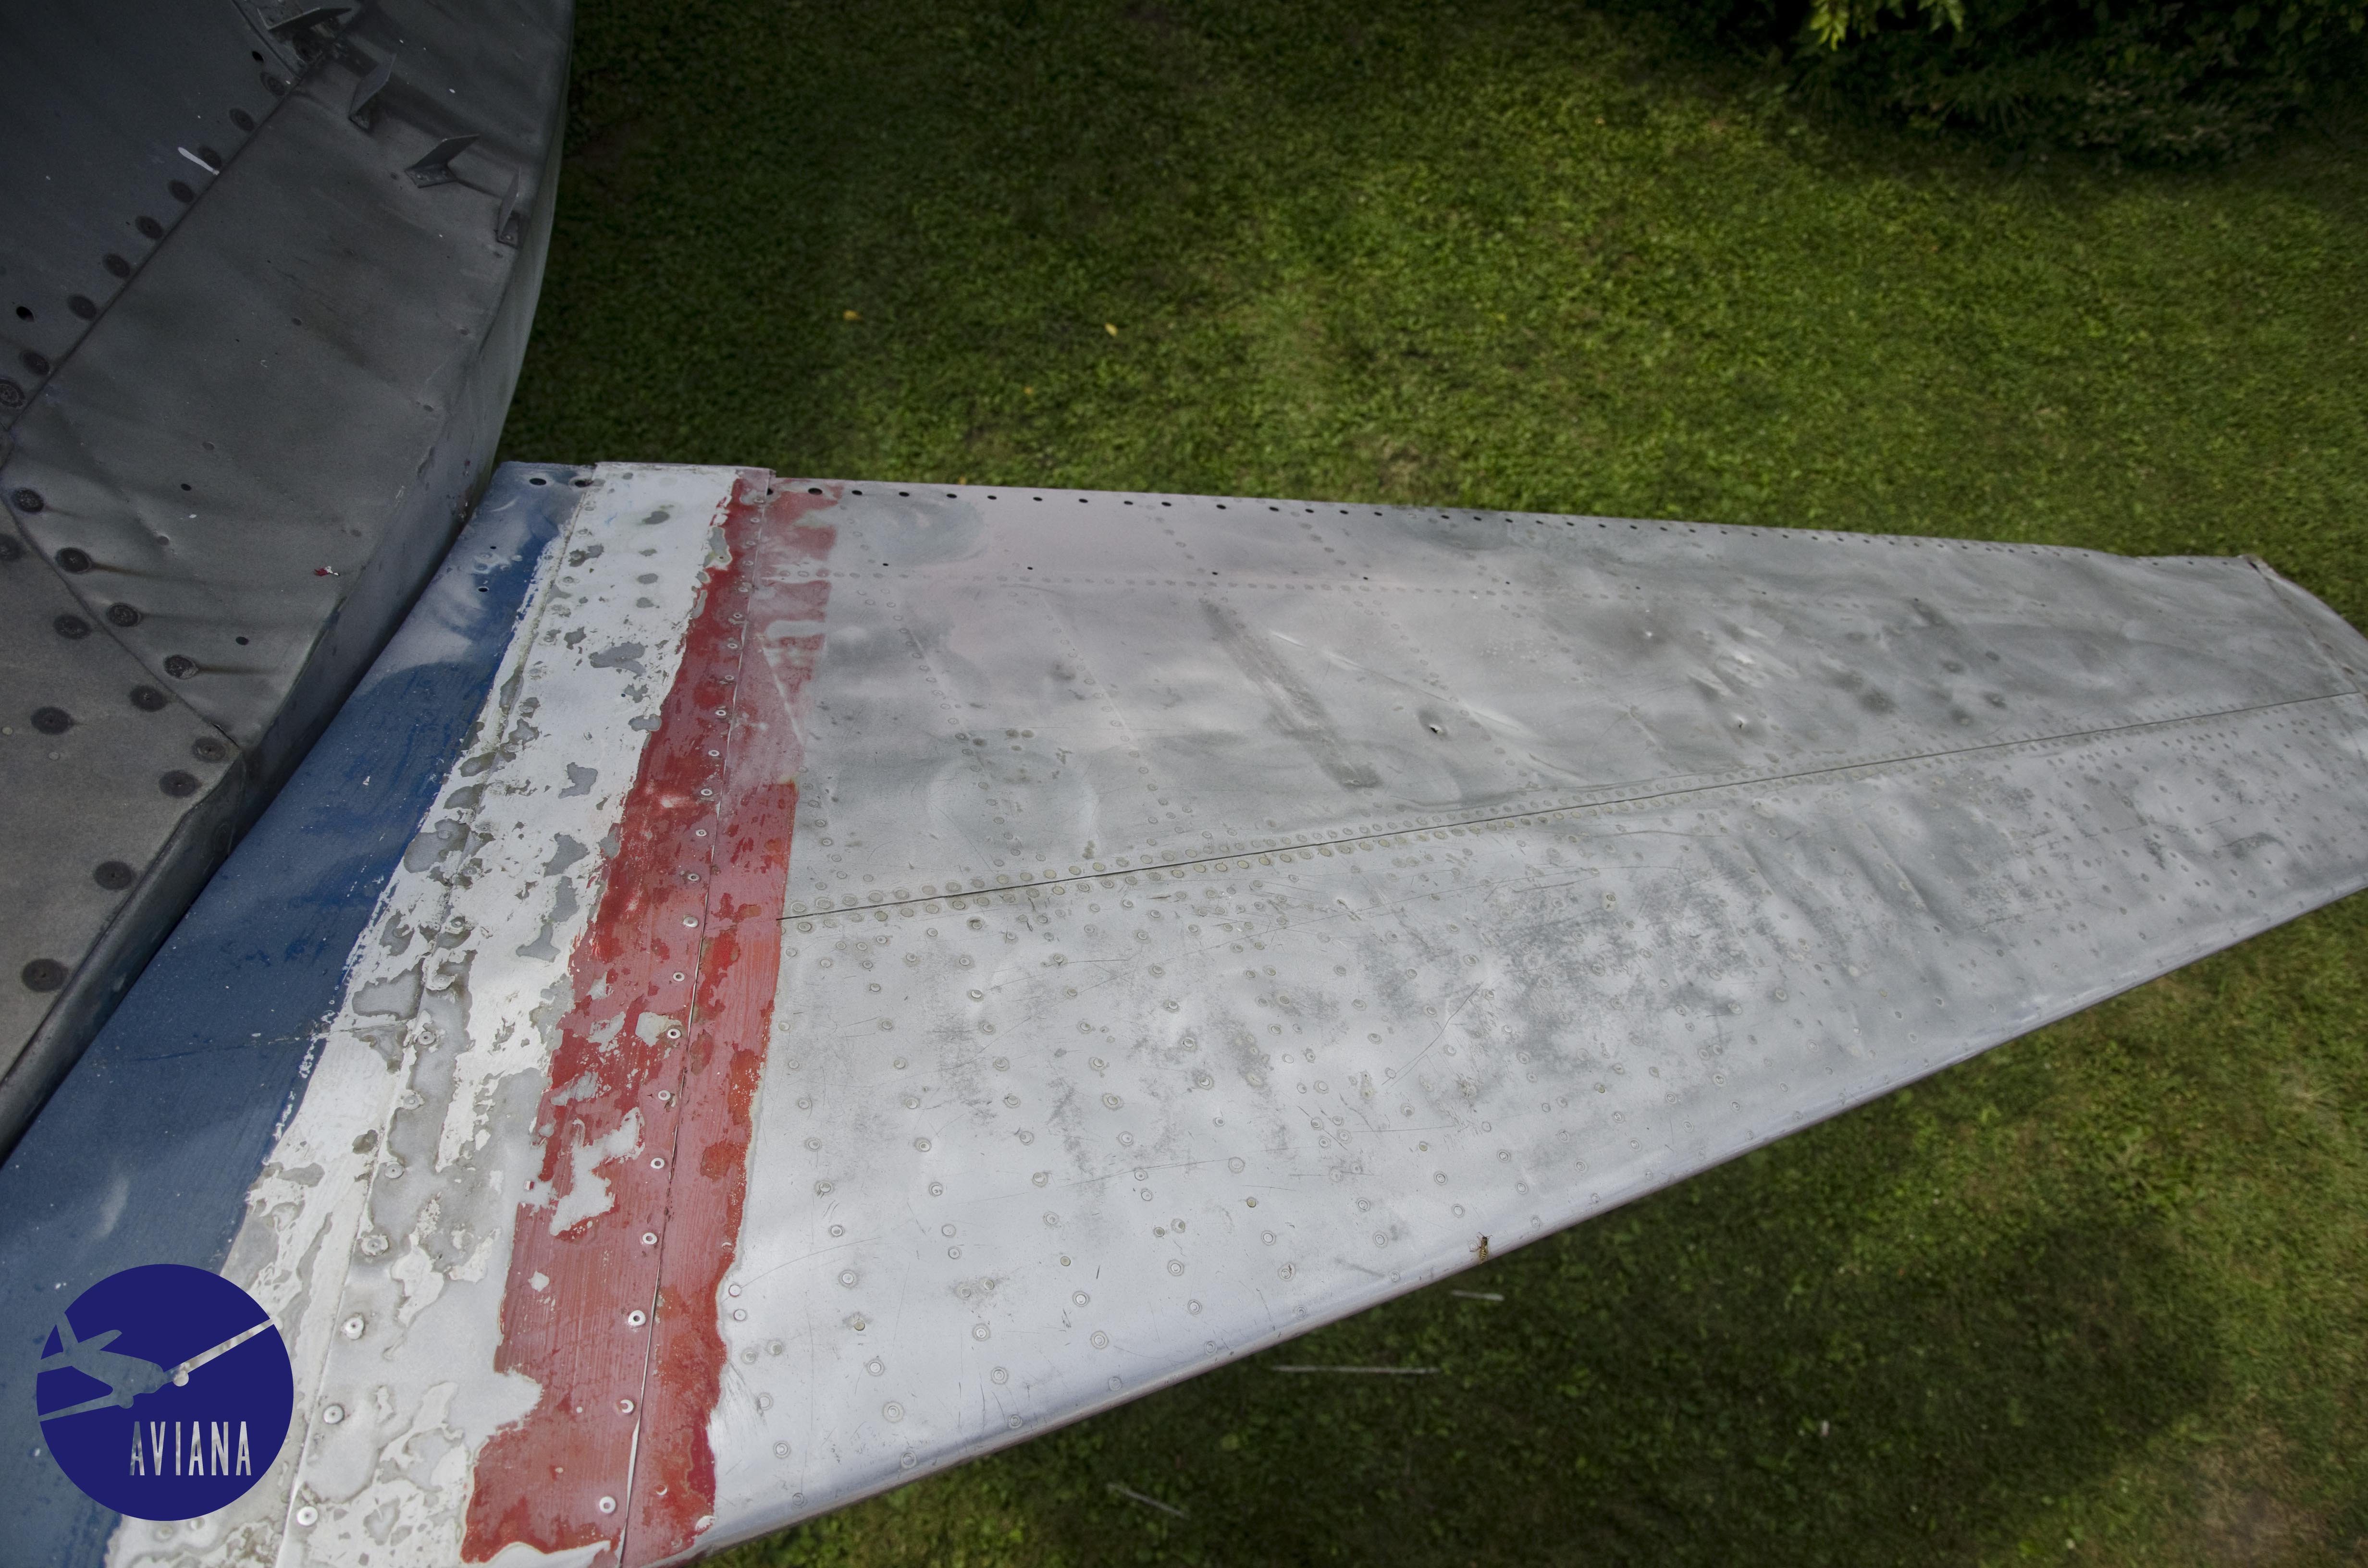
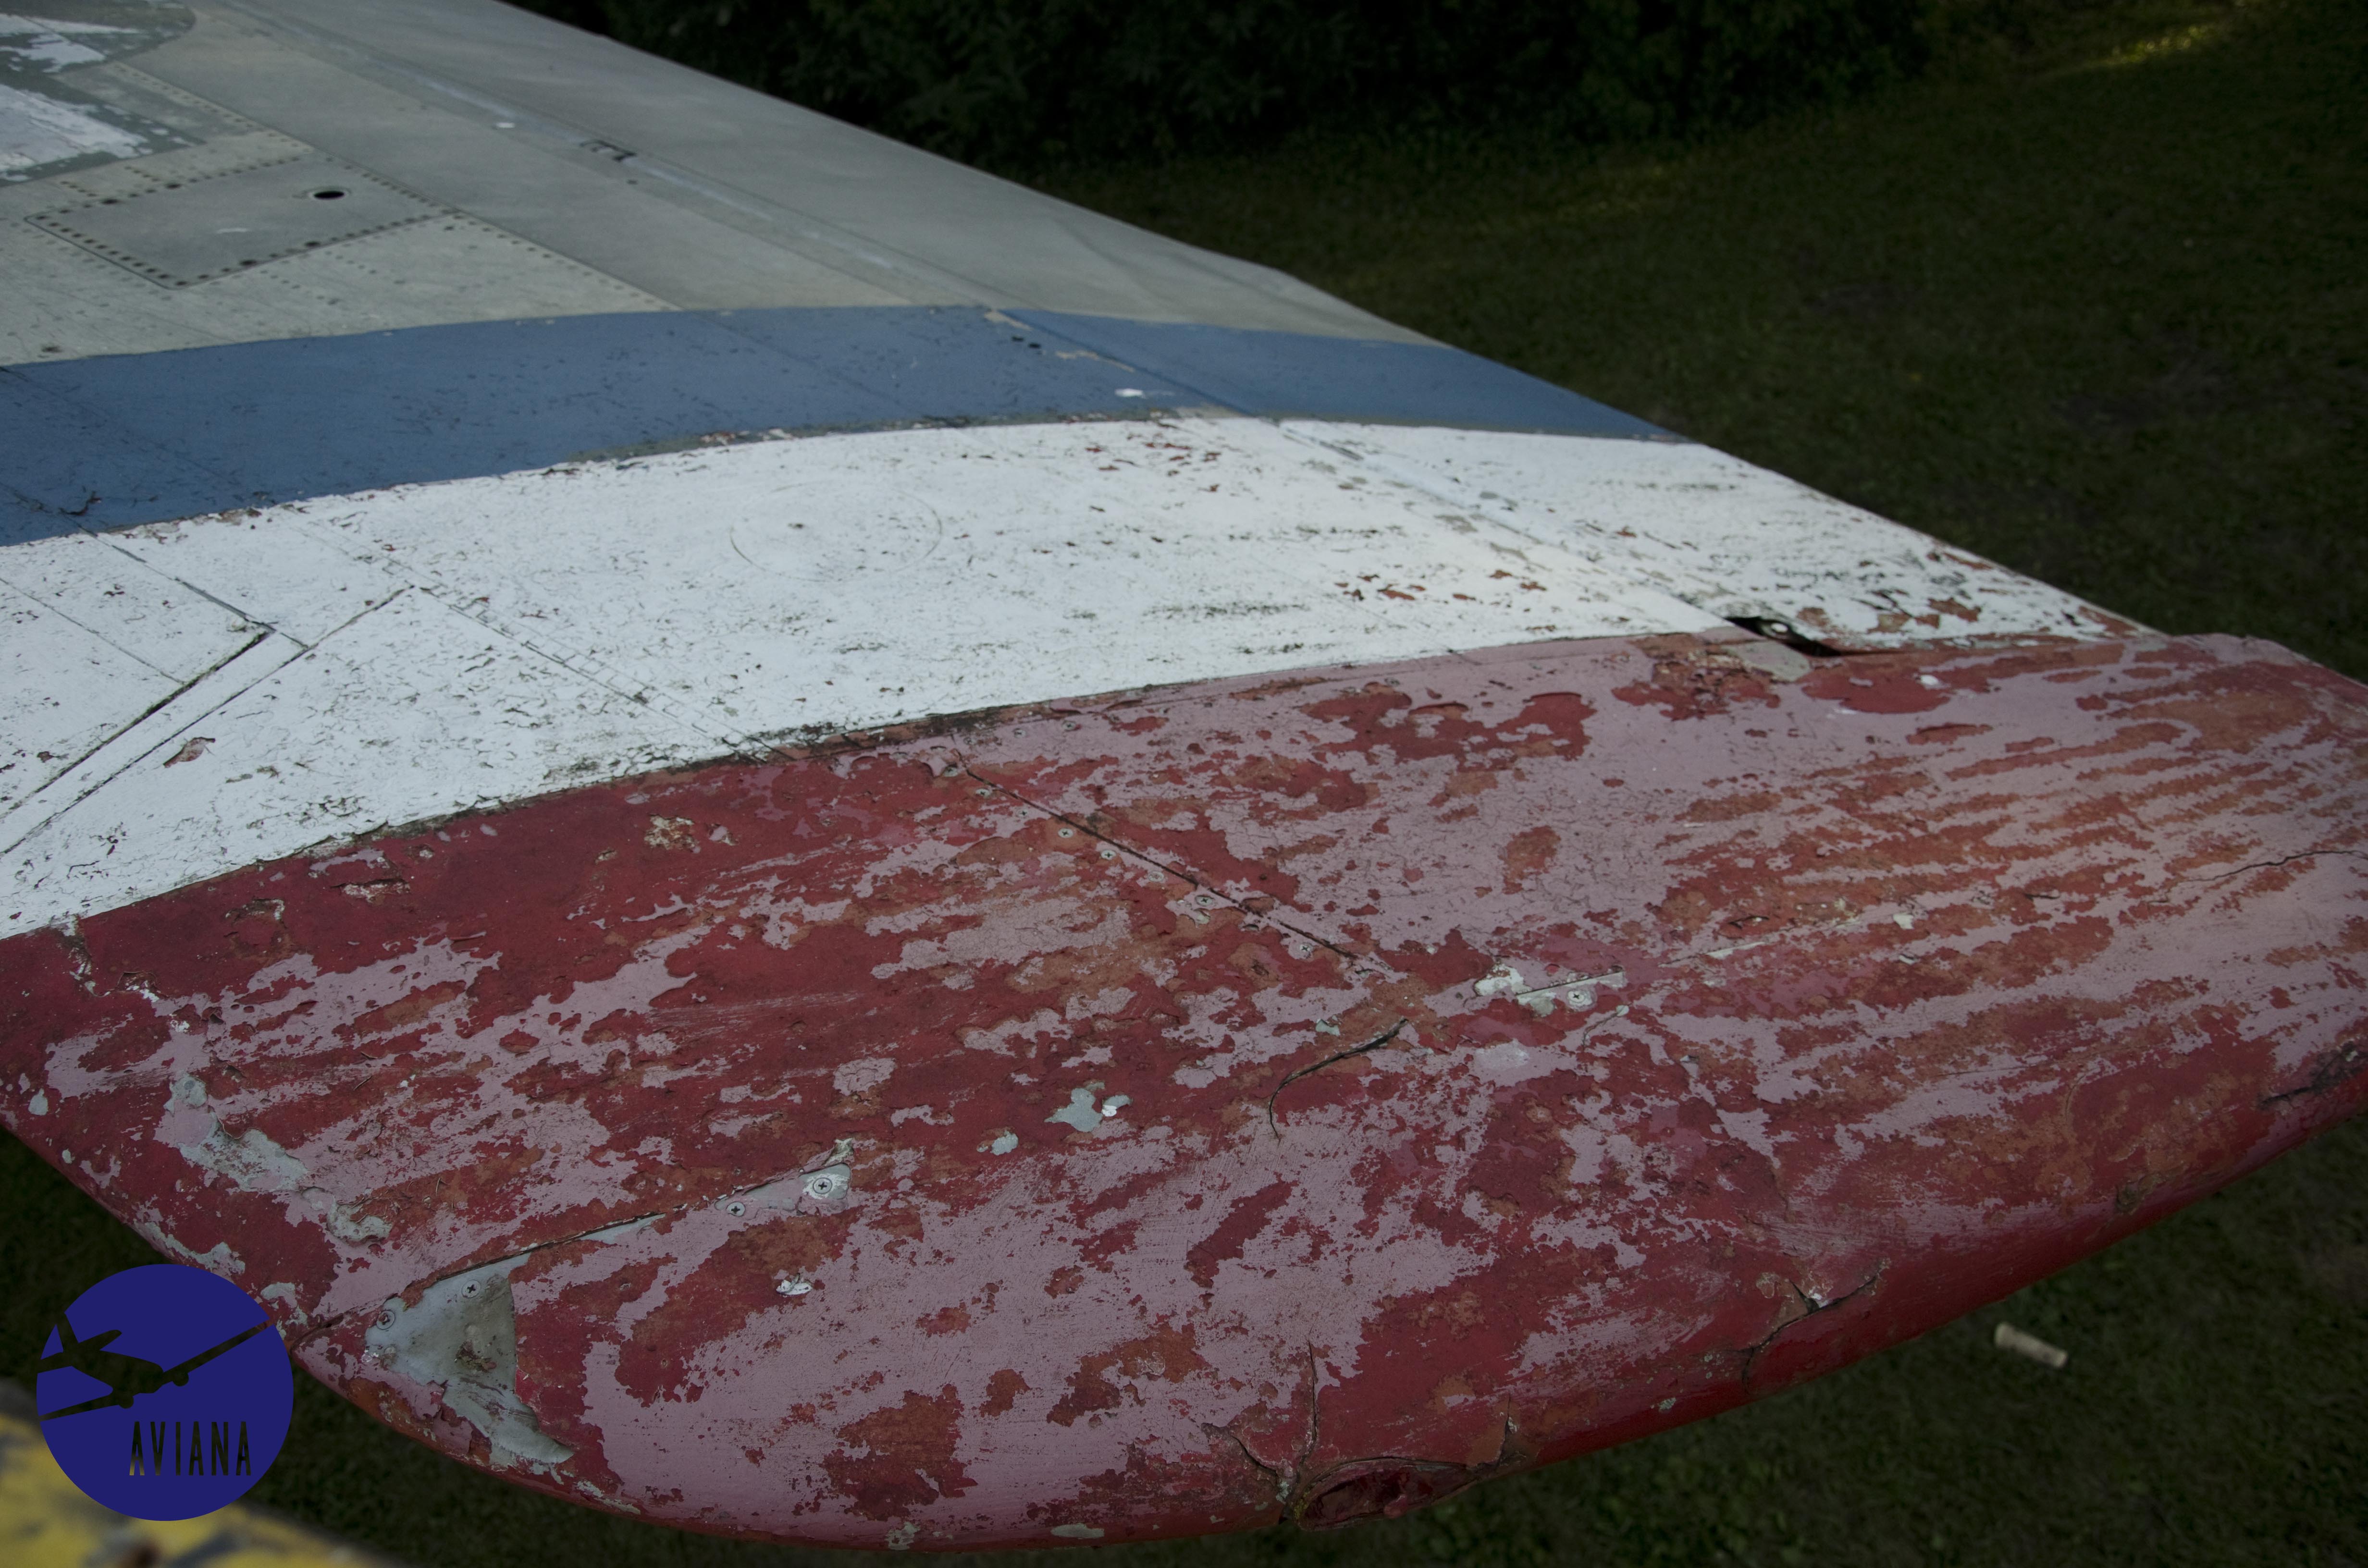
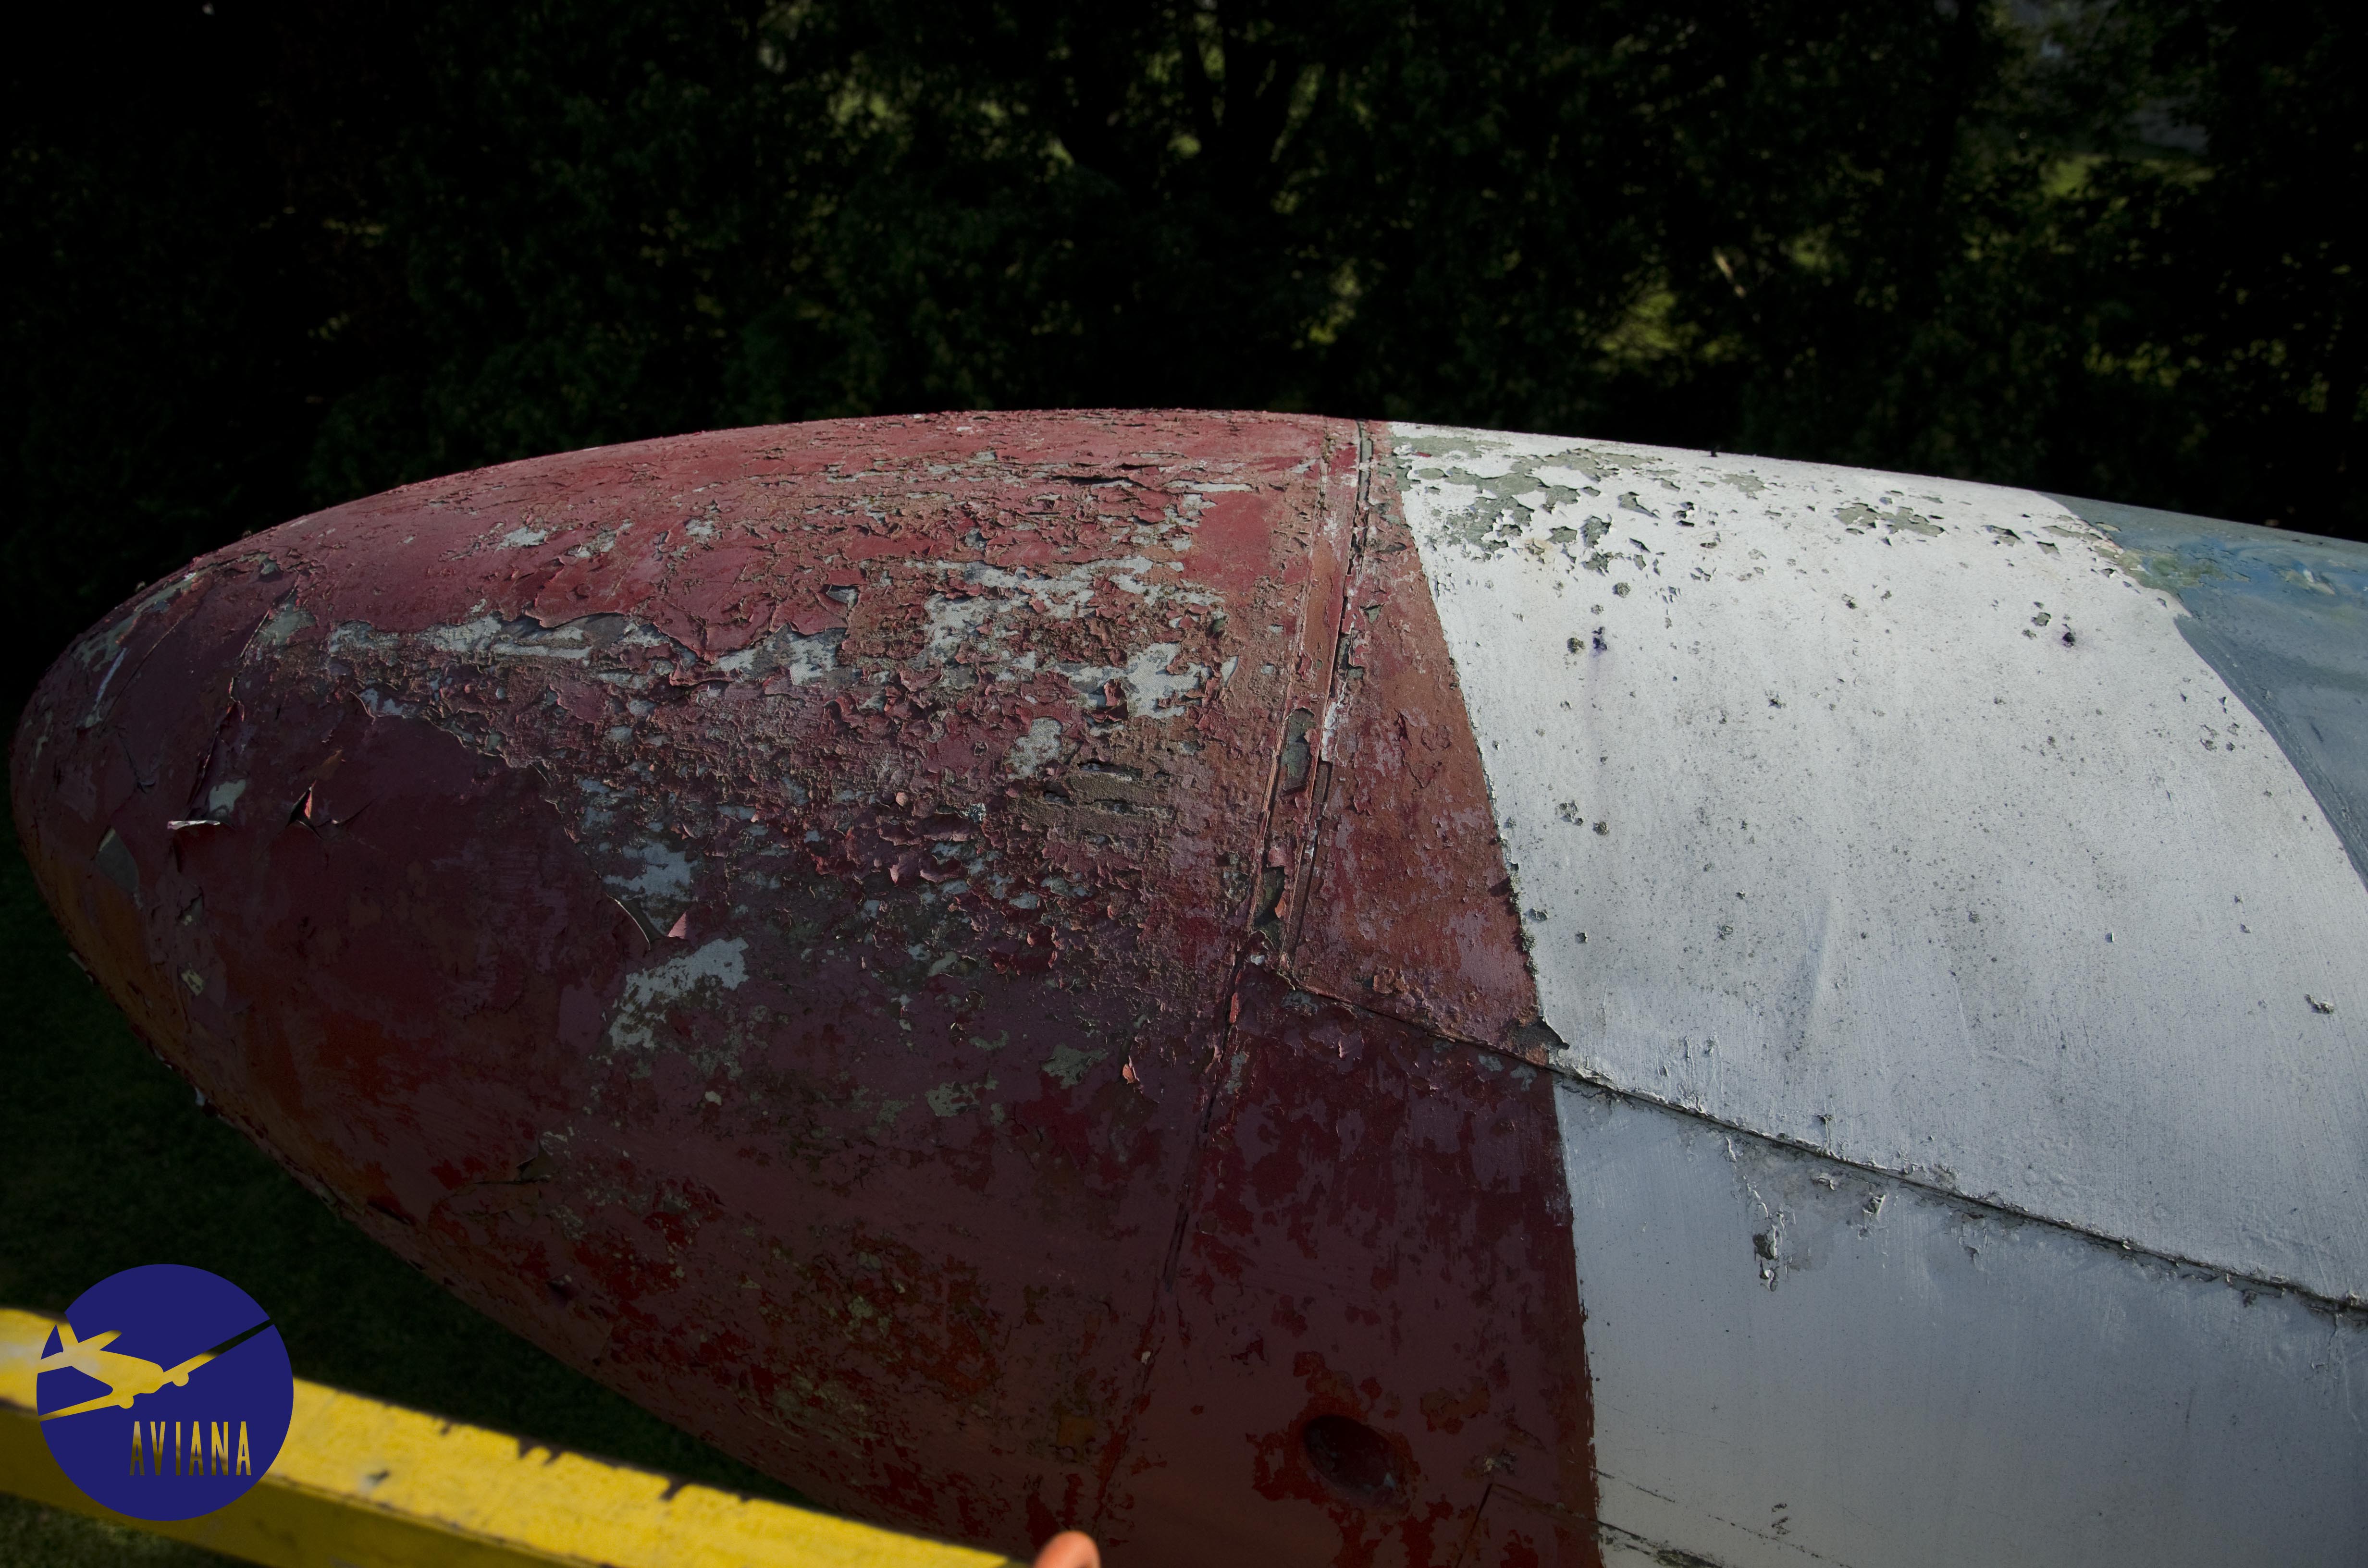
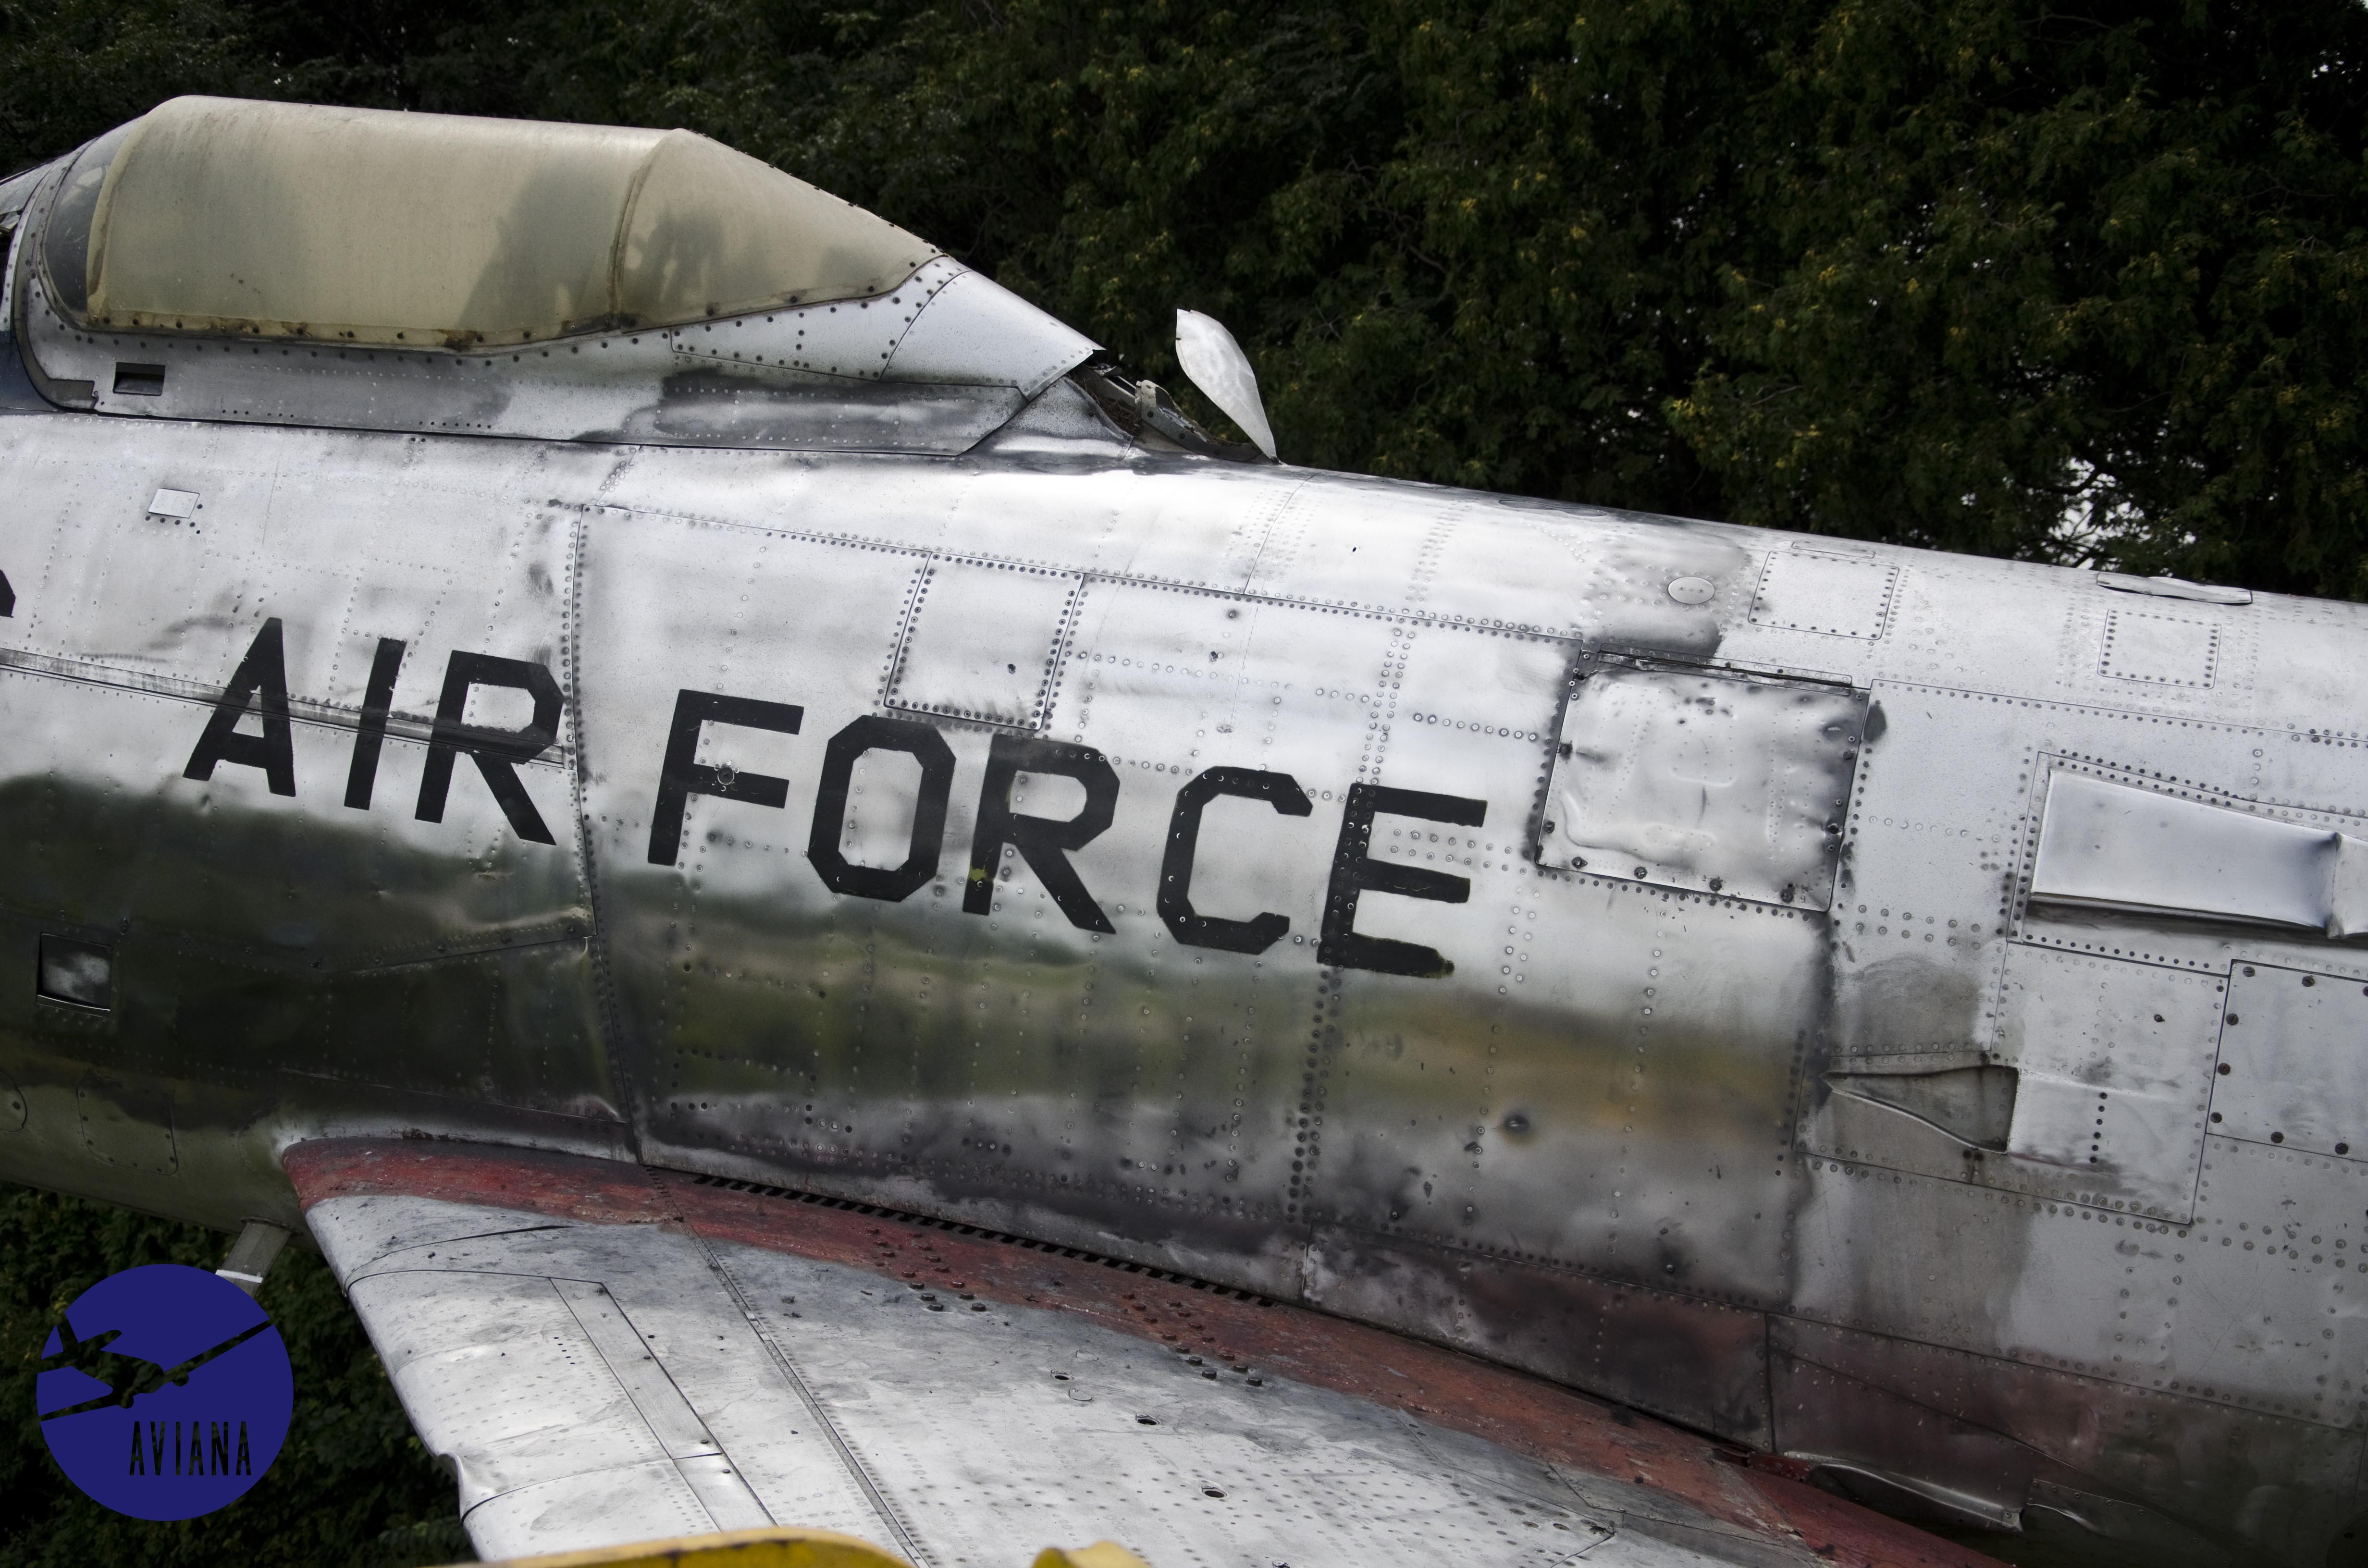
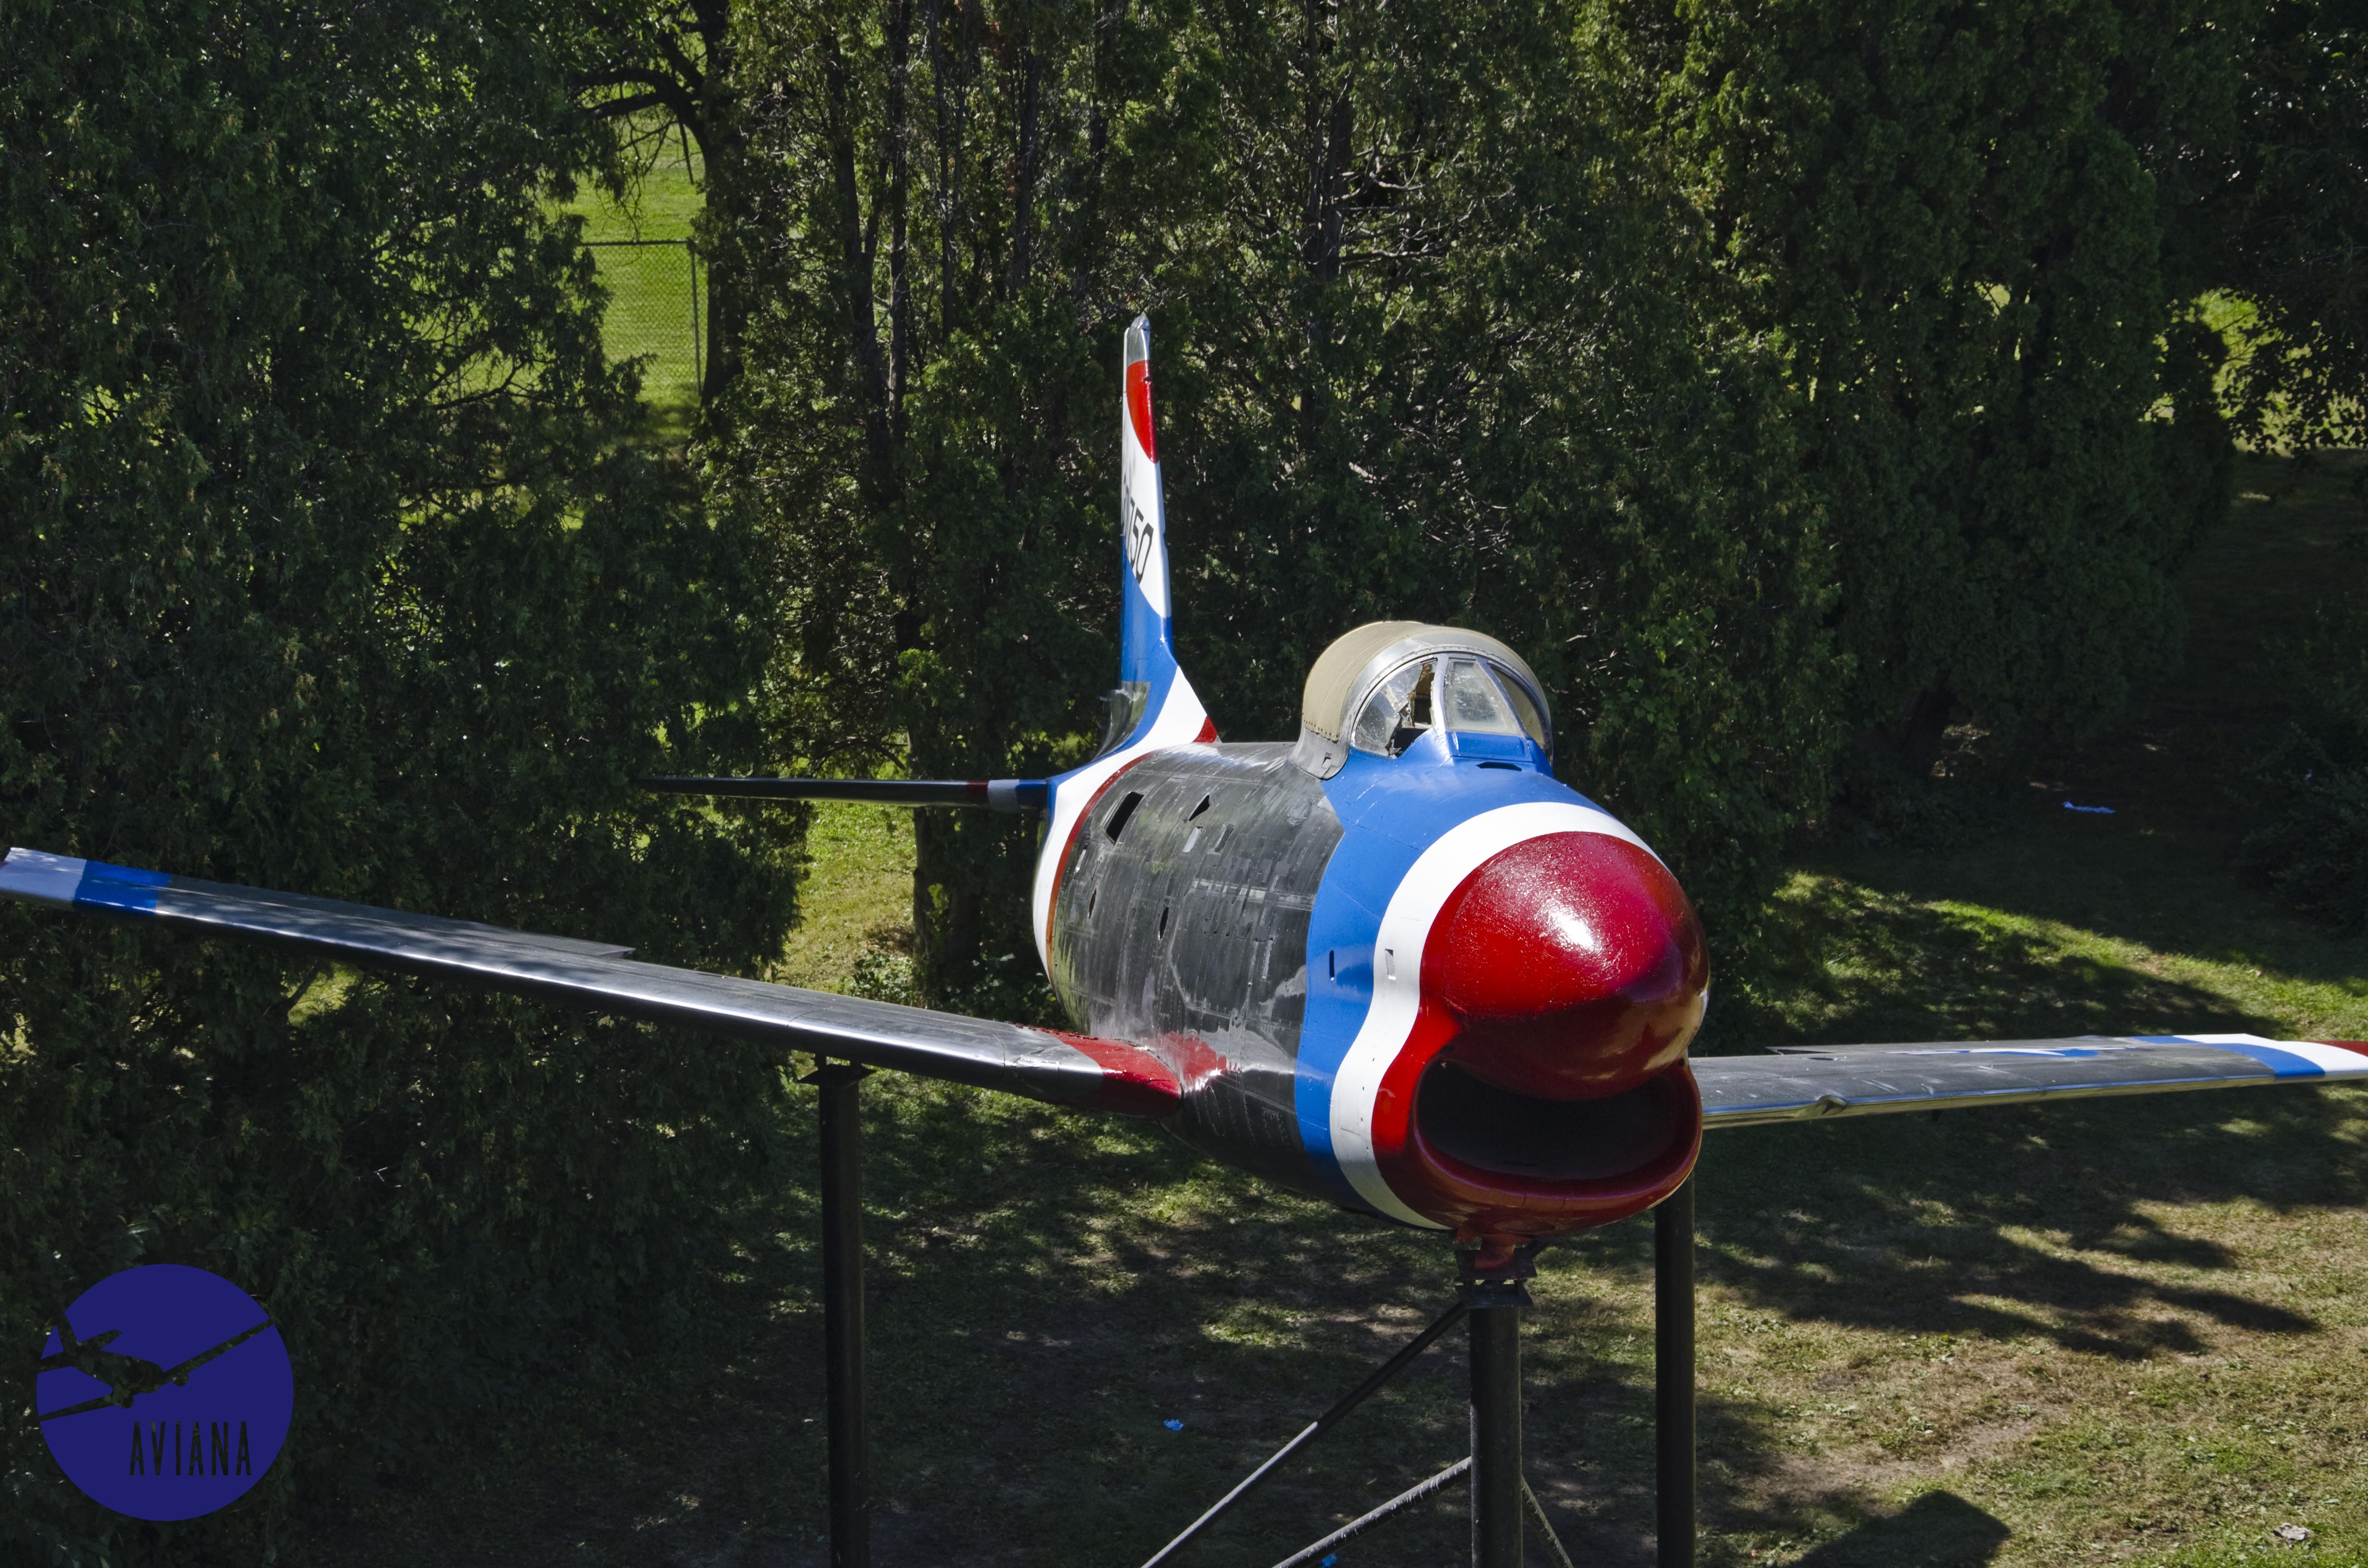
There were several layers of repainting visible, each in various states of decay, and the bare aluminum was heavily oxidized. Upon closer inspection, it became evident that at one point a wire wheel was used on the aluminum (possibly to remove graffiti), which left some serious texture issues that needed to be resolved.
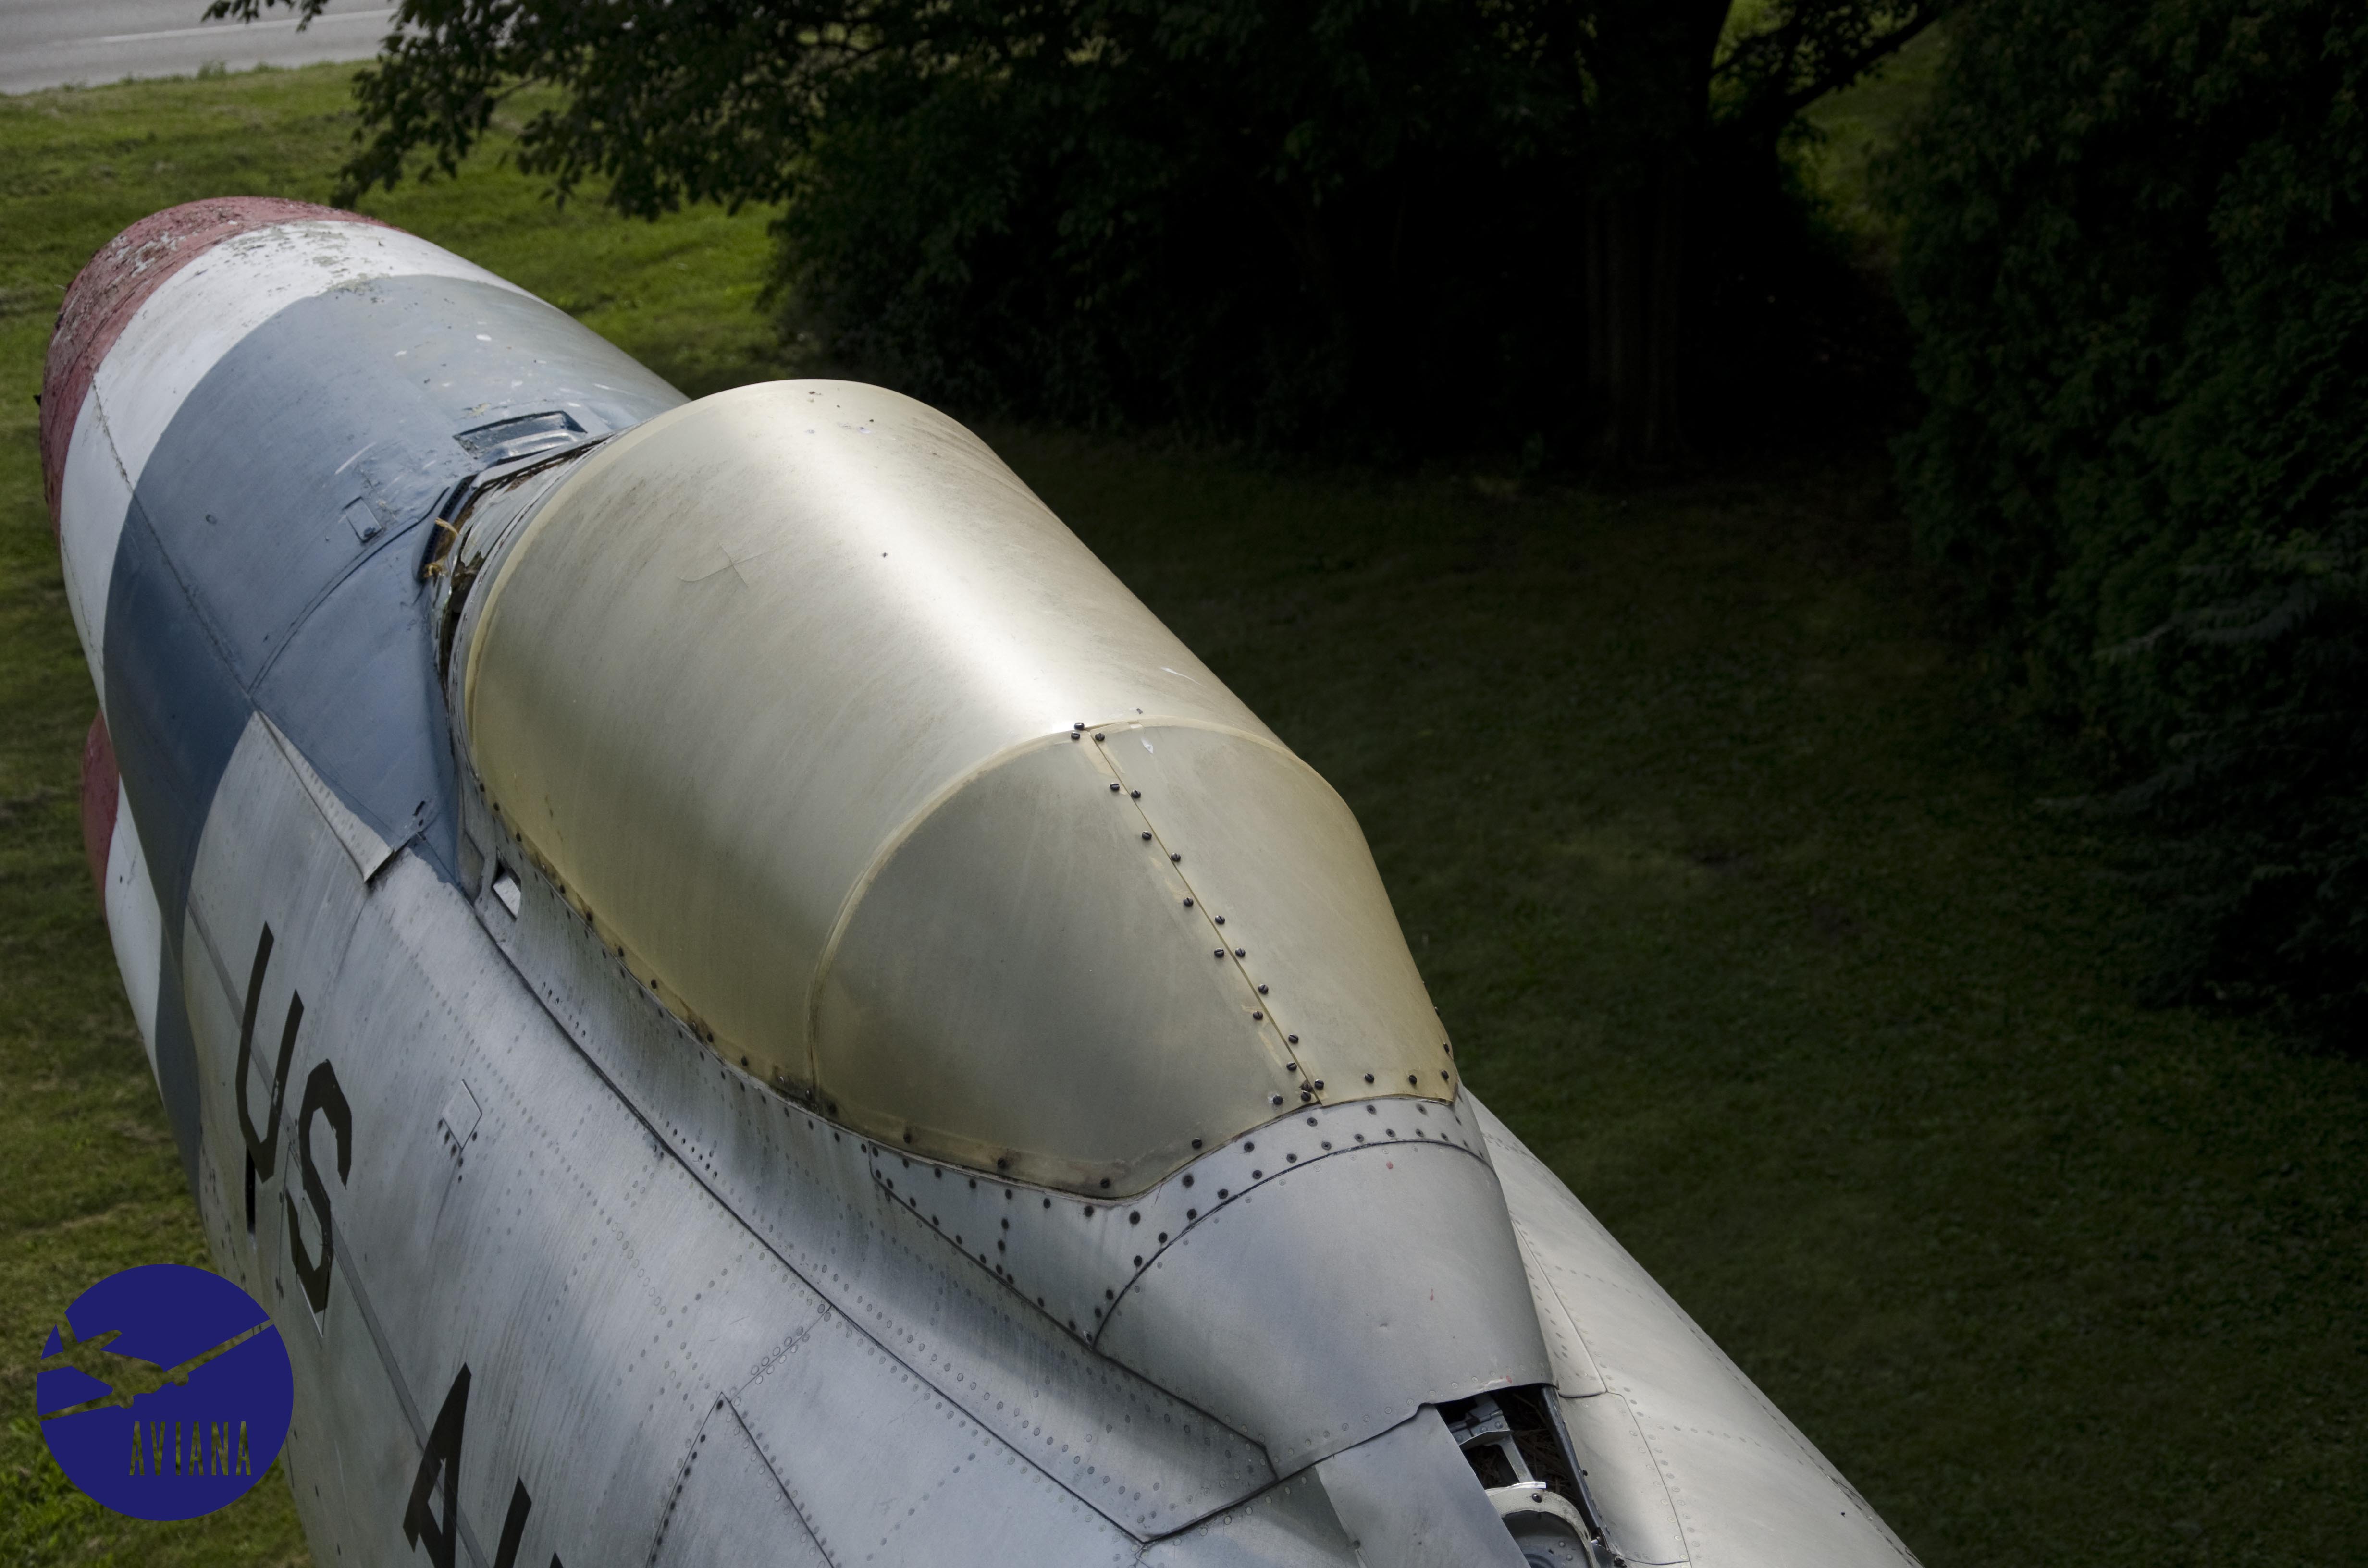
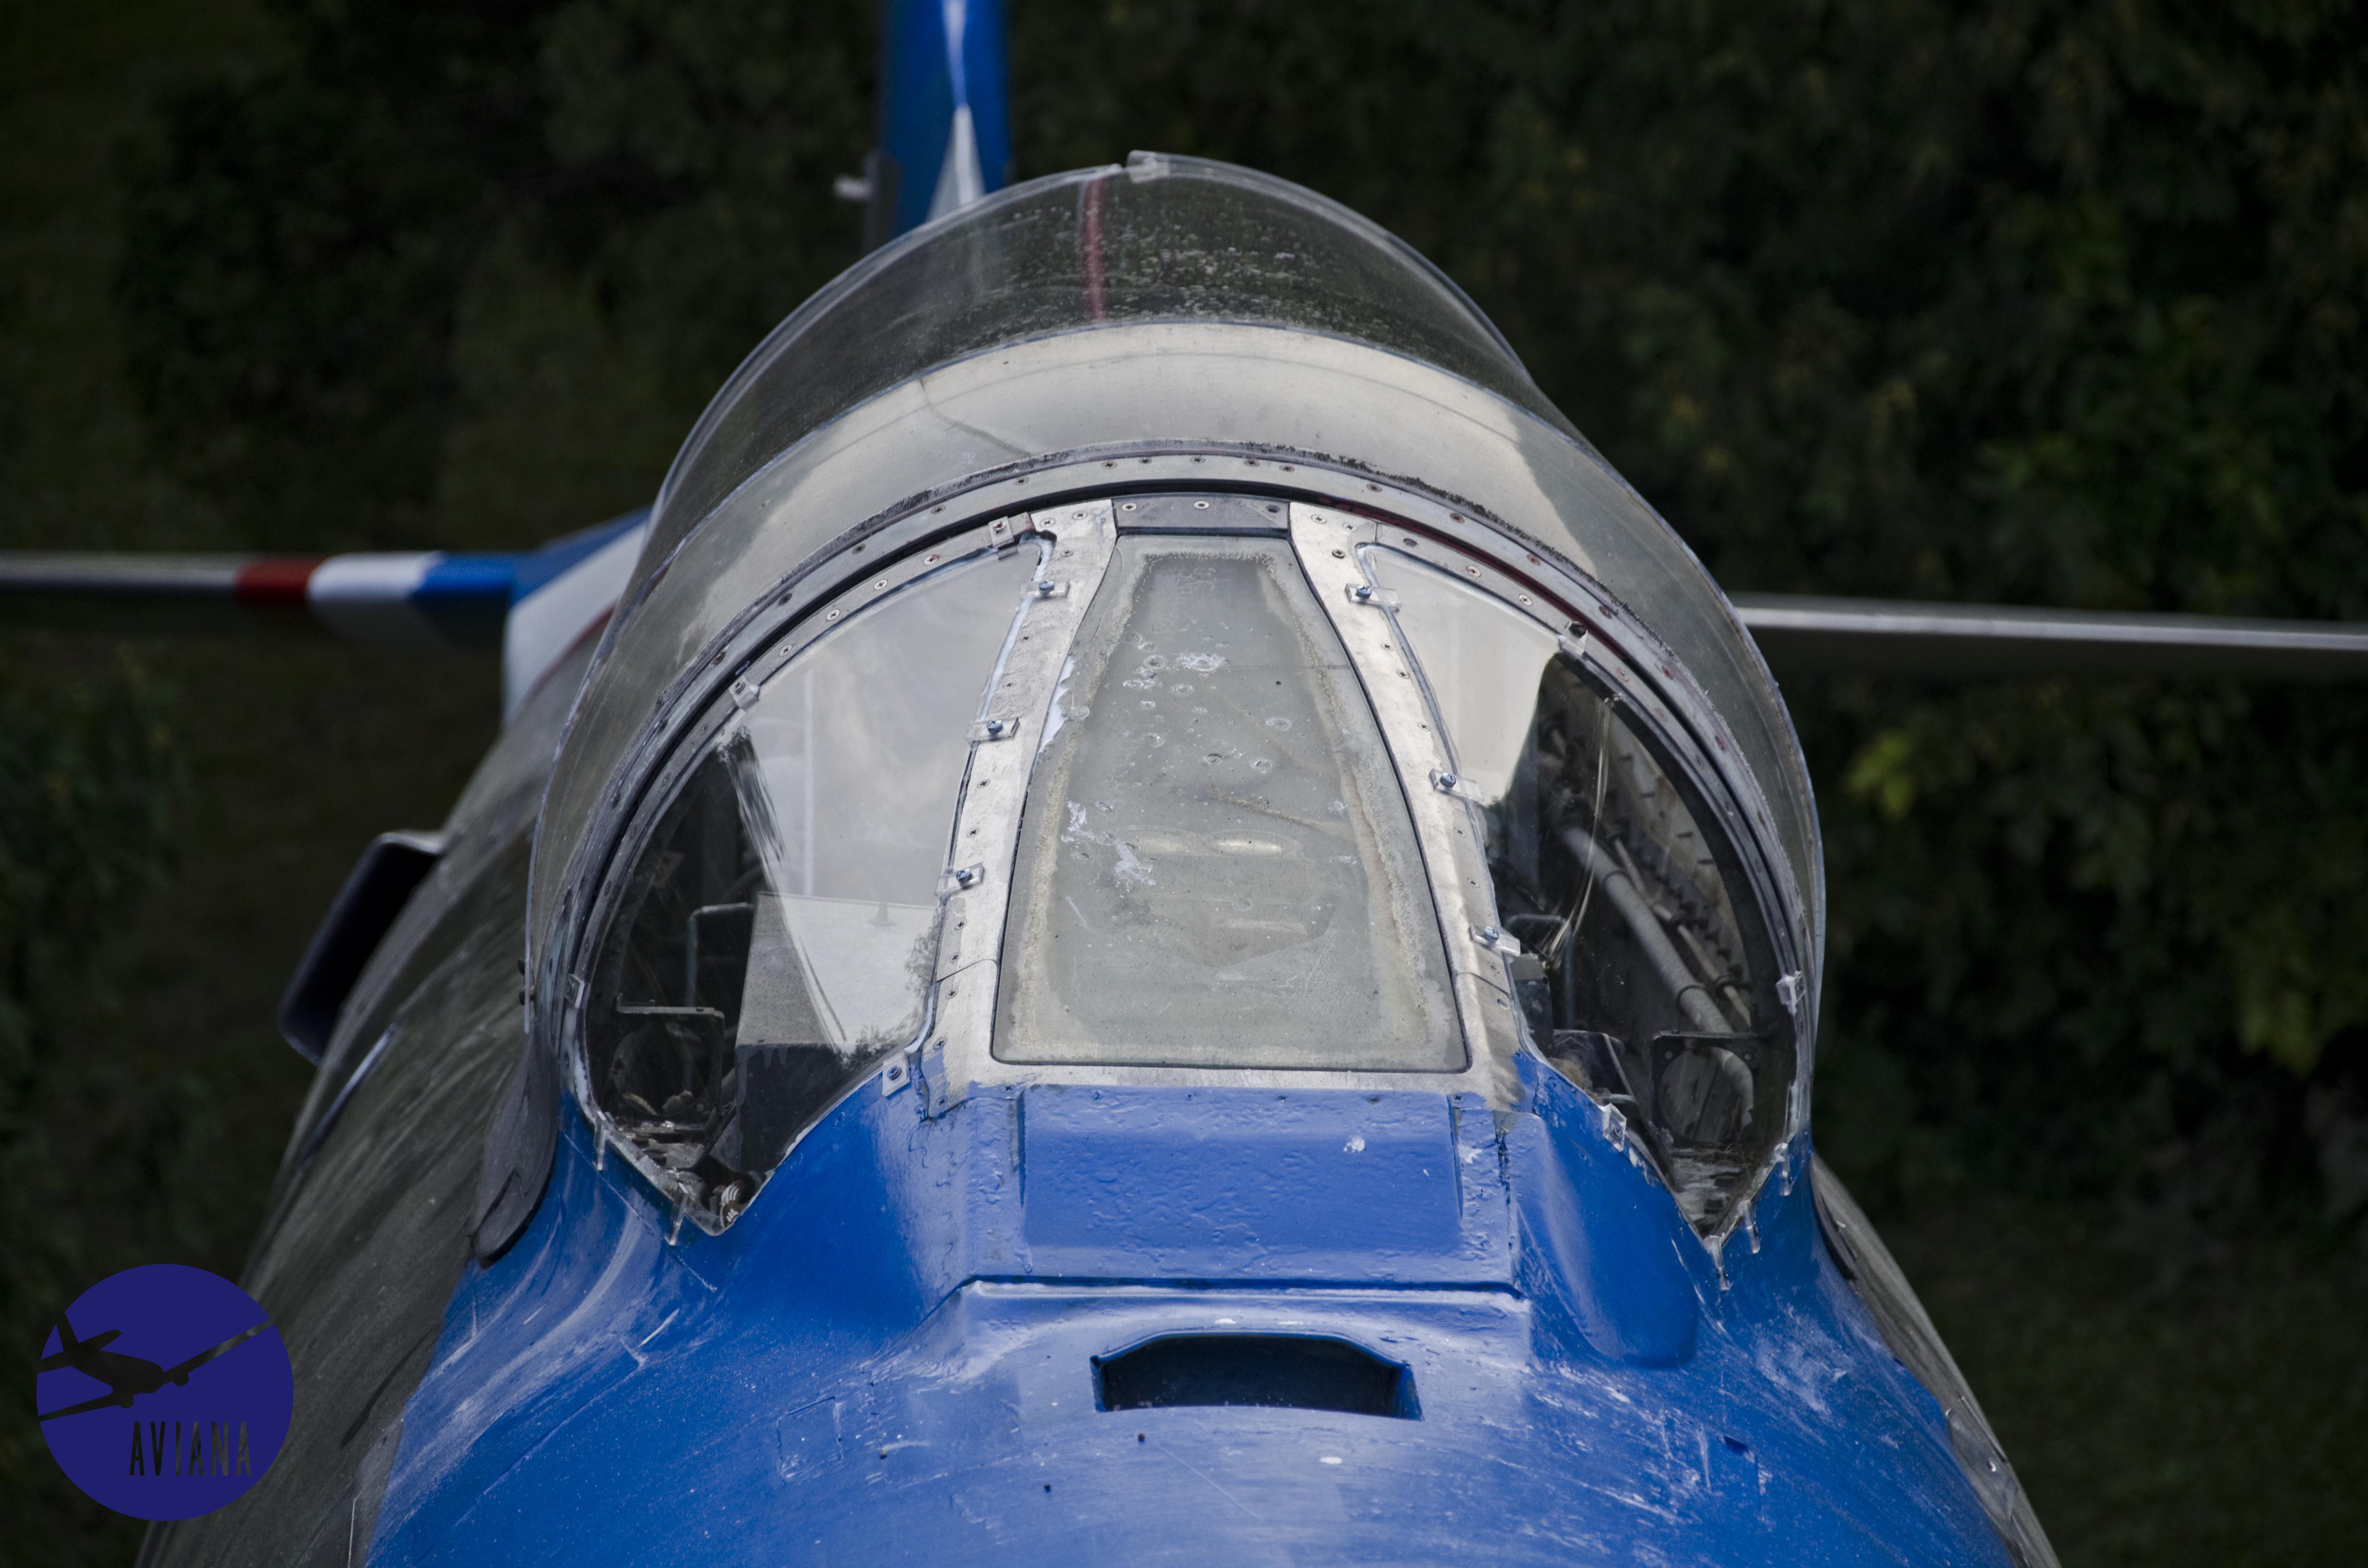
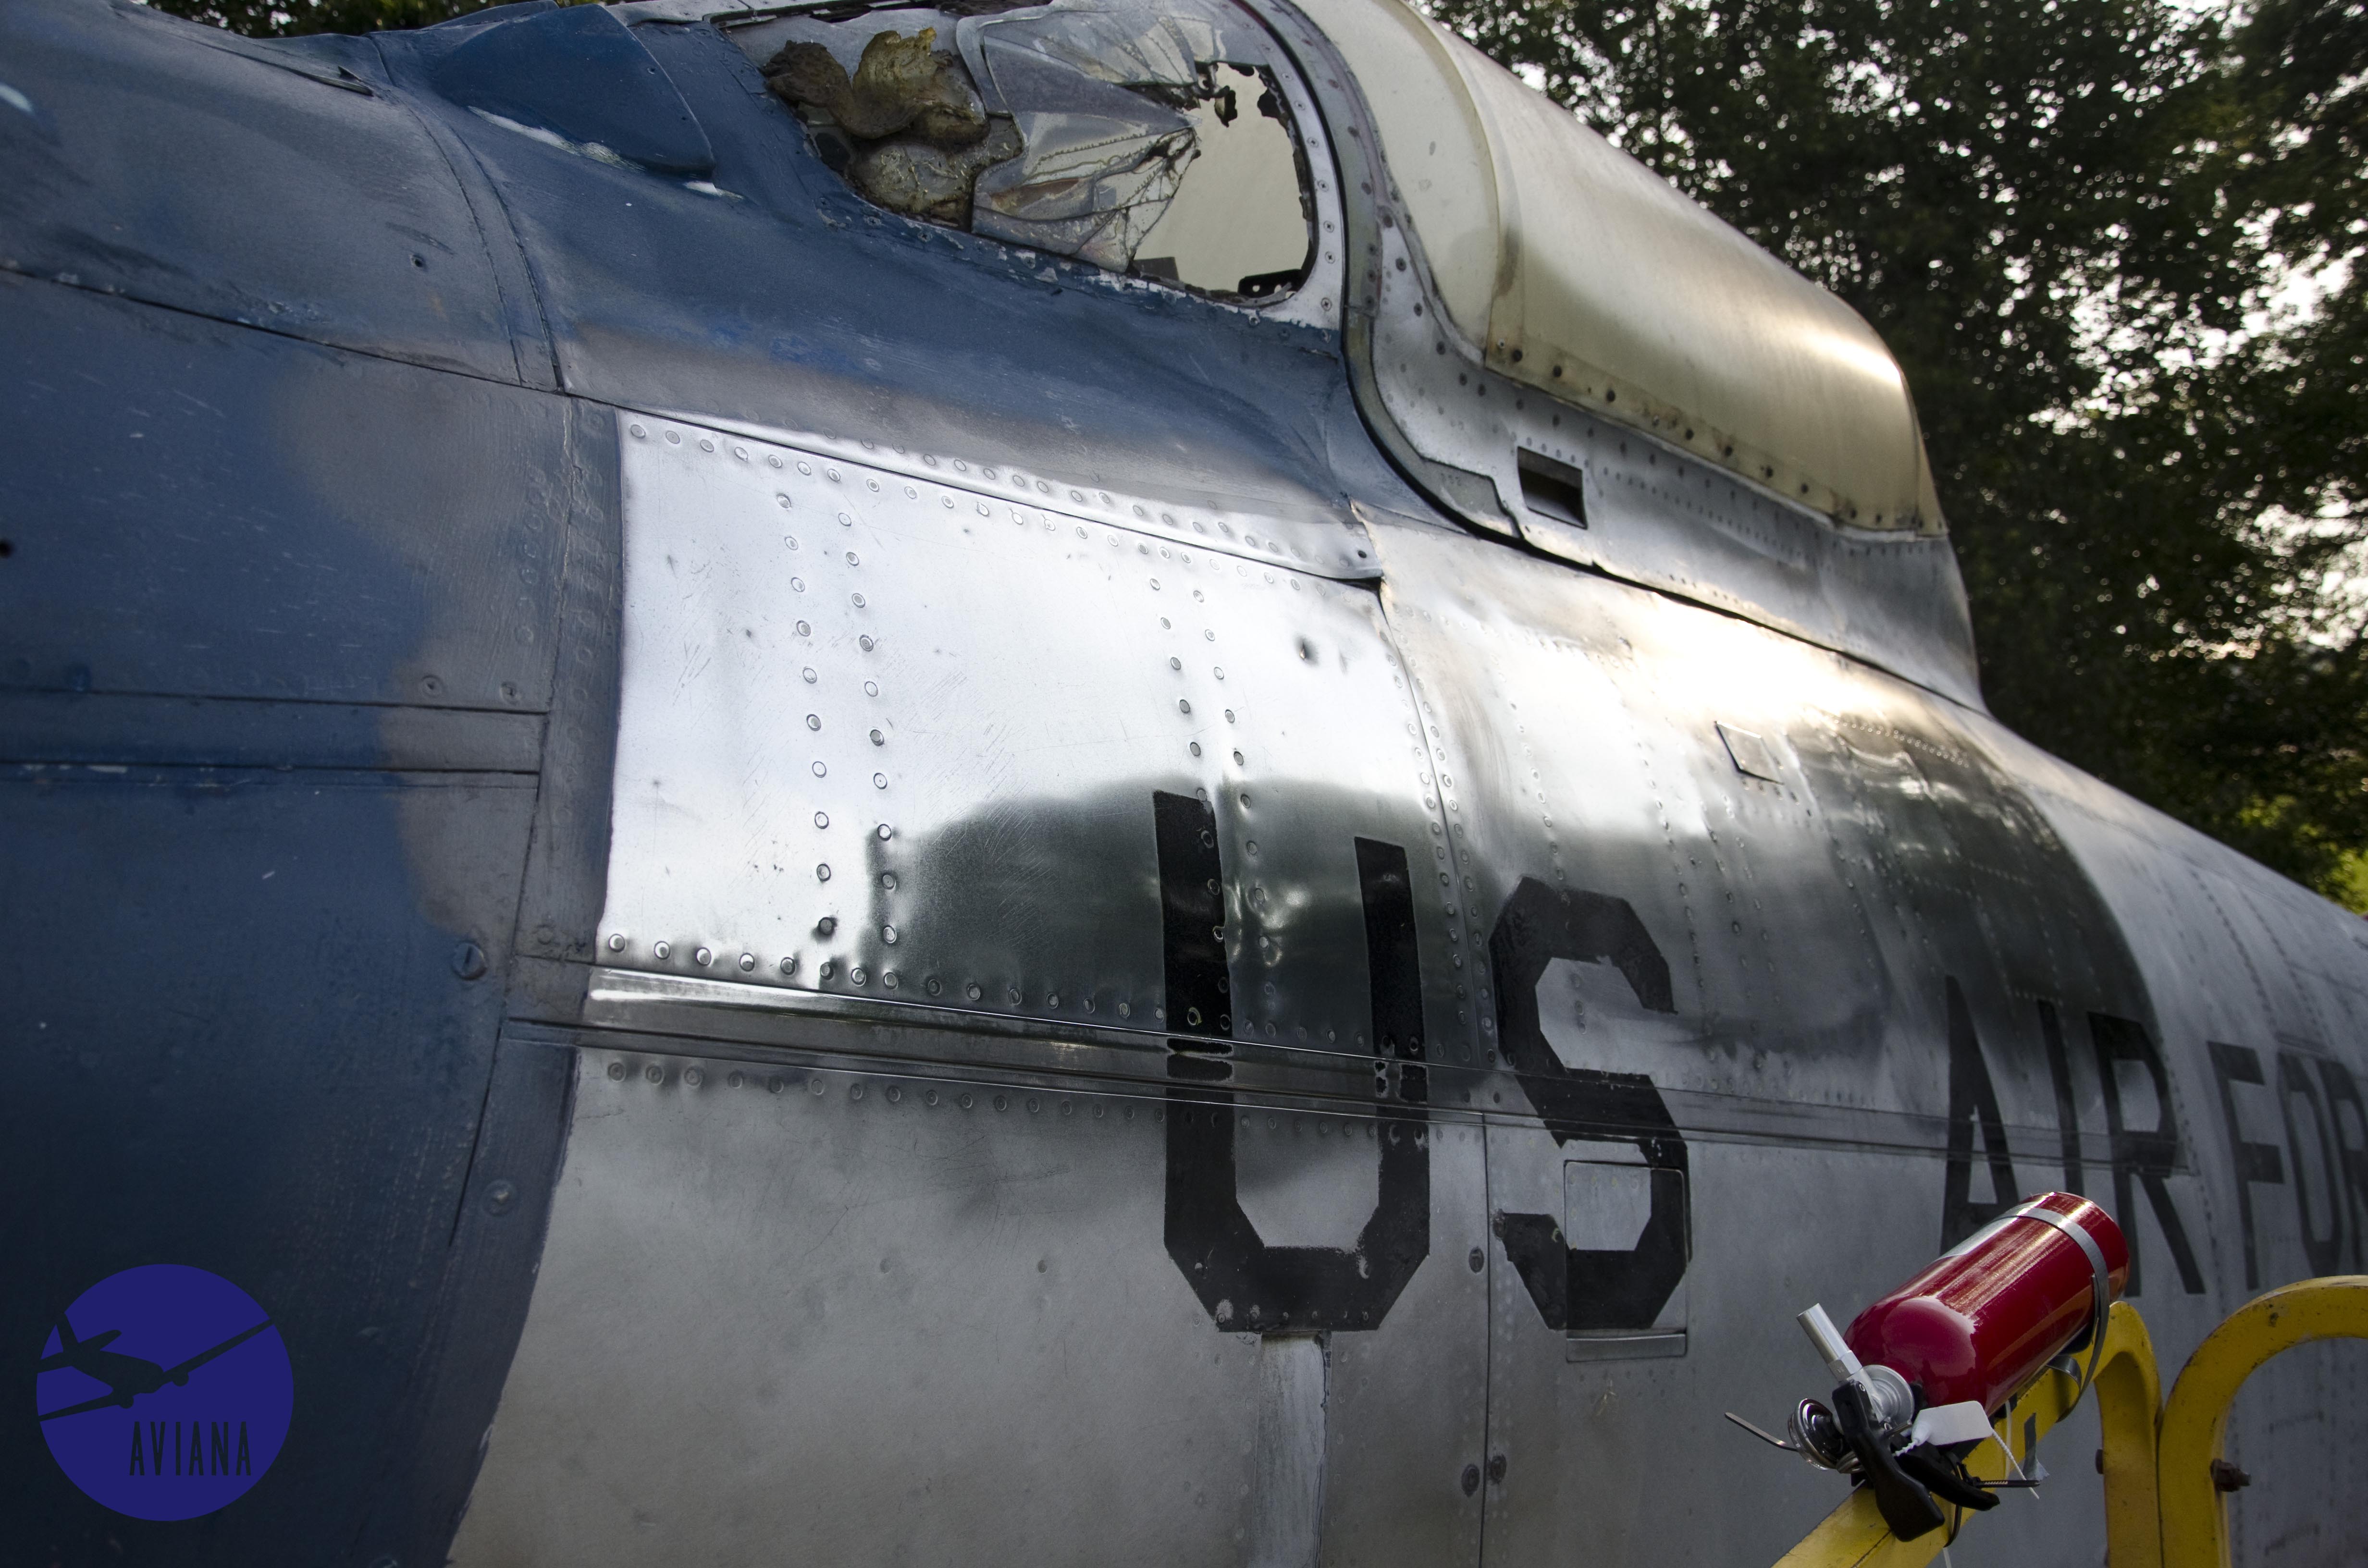
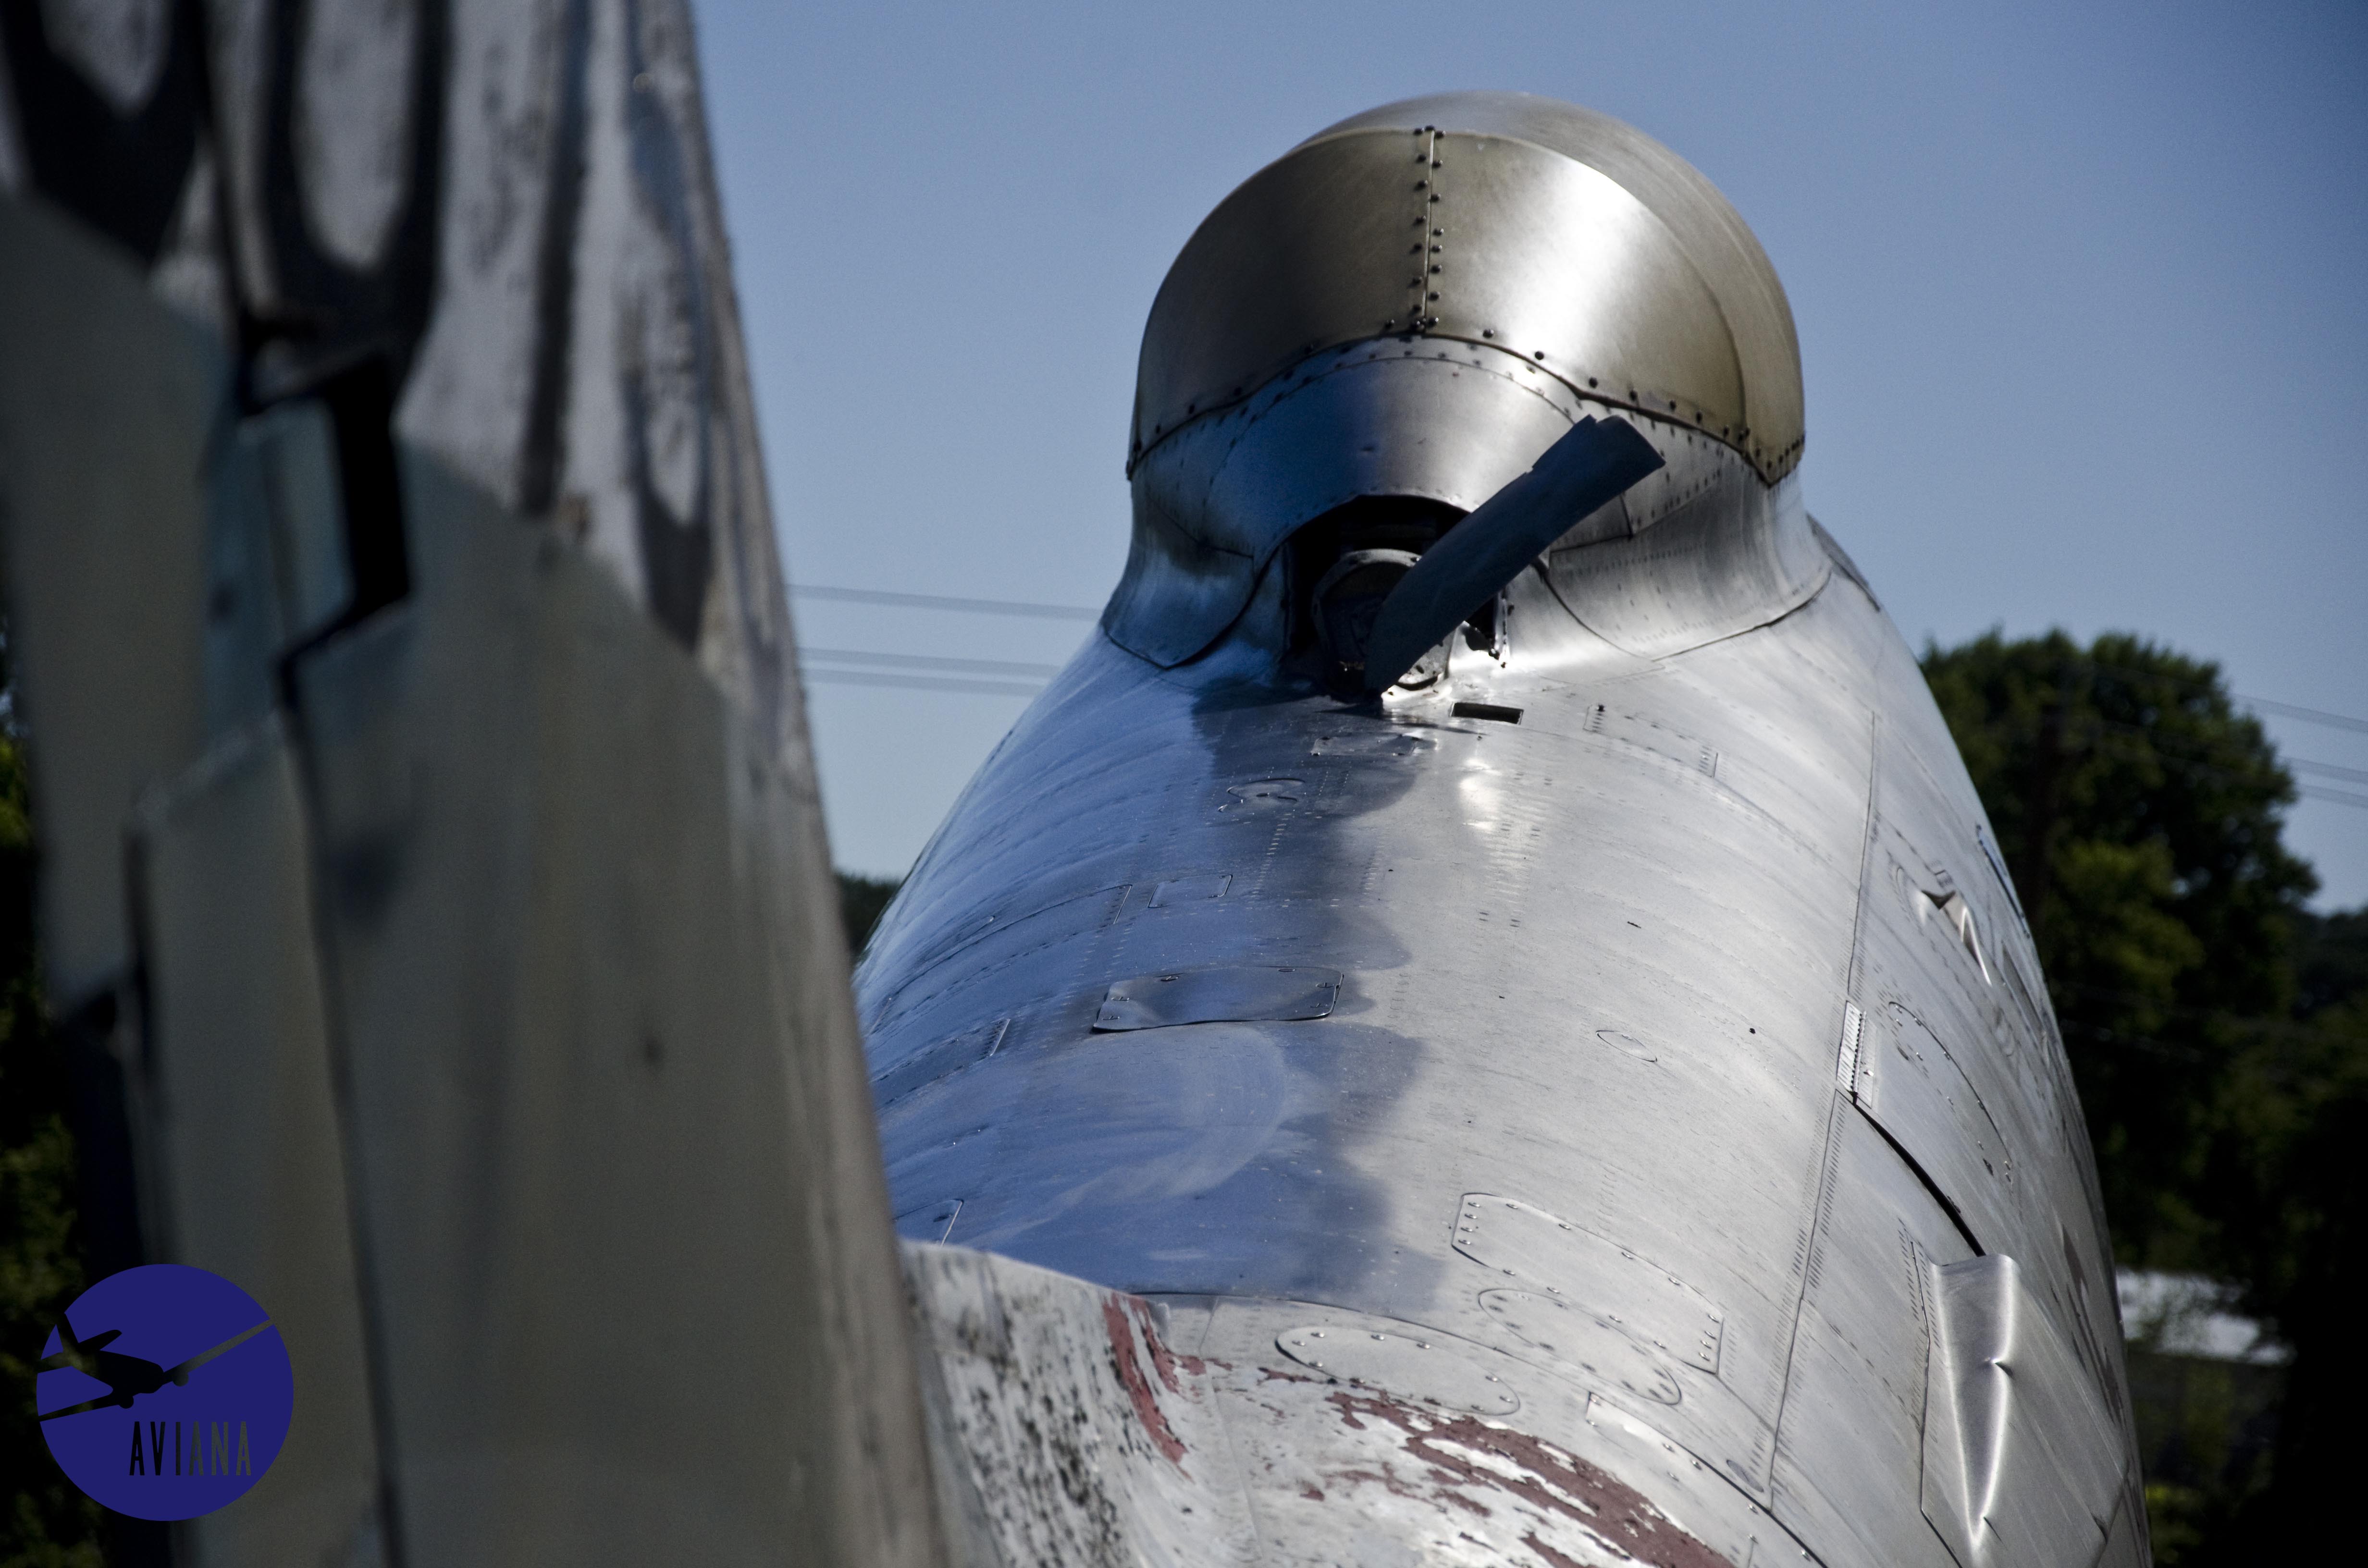
The original canopy was sawed off at some point, and replaced with sheets of plexiglass, which had since heavily oxidized. The little bit of remaining glass was broken.
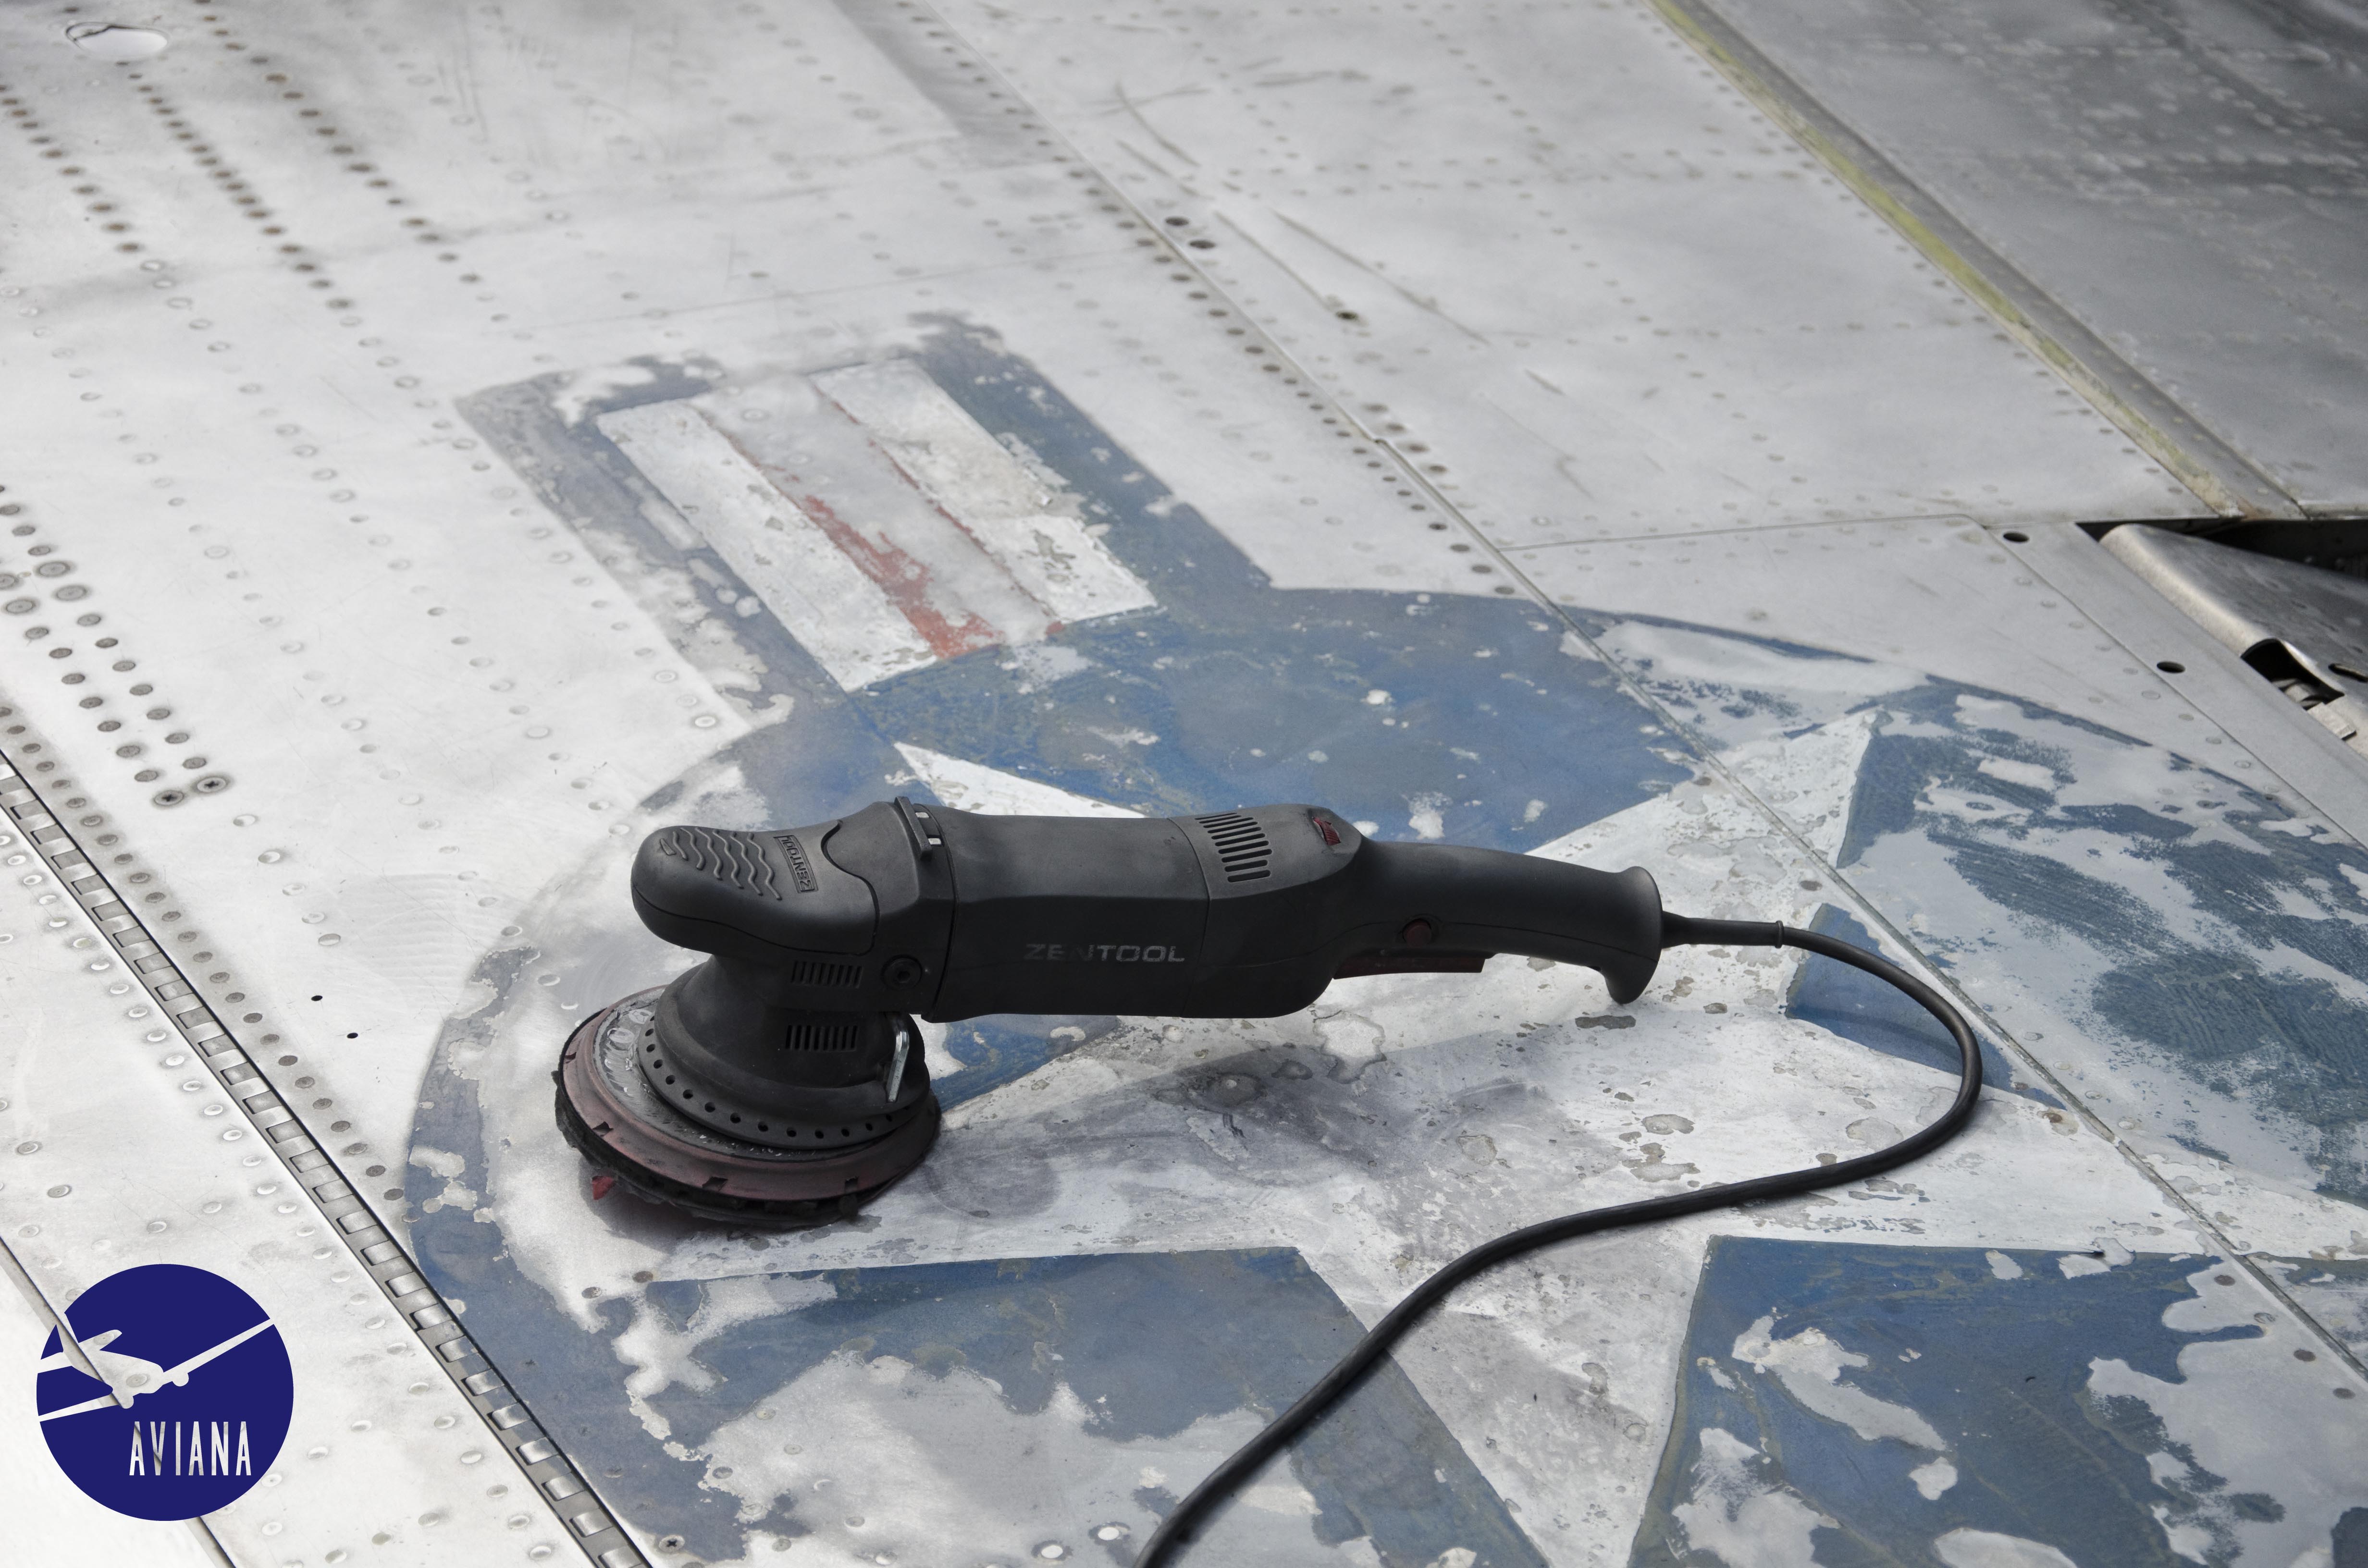
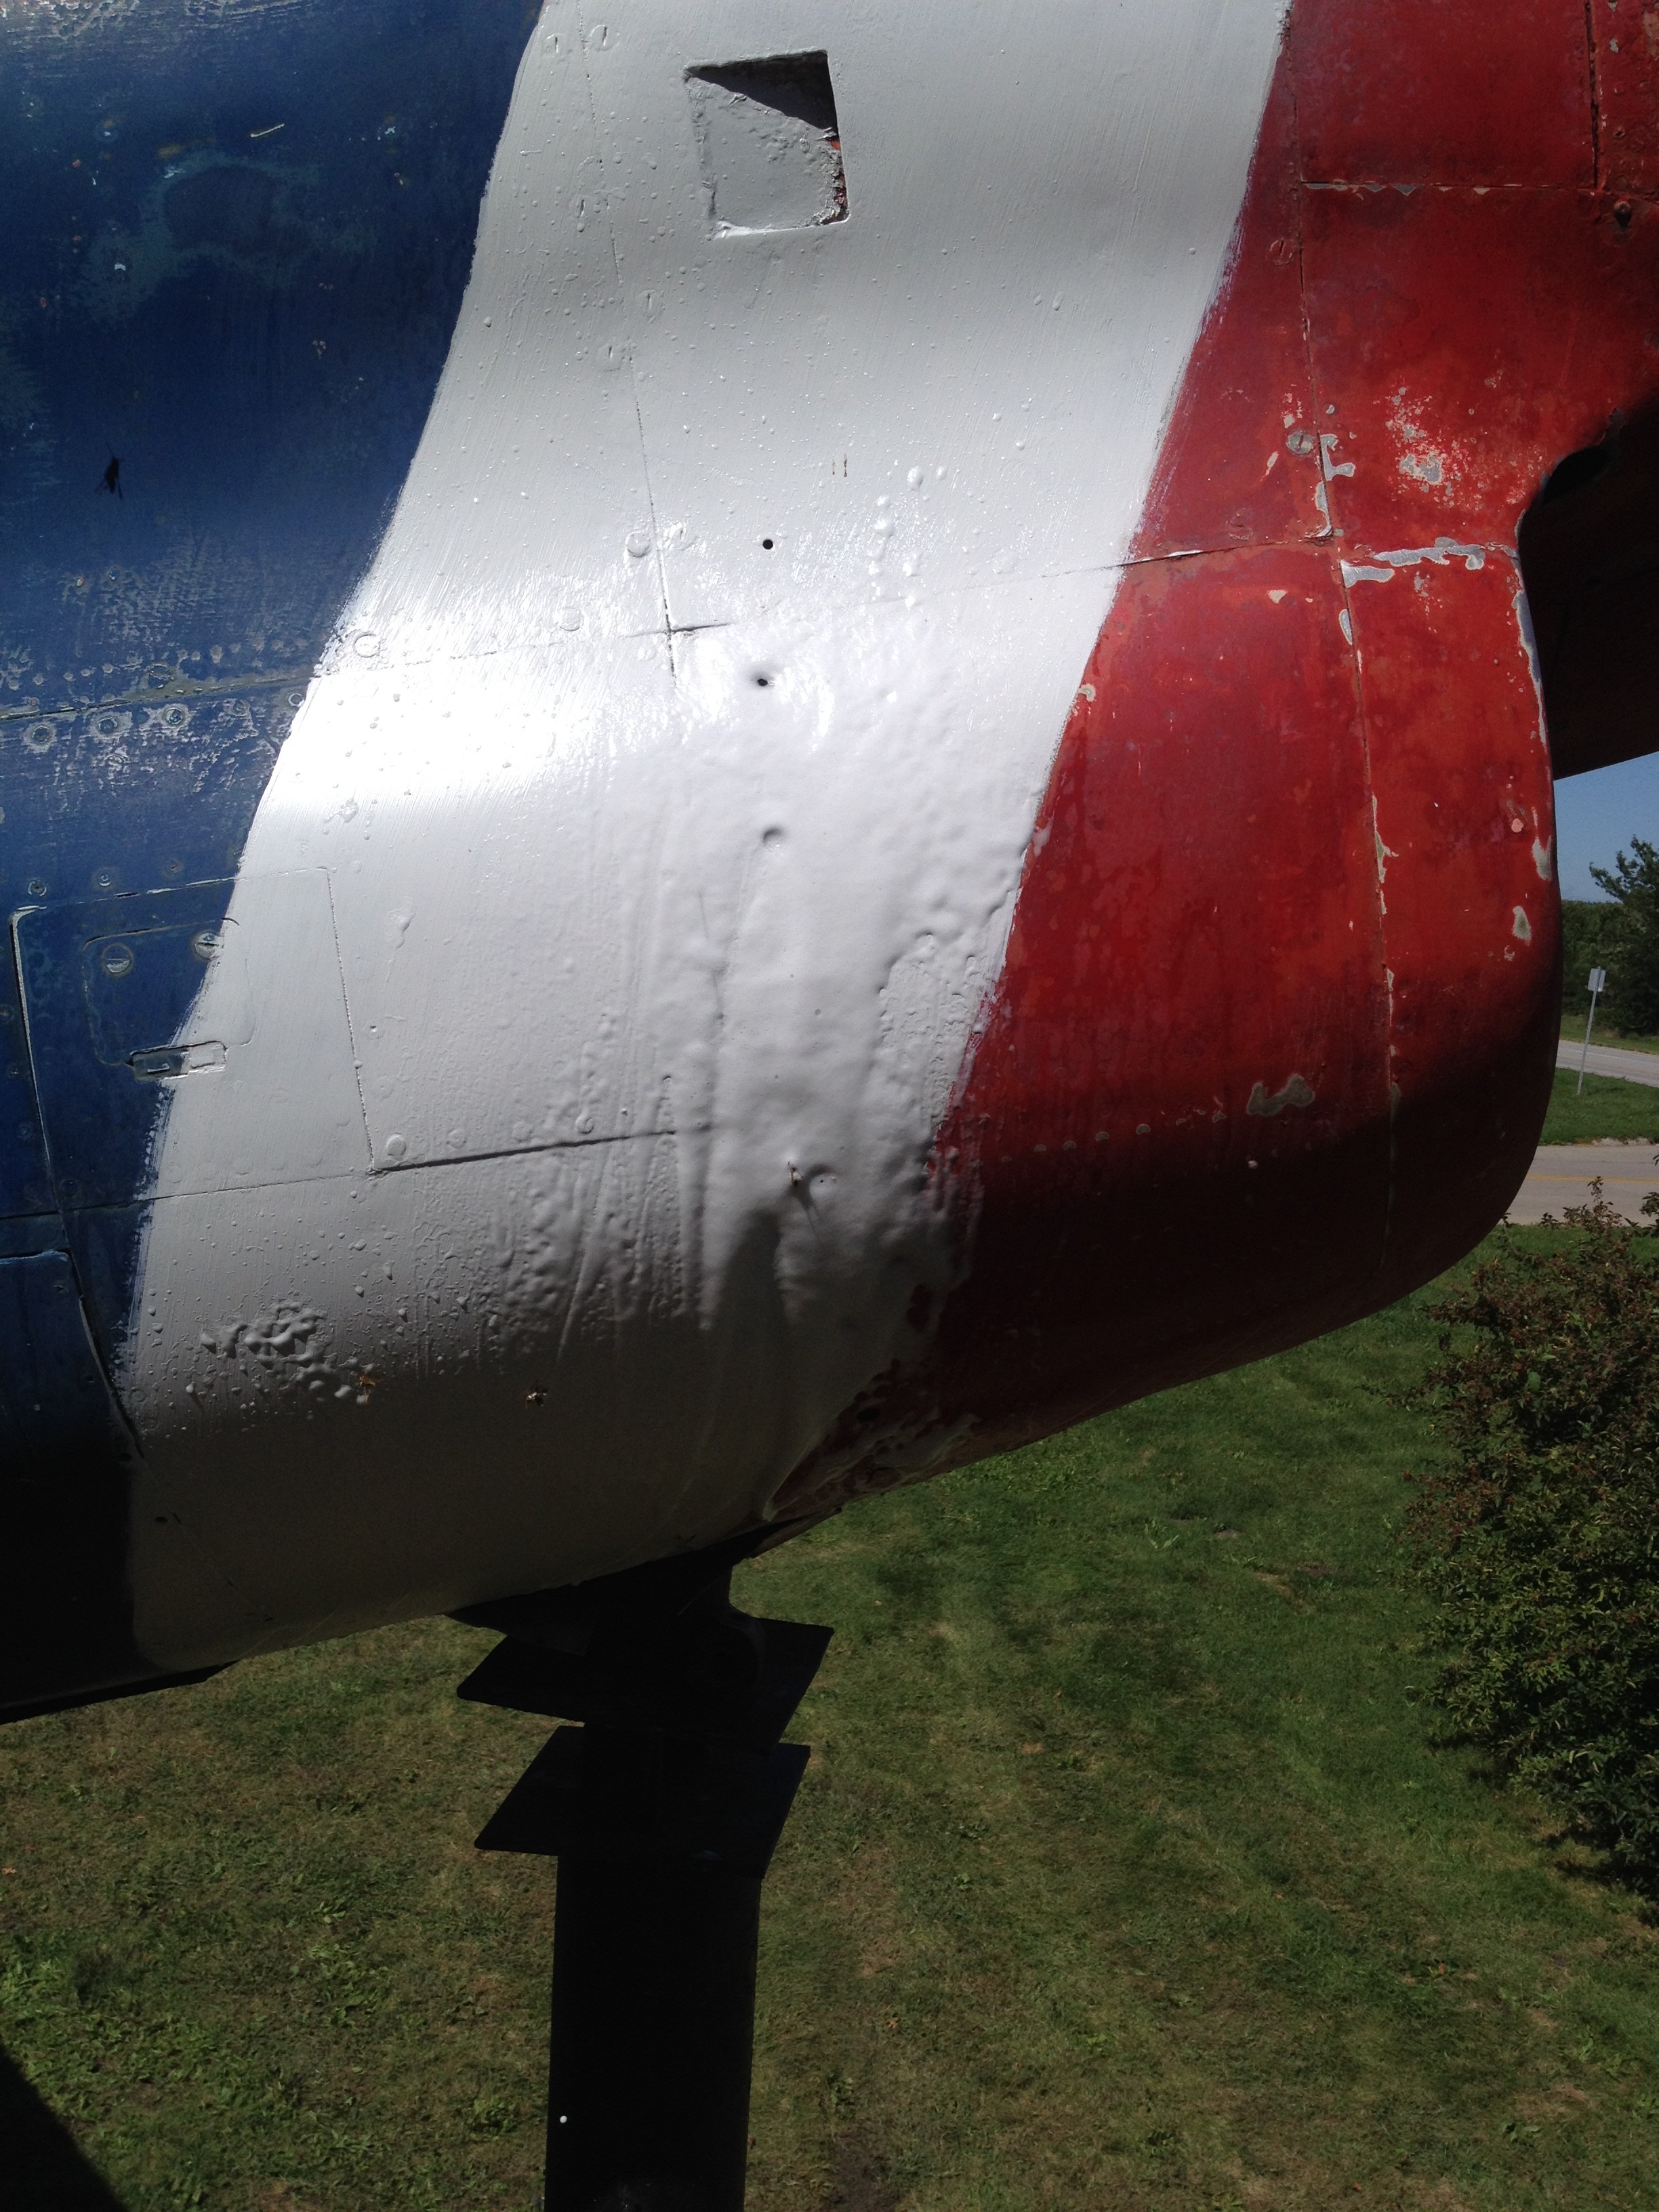
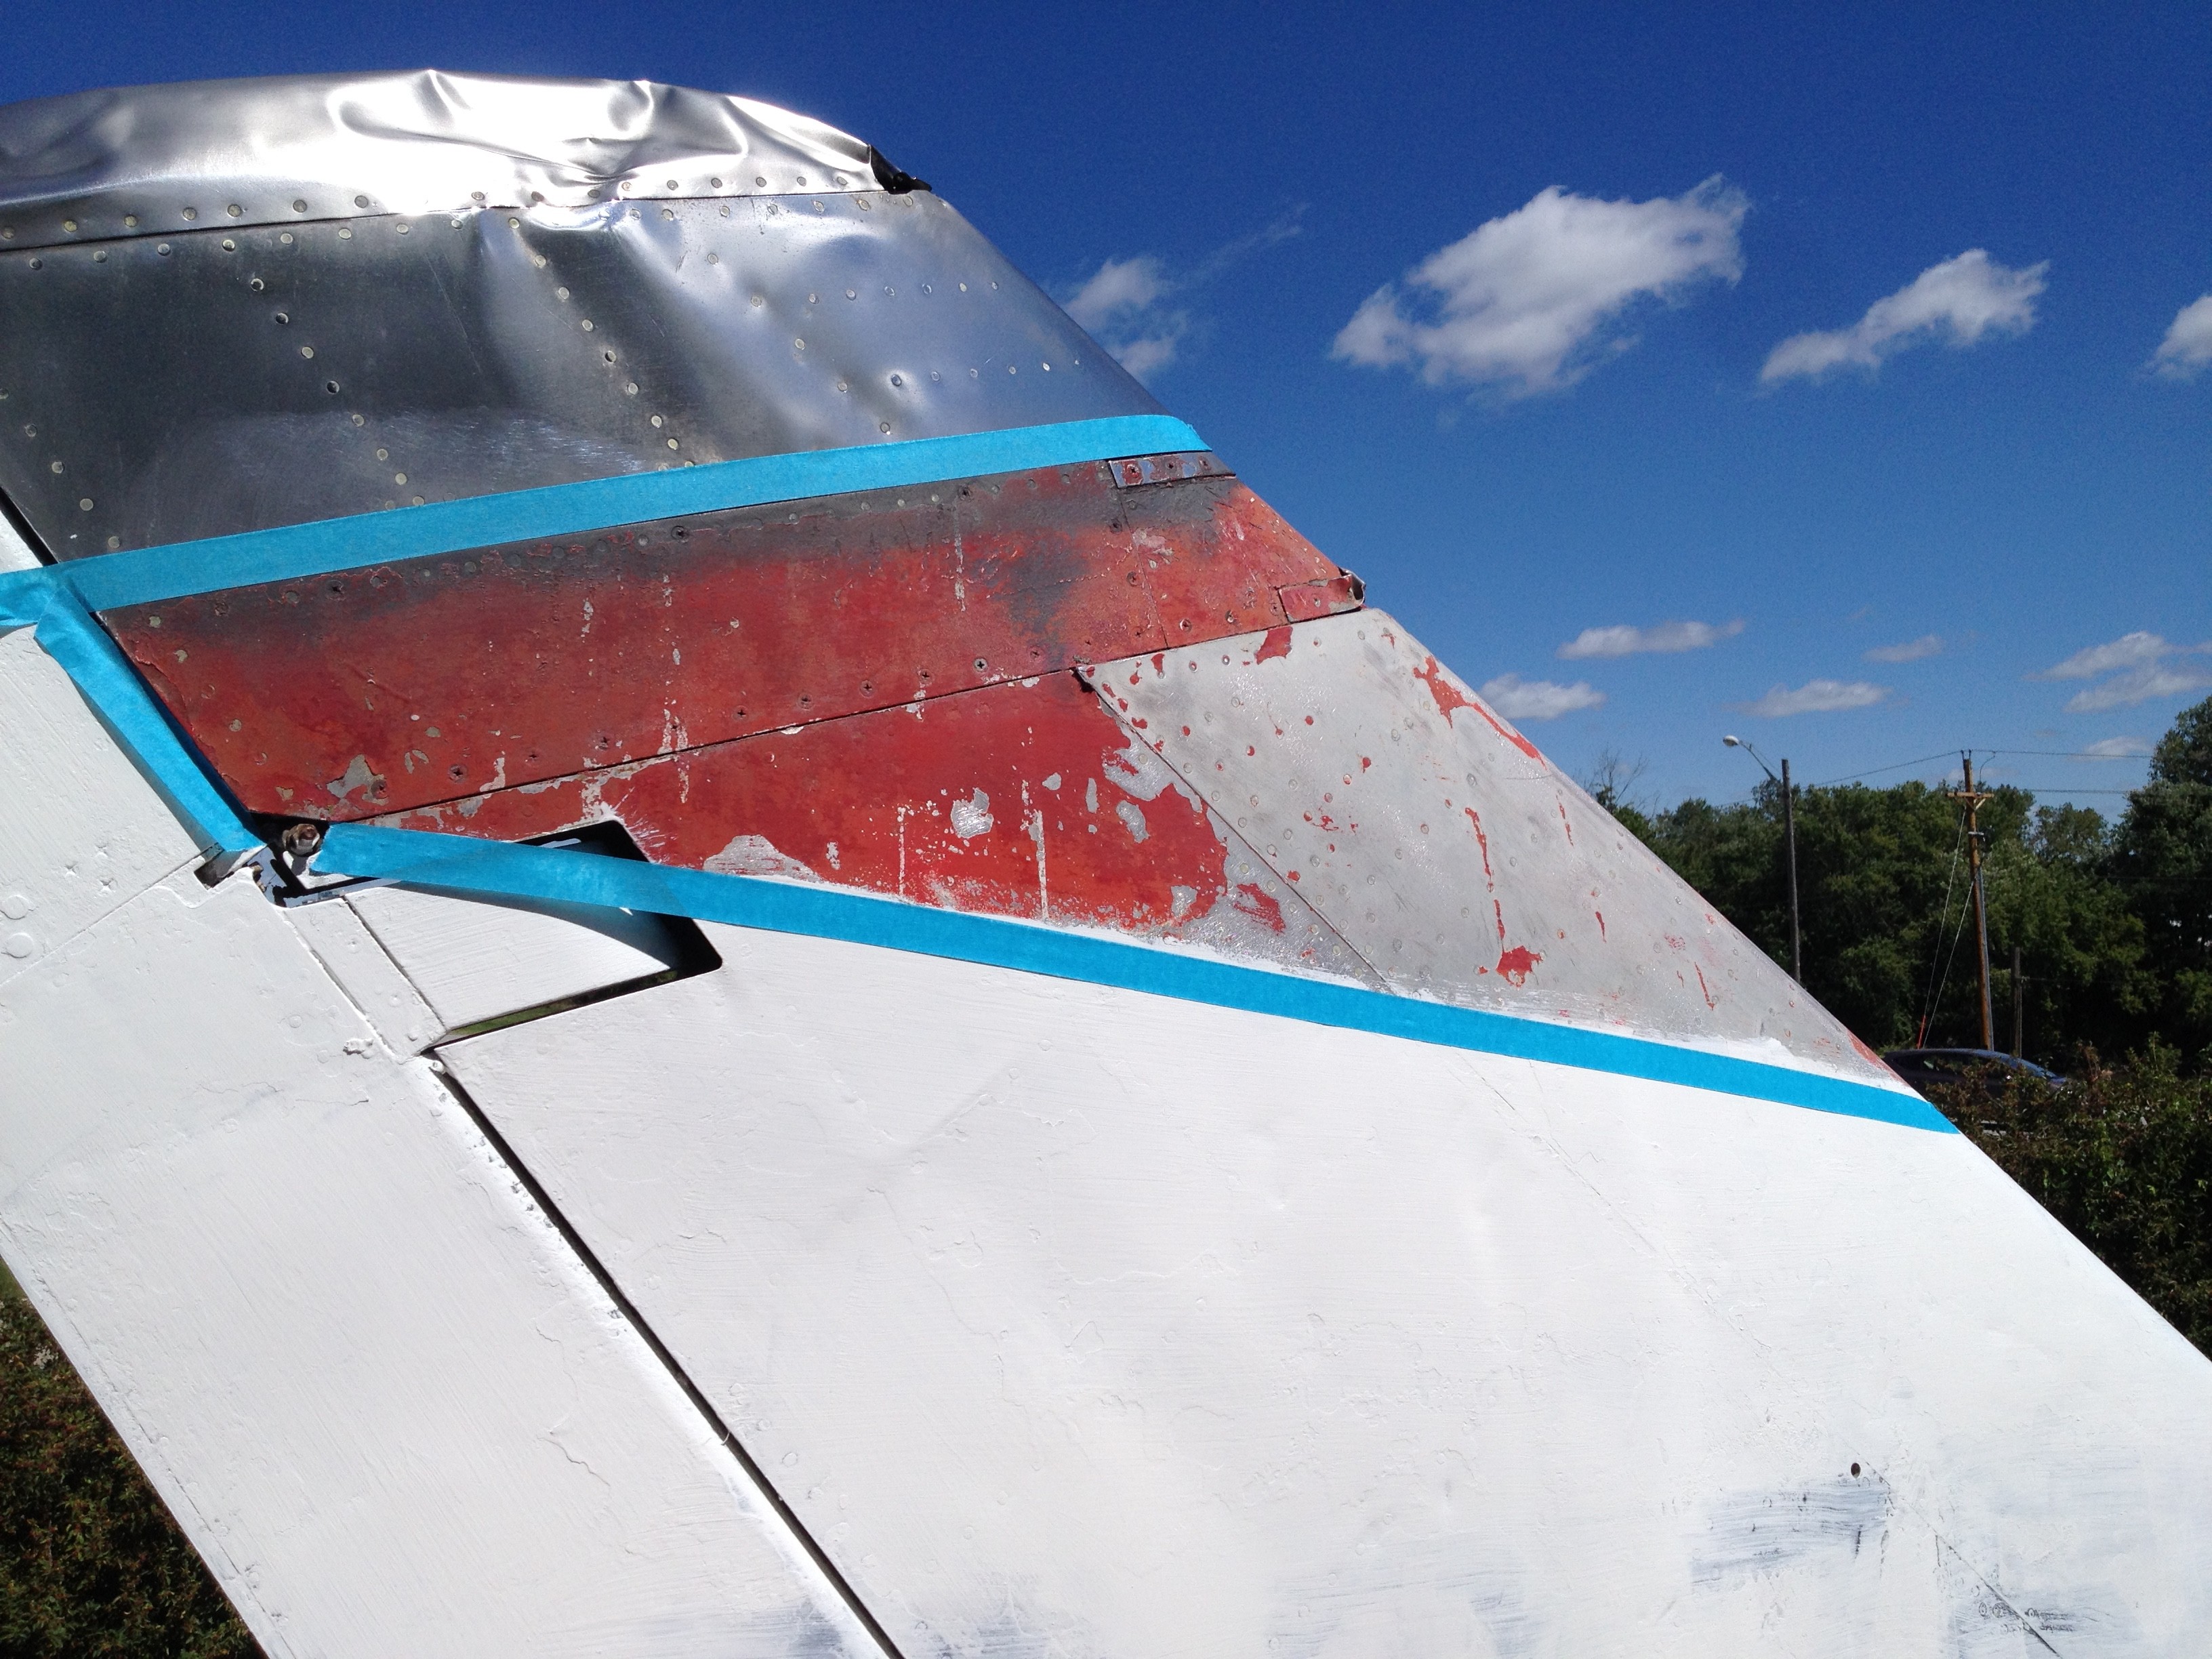
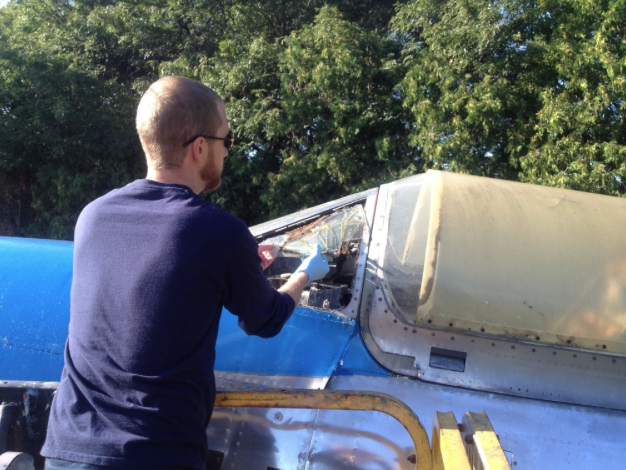
The painted surfaces were in rough shape. Since a respray was out of the question, and the paint was way too deteriorated for paint correction, we decided on sanding, and repainting by brush, using a tough enamel. Our goal was to remove any loose flakes of paint, and scuff the rest of the paint to accept the new paint coating.
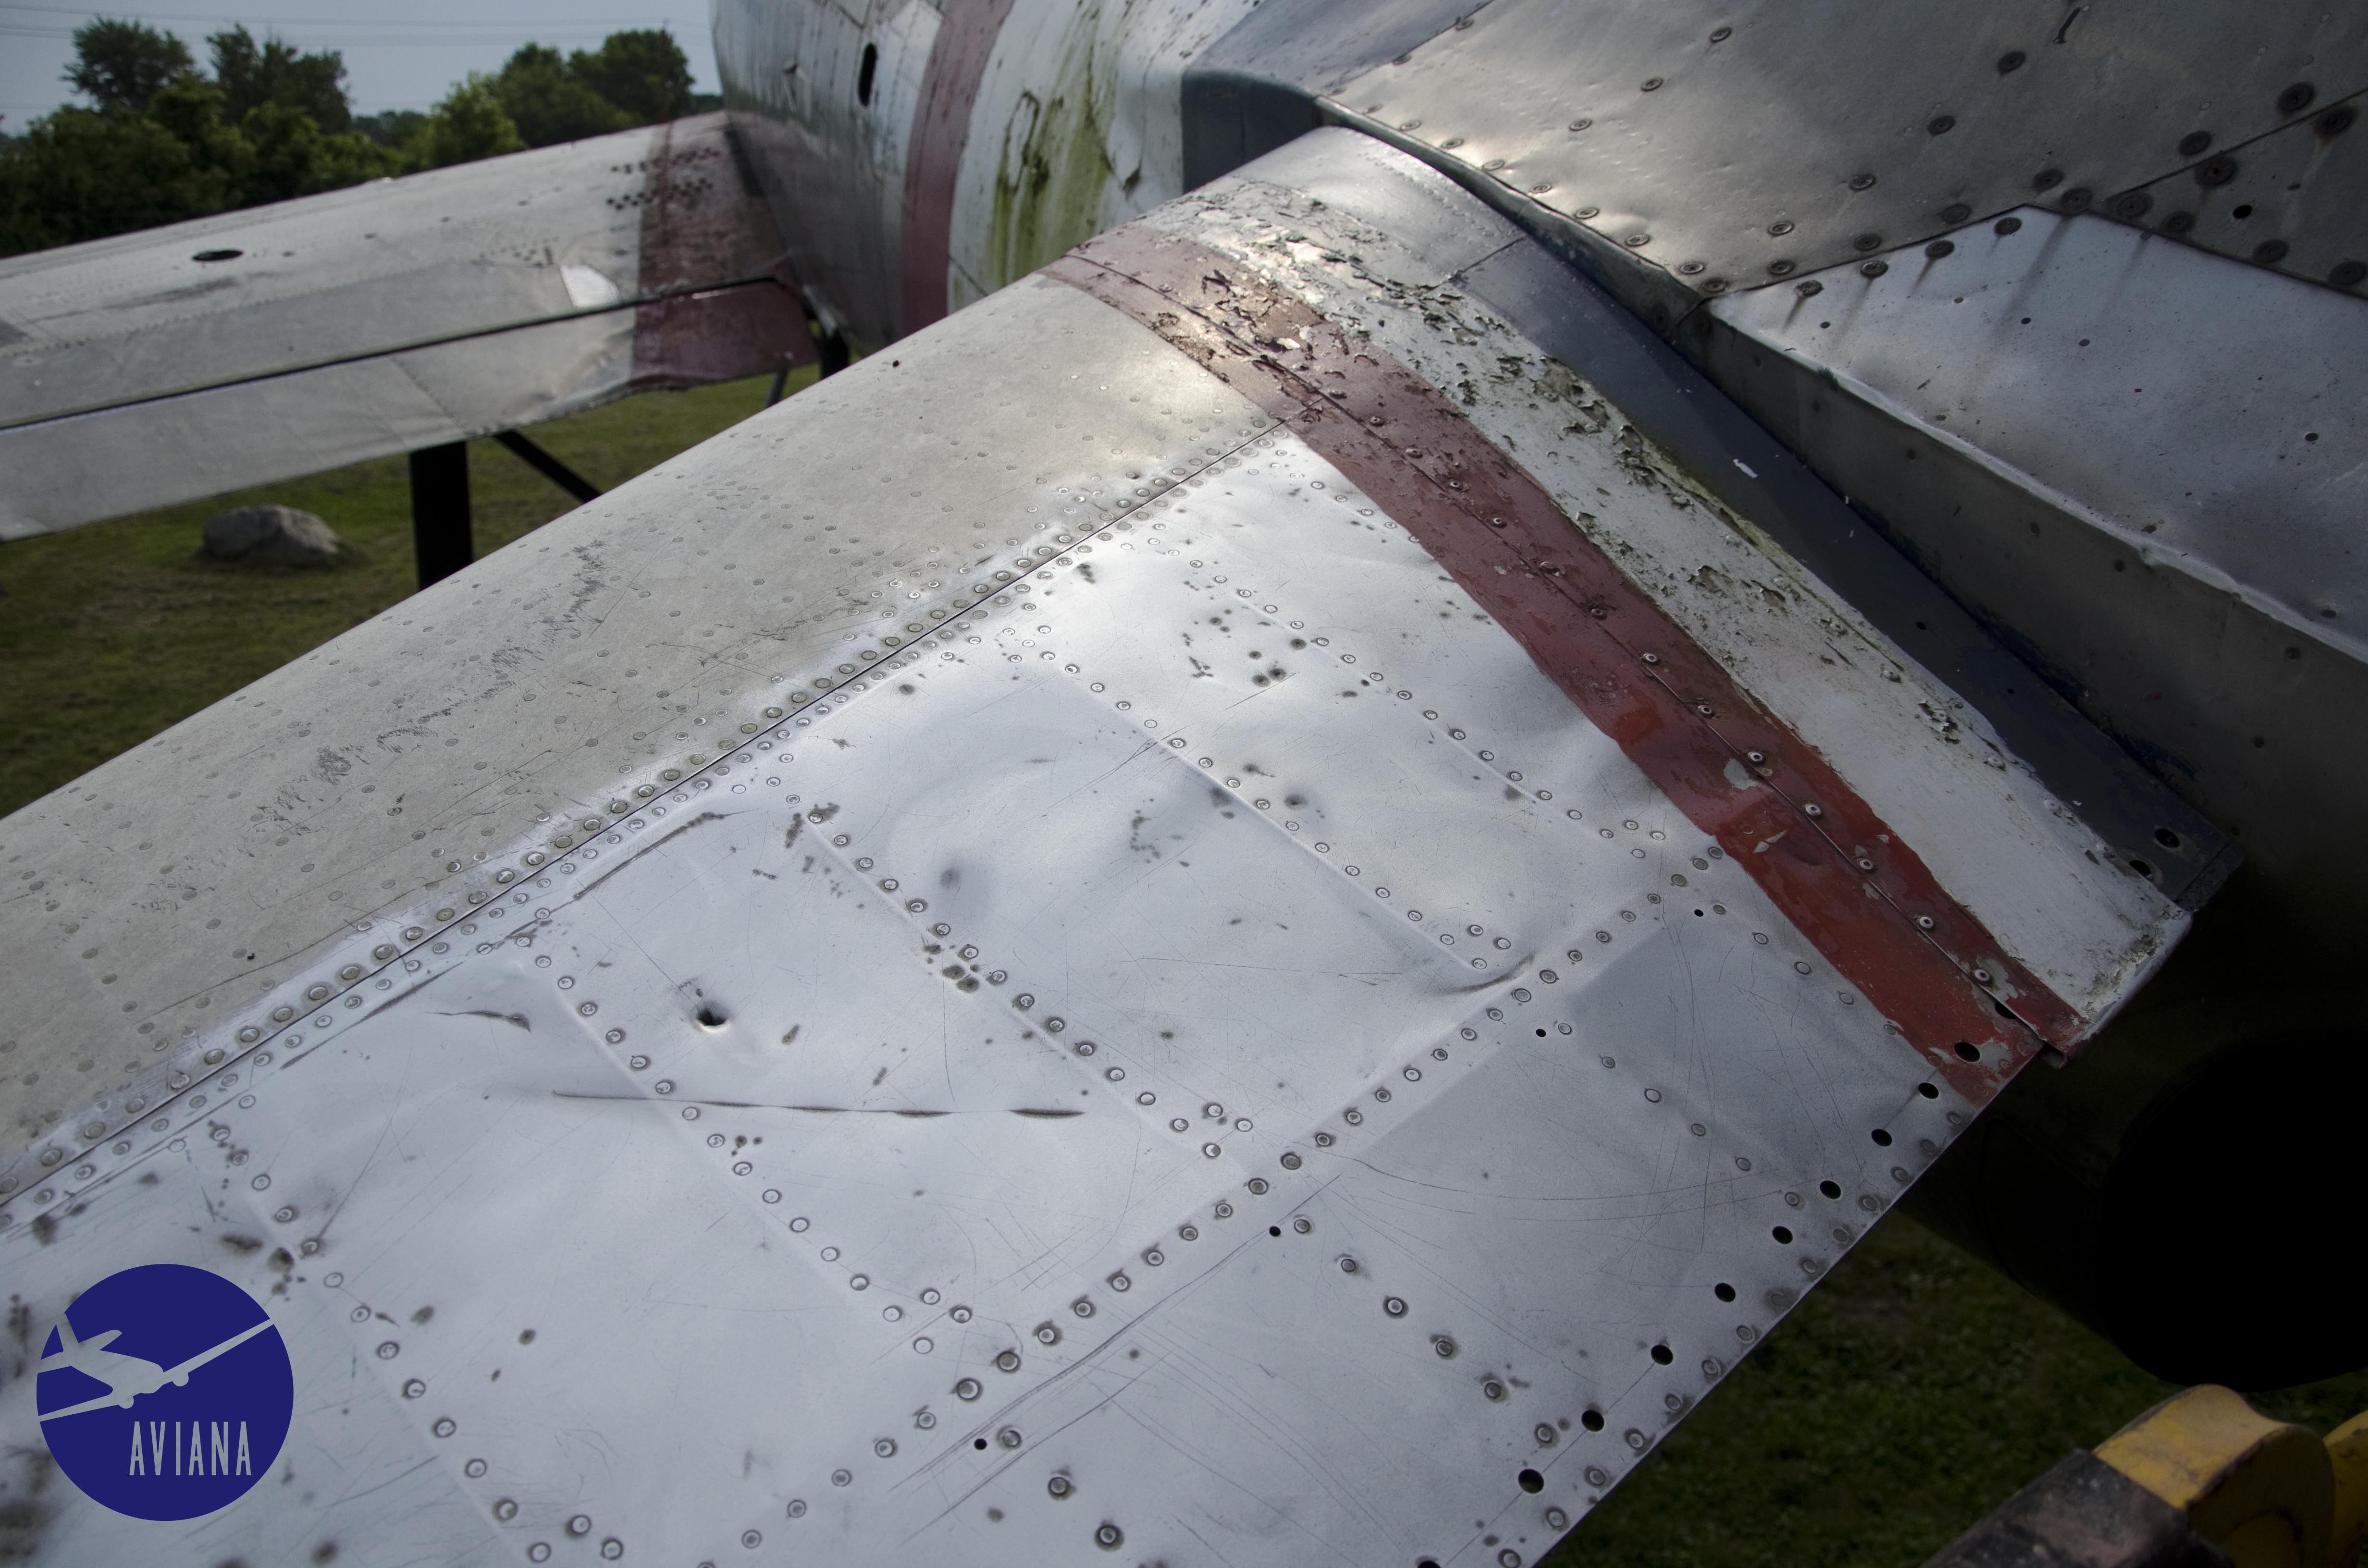
For the aluminum, the plan was a little different. Oxidation was heavier than initially planned. We were hoping to use a single sanding step to remove most of the oxidation, then compound, and polish. Due to the differences in aluminum types used and texture issues, as well as a much more severe level of oxidation, it took many more progressive sanding steps to prepare for compounding.

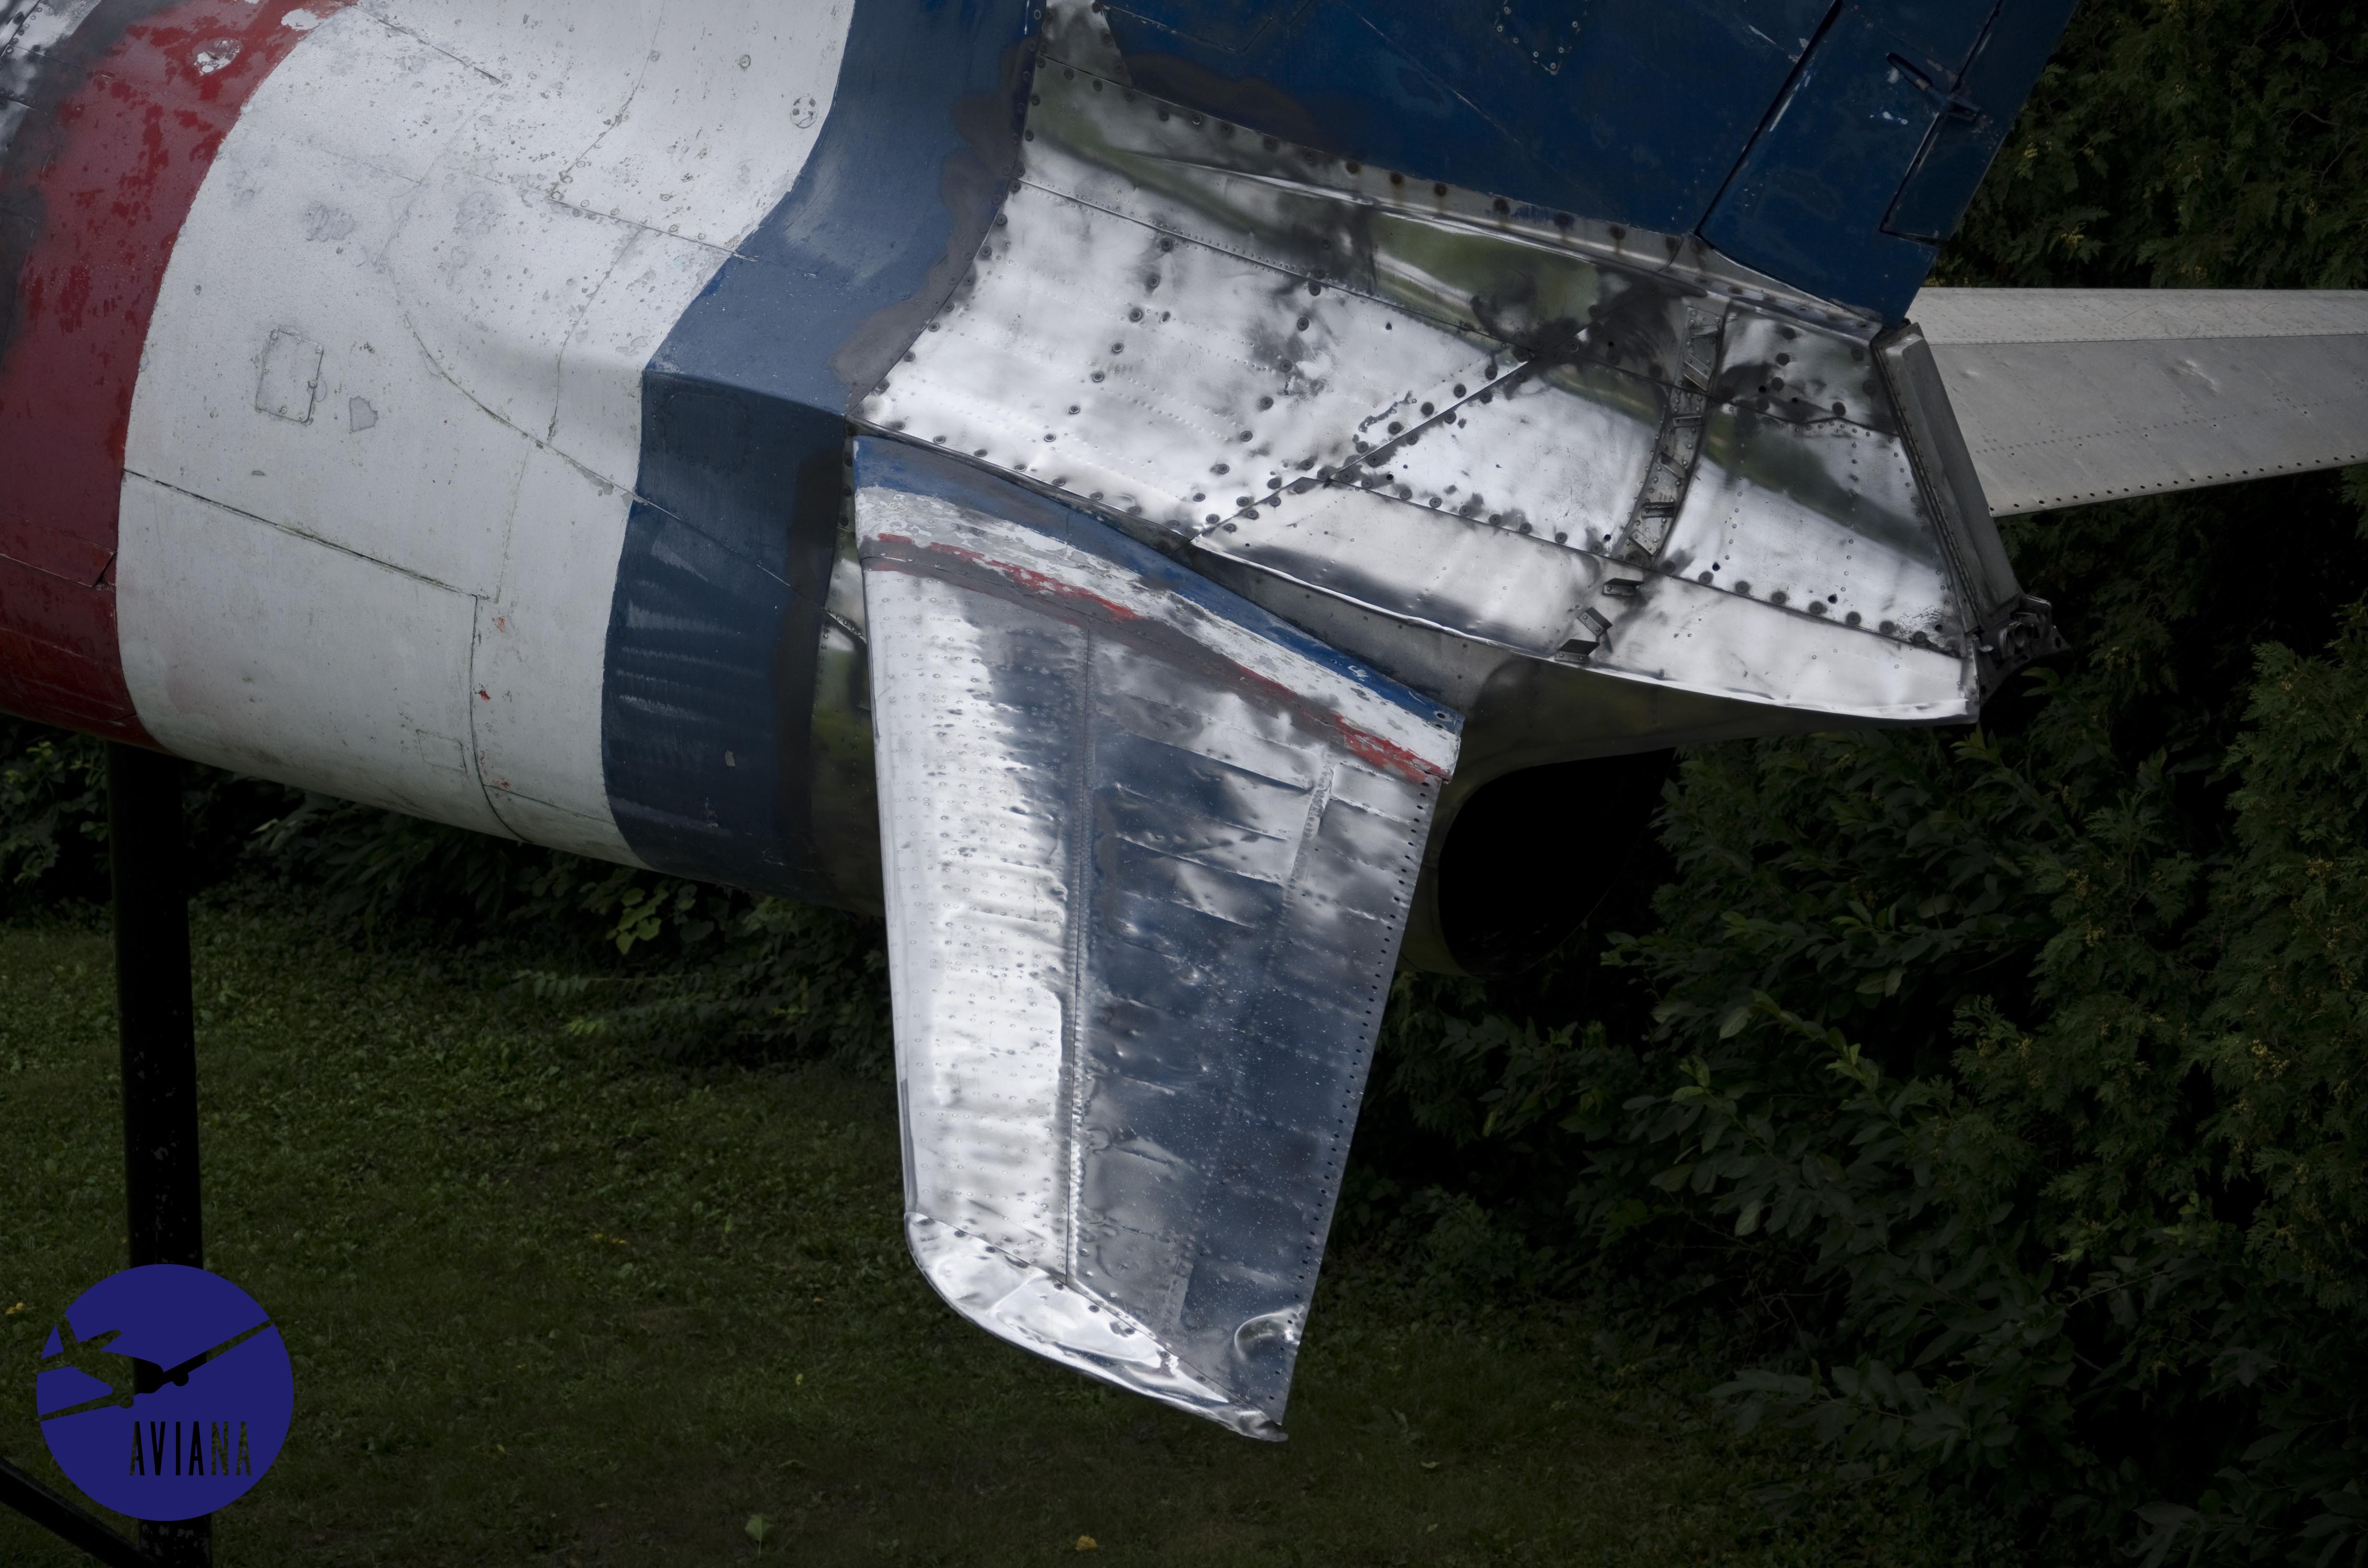
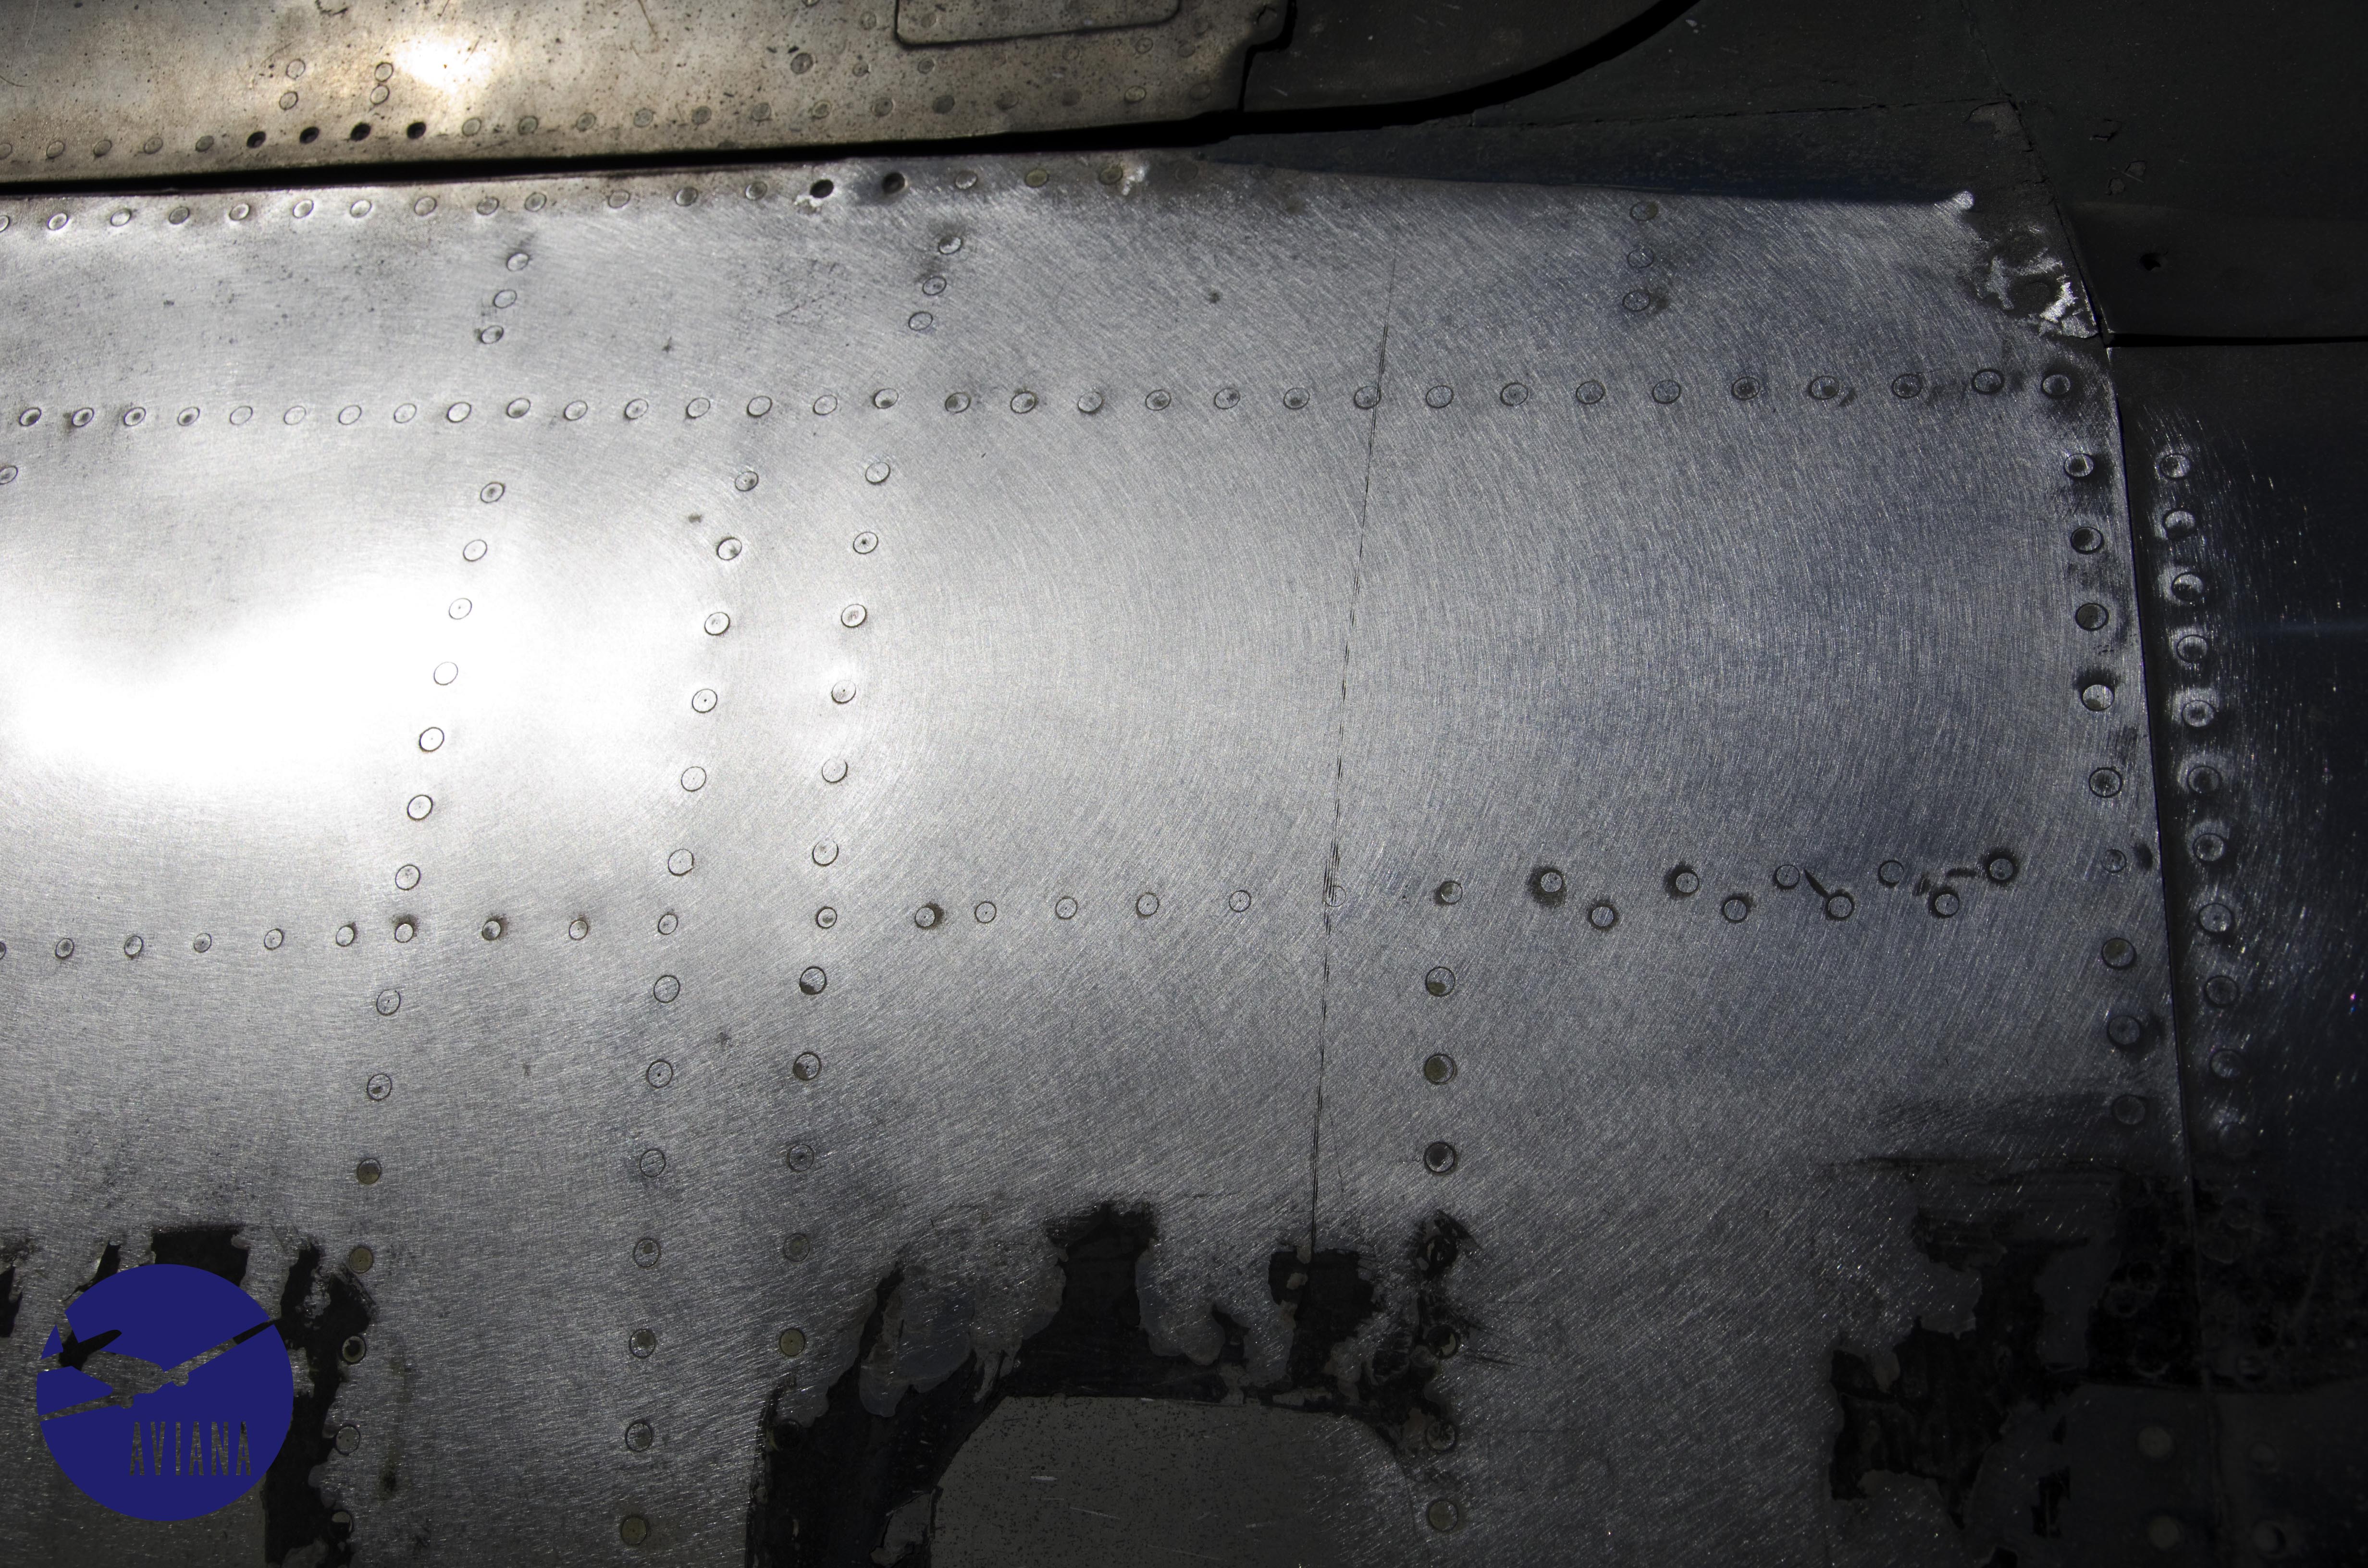
Damaged areas needing hand sanding.

As you can see, some areas with deeper scratches were not resolved, as that would involve much more heavy sanding.
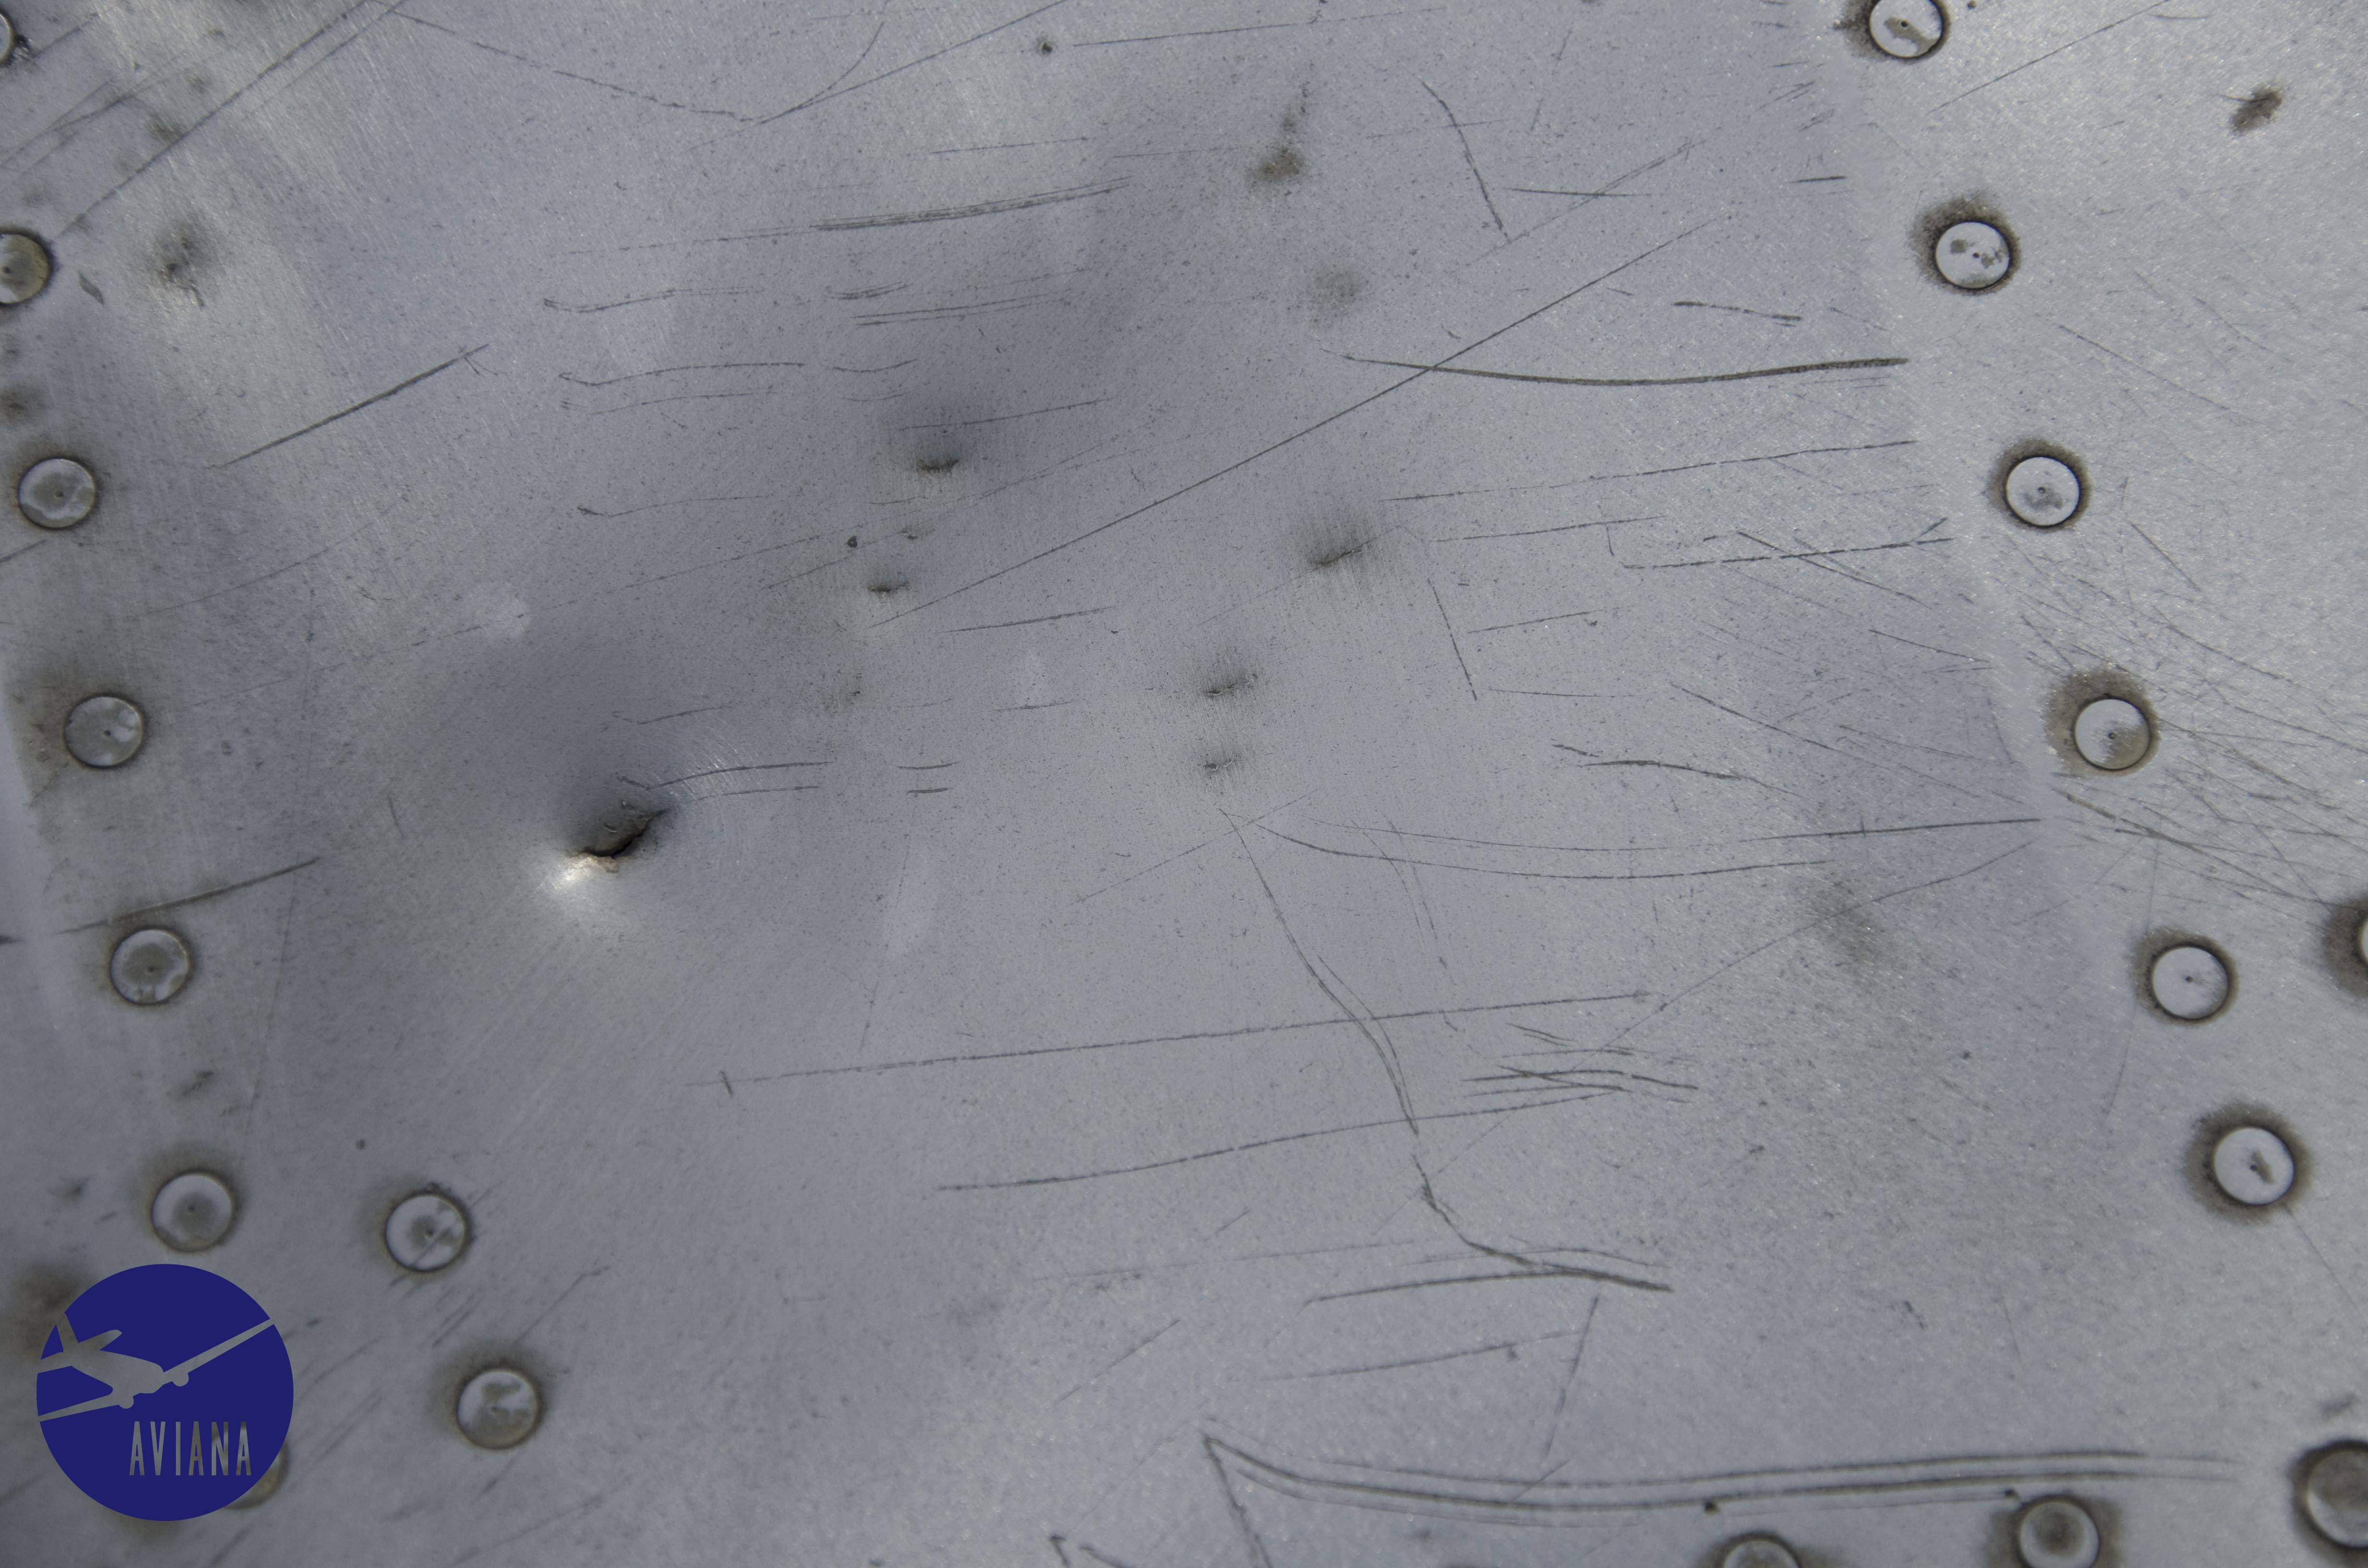
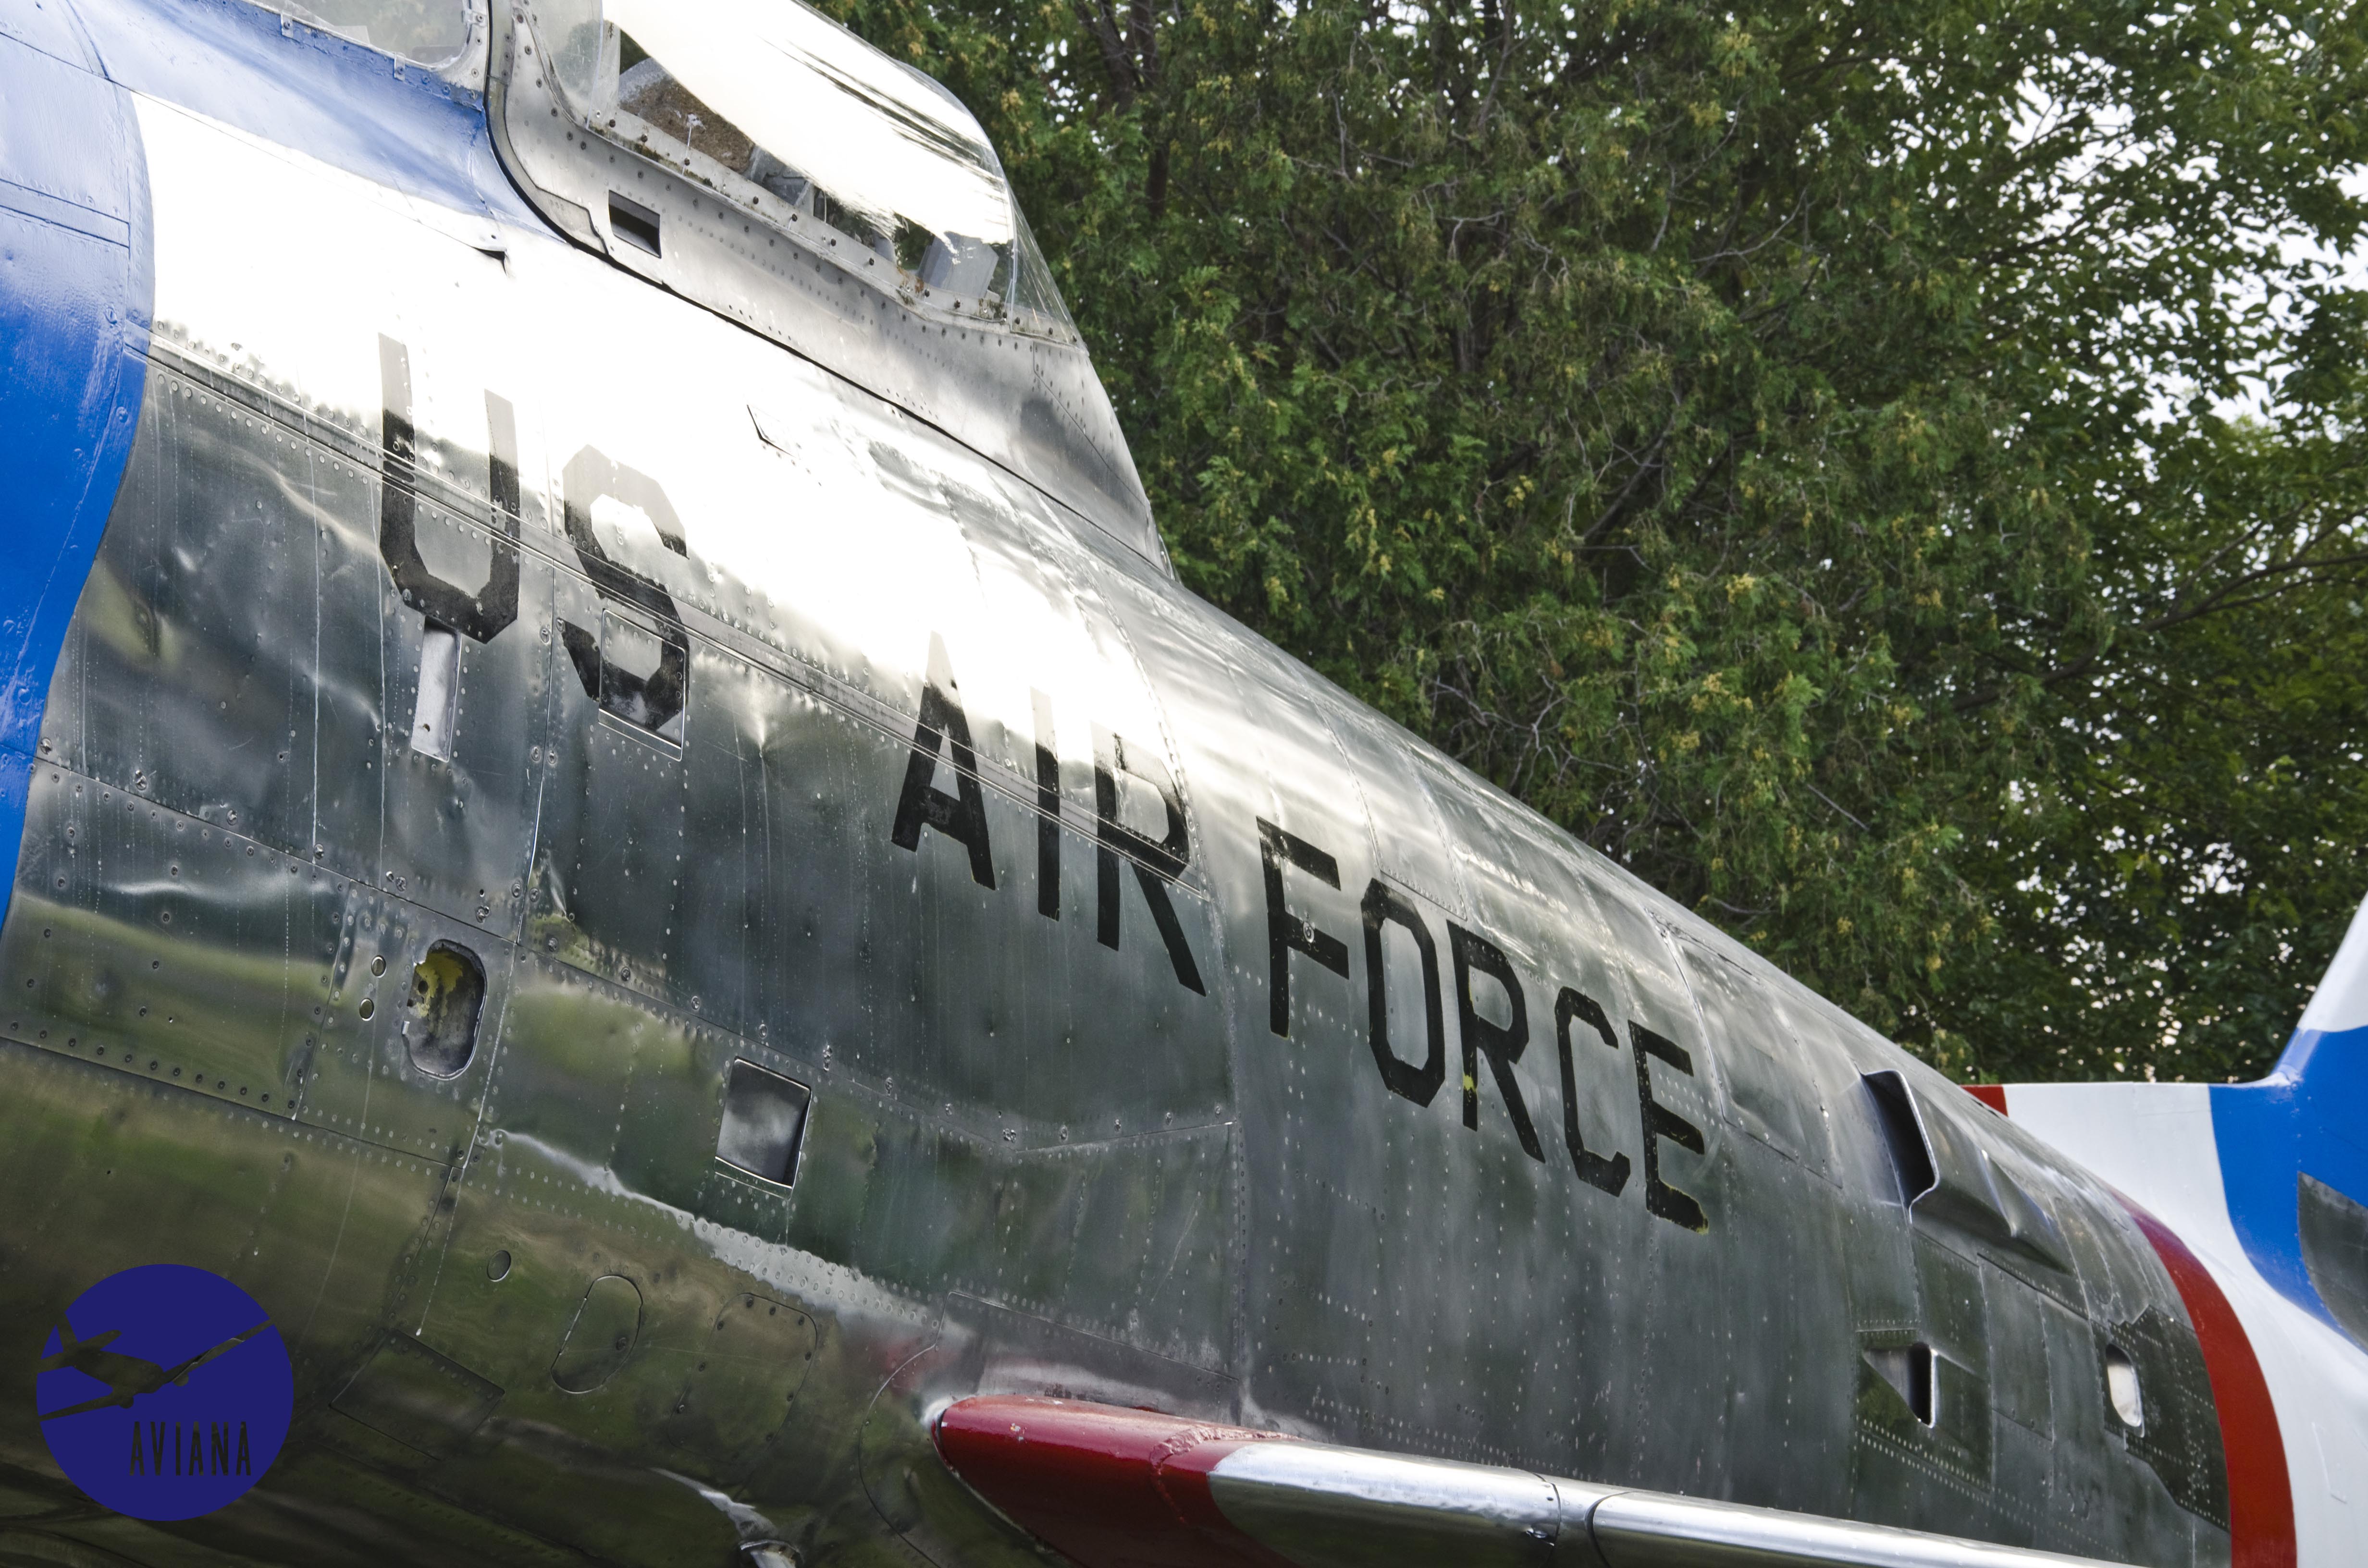
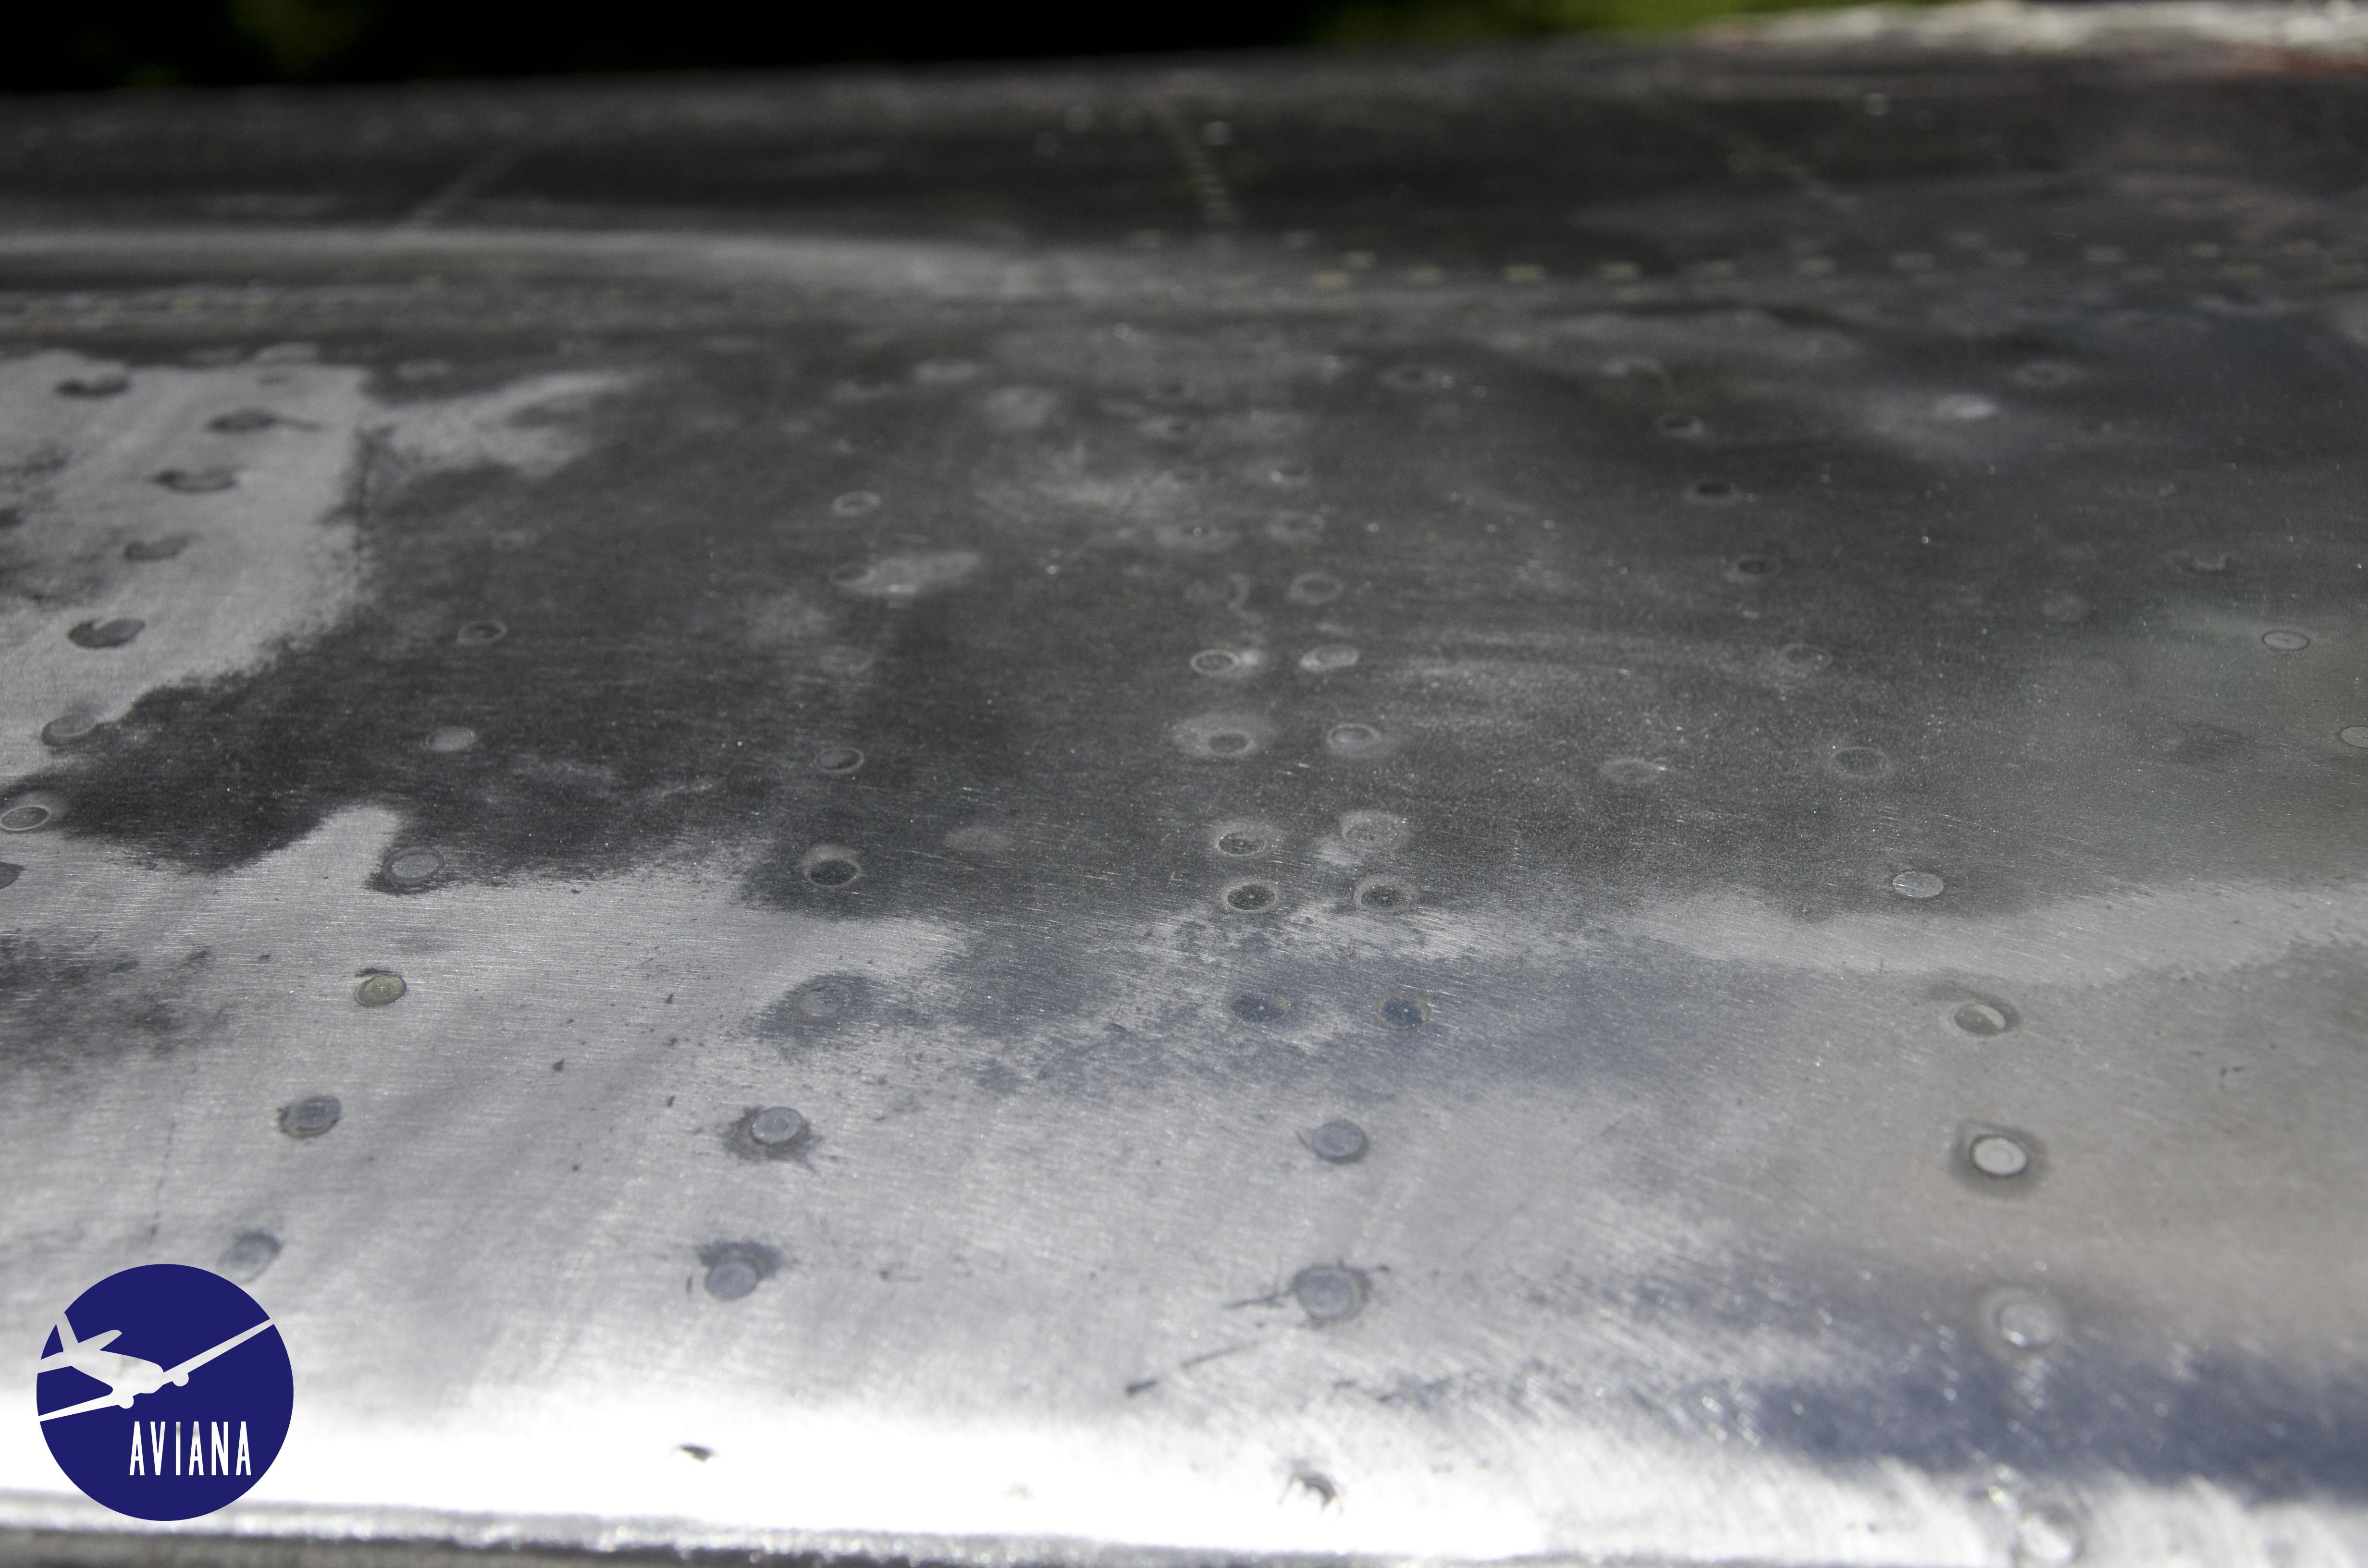
You can see the rough texture remaining on the aircraft fuselage, even after a 60 grit initial pass!
Just to be clear, we do not recommend sanding, especially at 60grit, on airworthy aircraft.

Slowly making progress with sanding
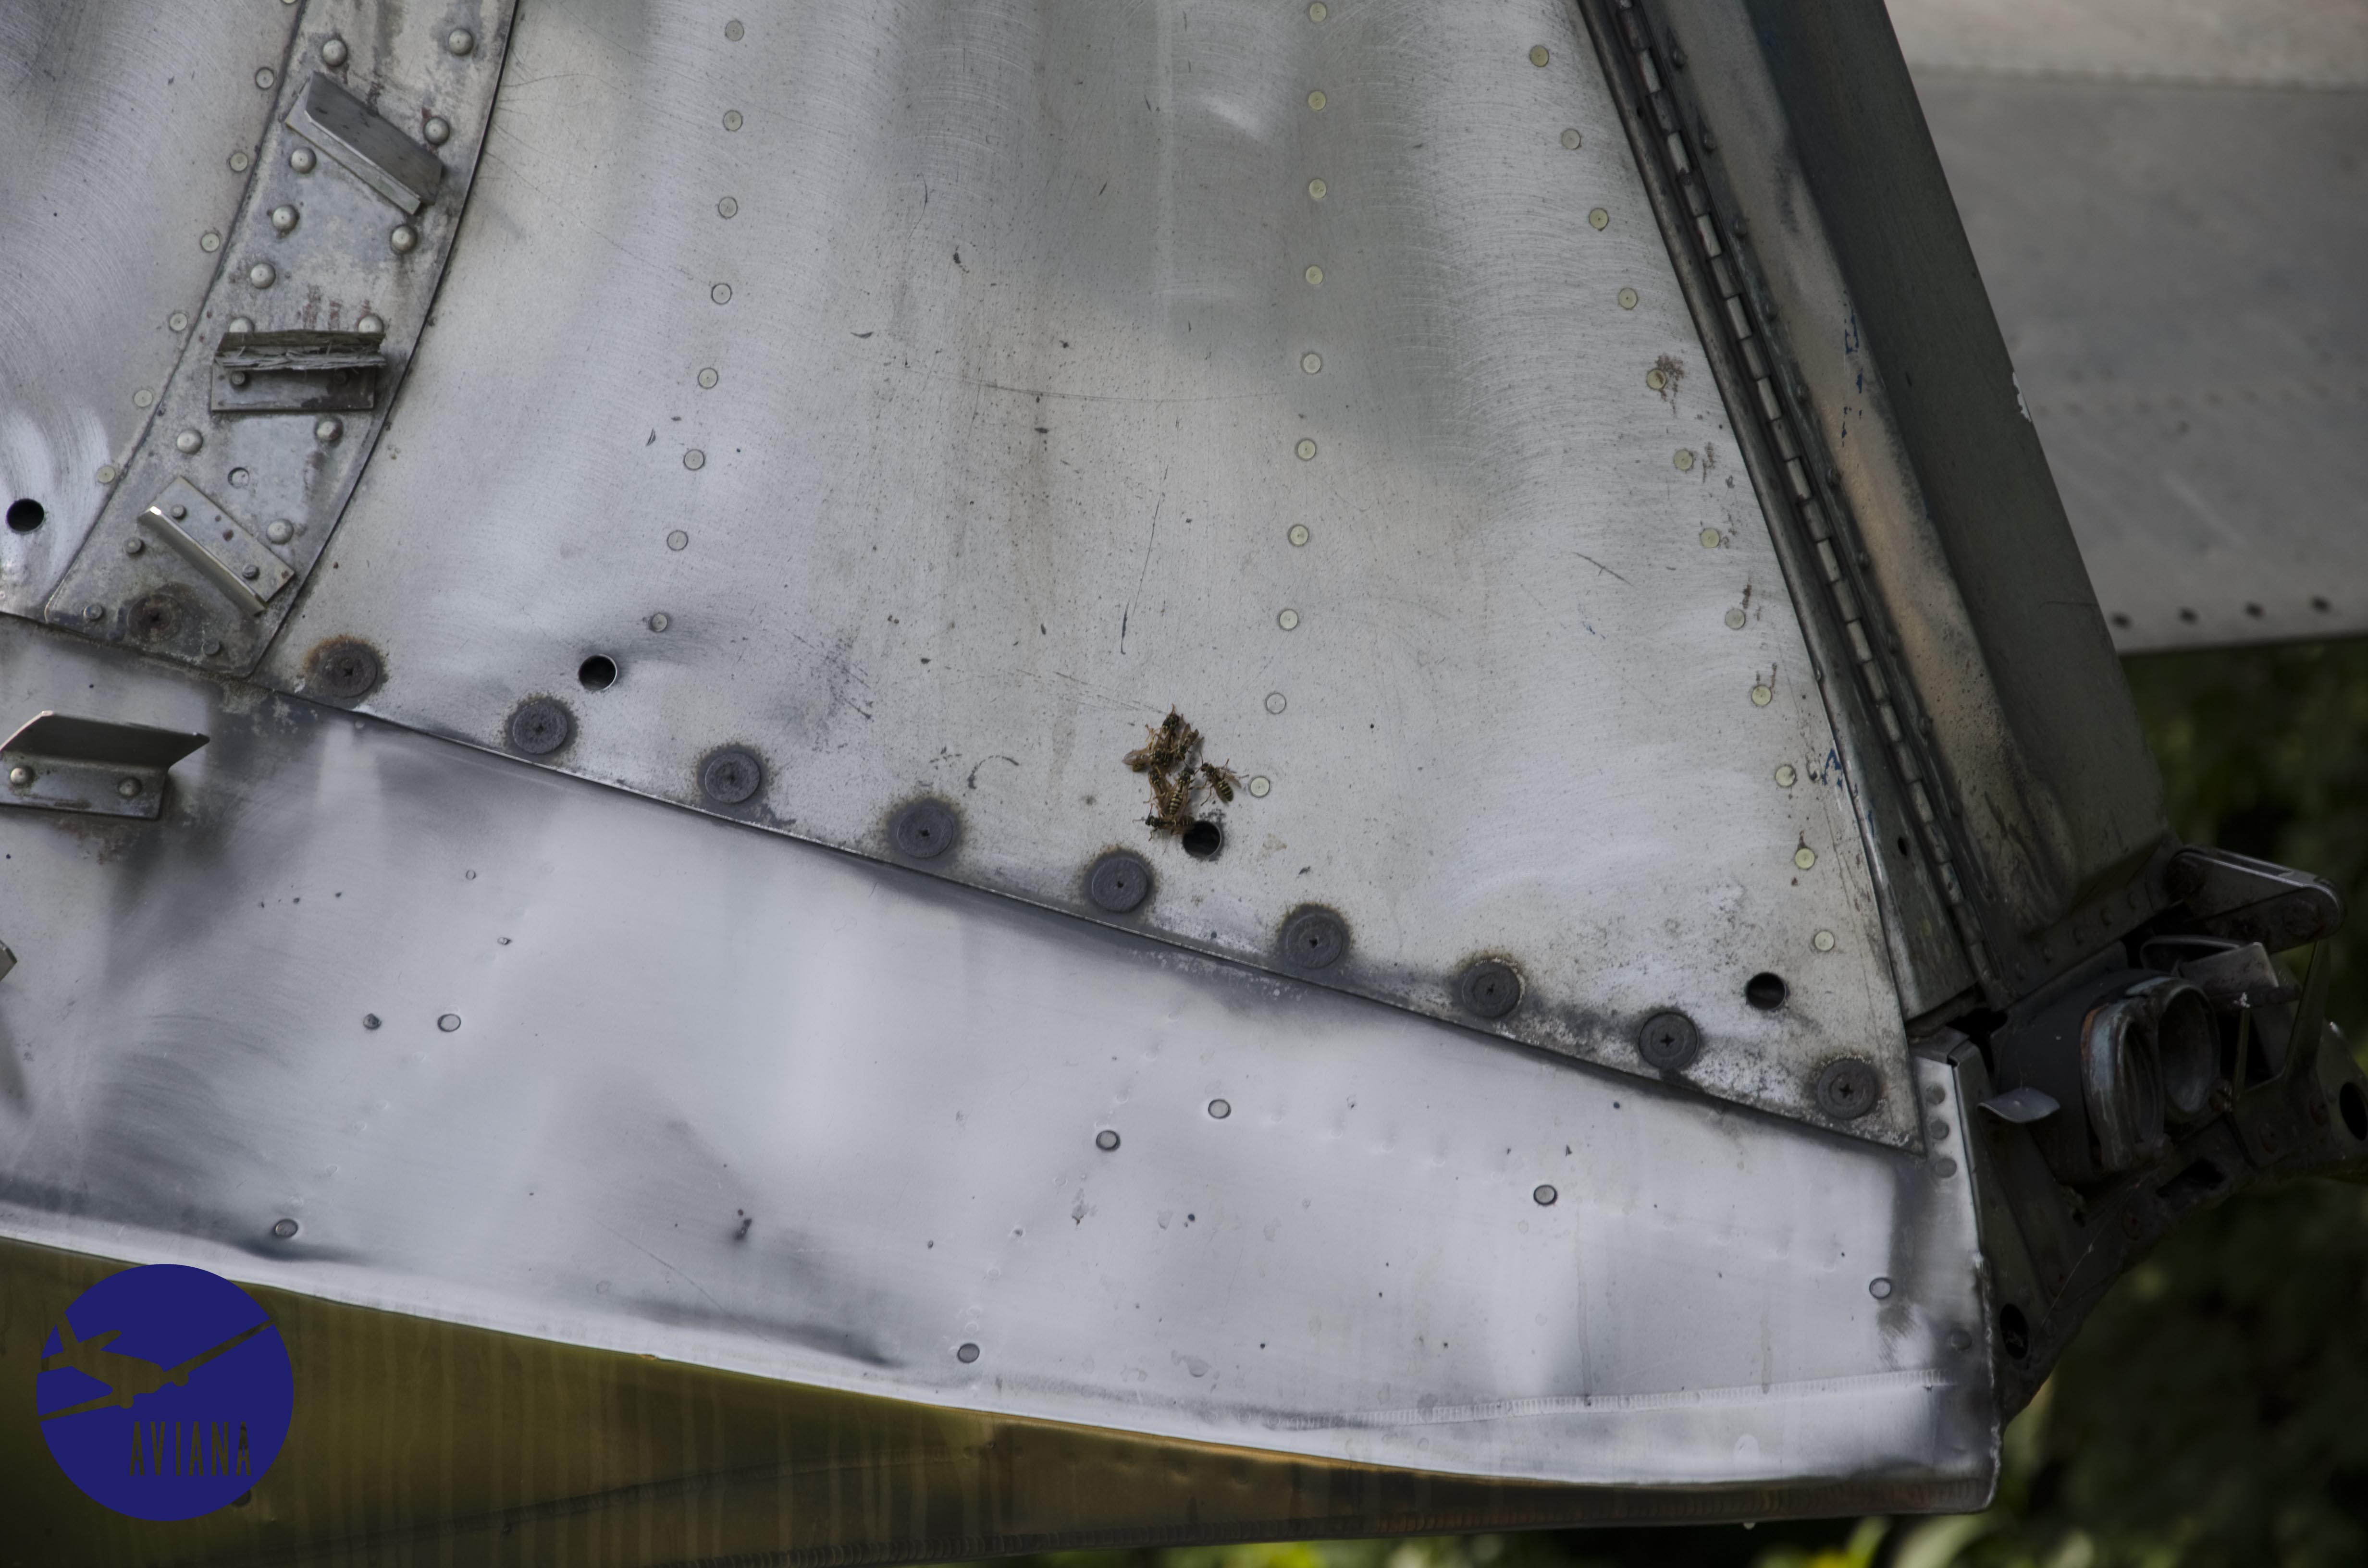
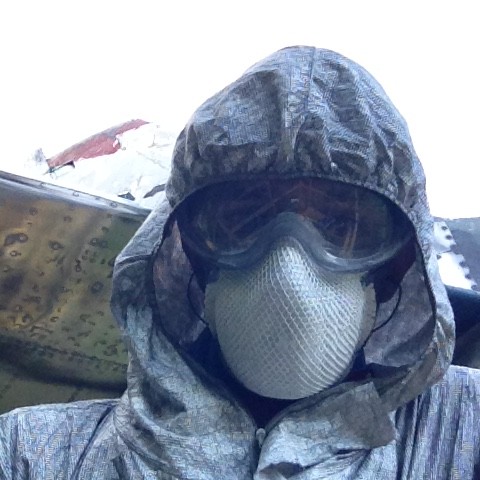
Did I mention the plane houses several (pissed off) hornets nests? Thank you Tyvek suits and RAID!


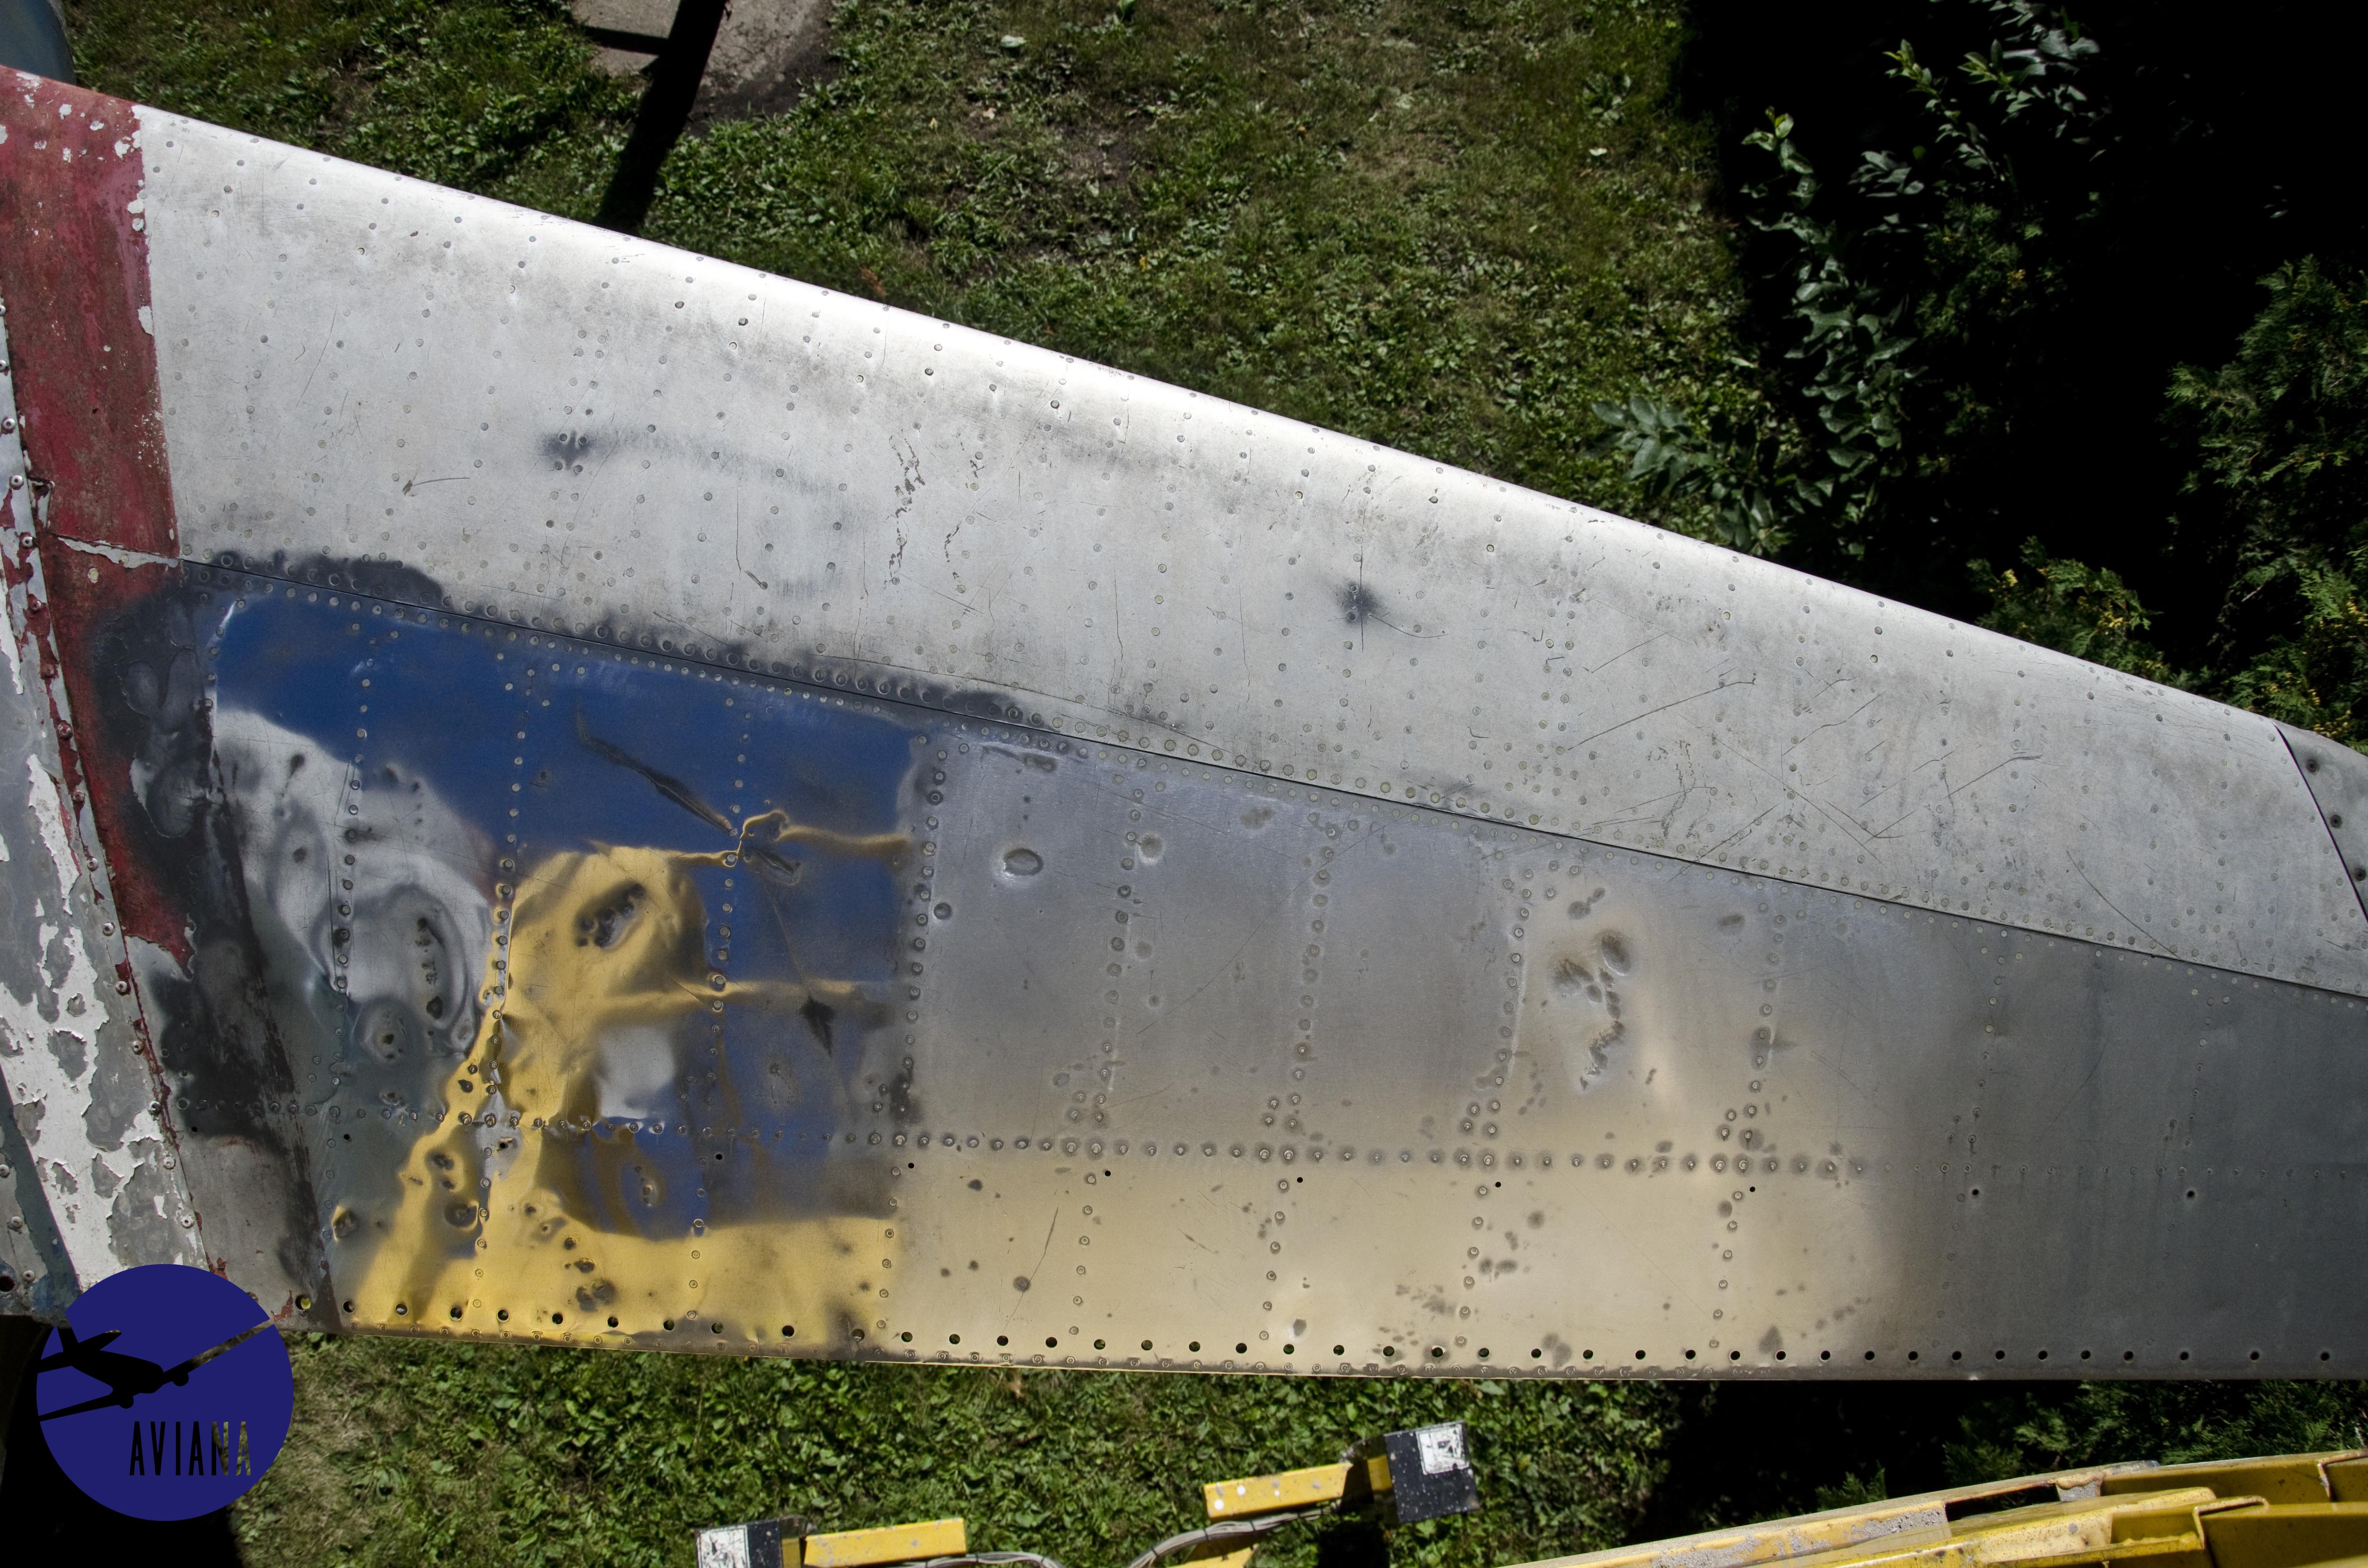
The wings especially were extremely tough to sand, eating through many 60 grit sanding discs as the velcro backing failed rather quickly.
A wire brush was used to knock off loose paint, then coarse sand paper was used to scuff the paint to allow the new paint coat to adhere.

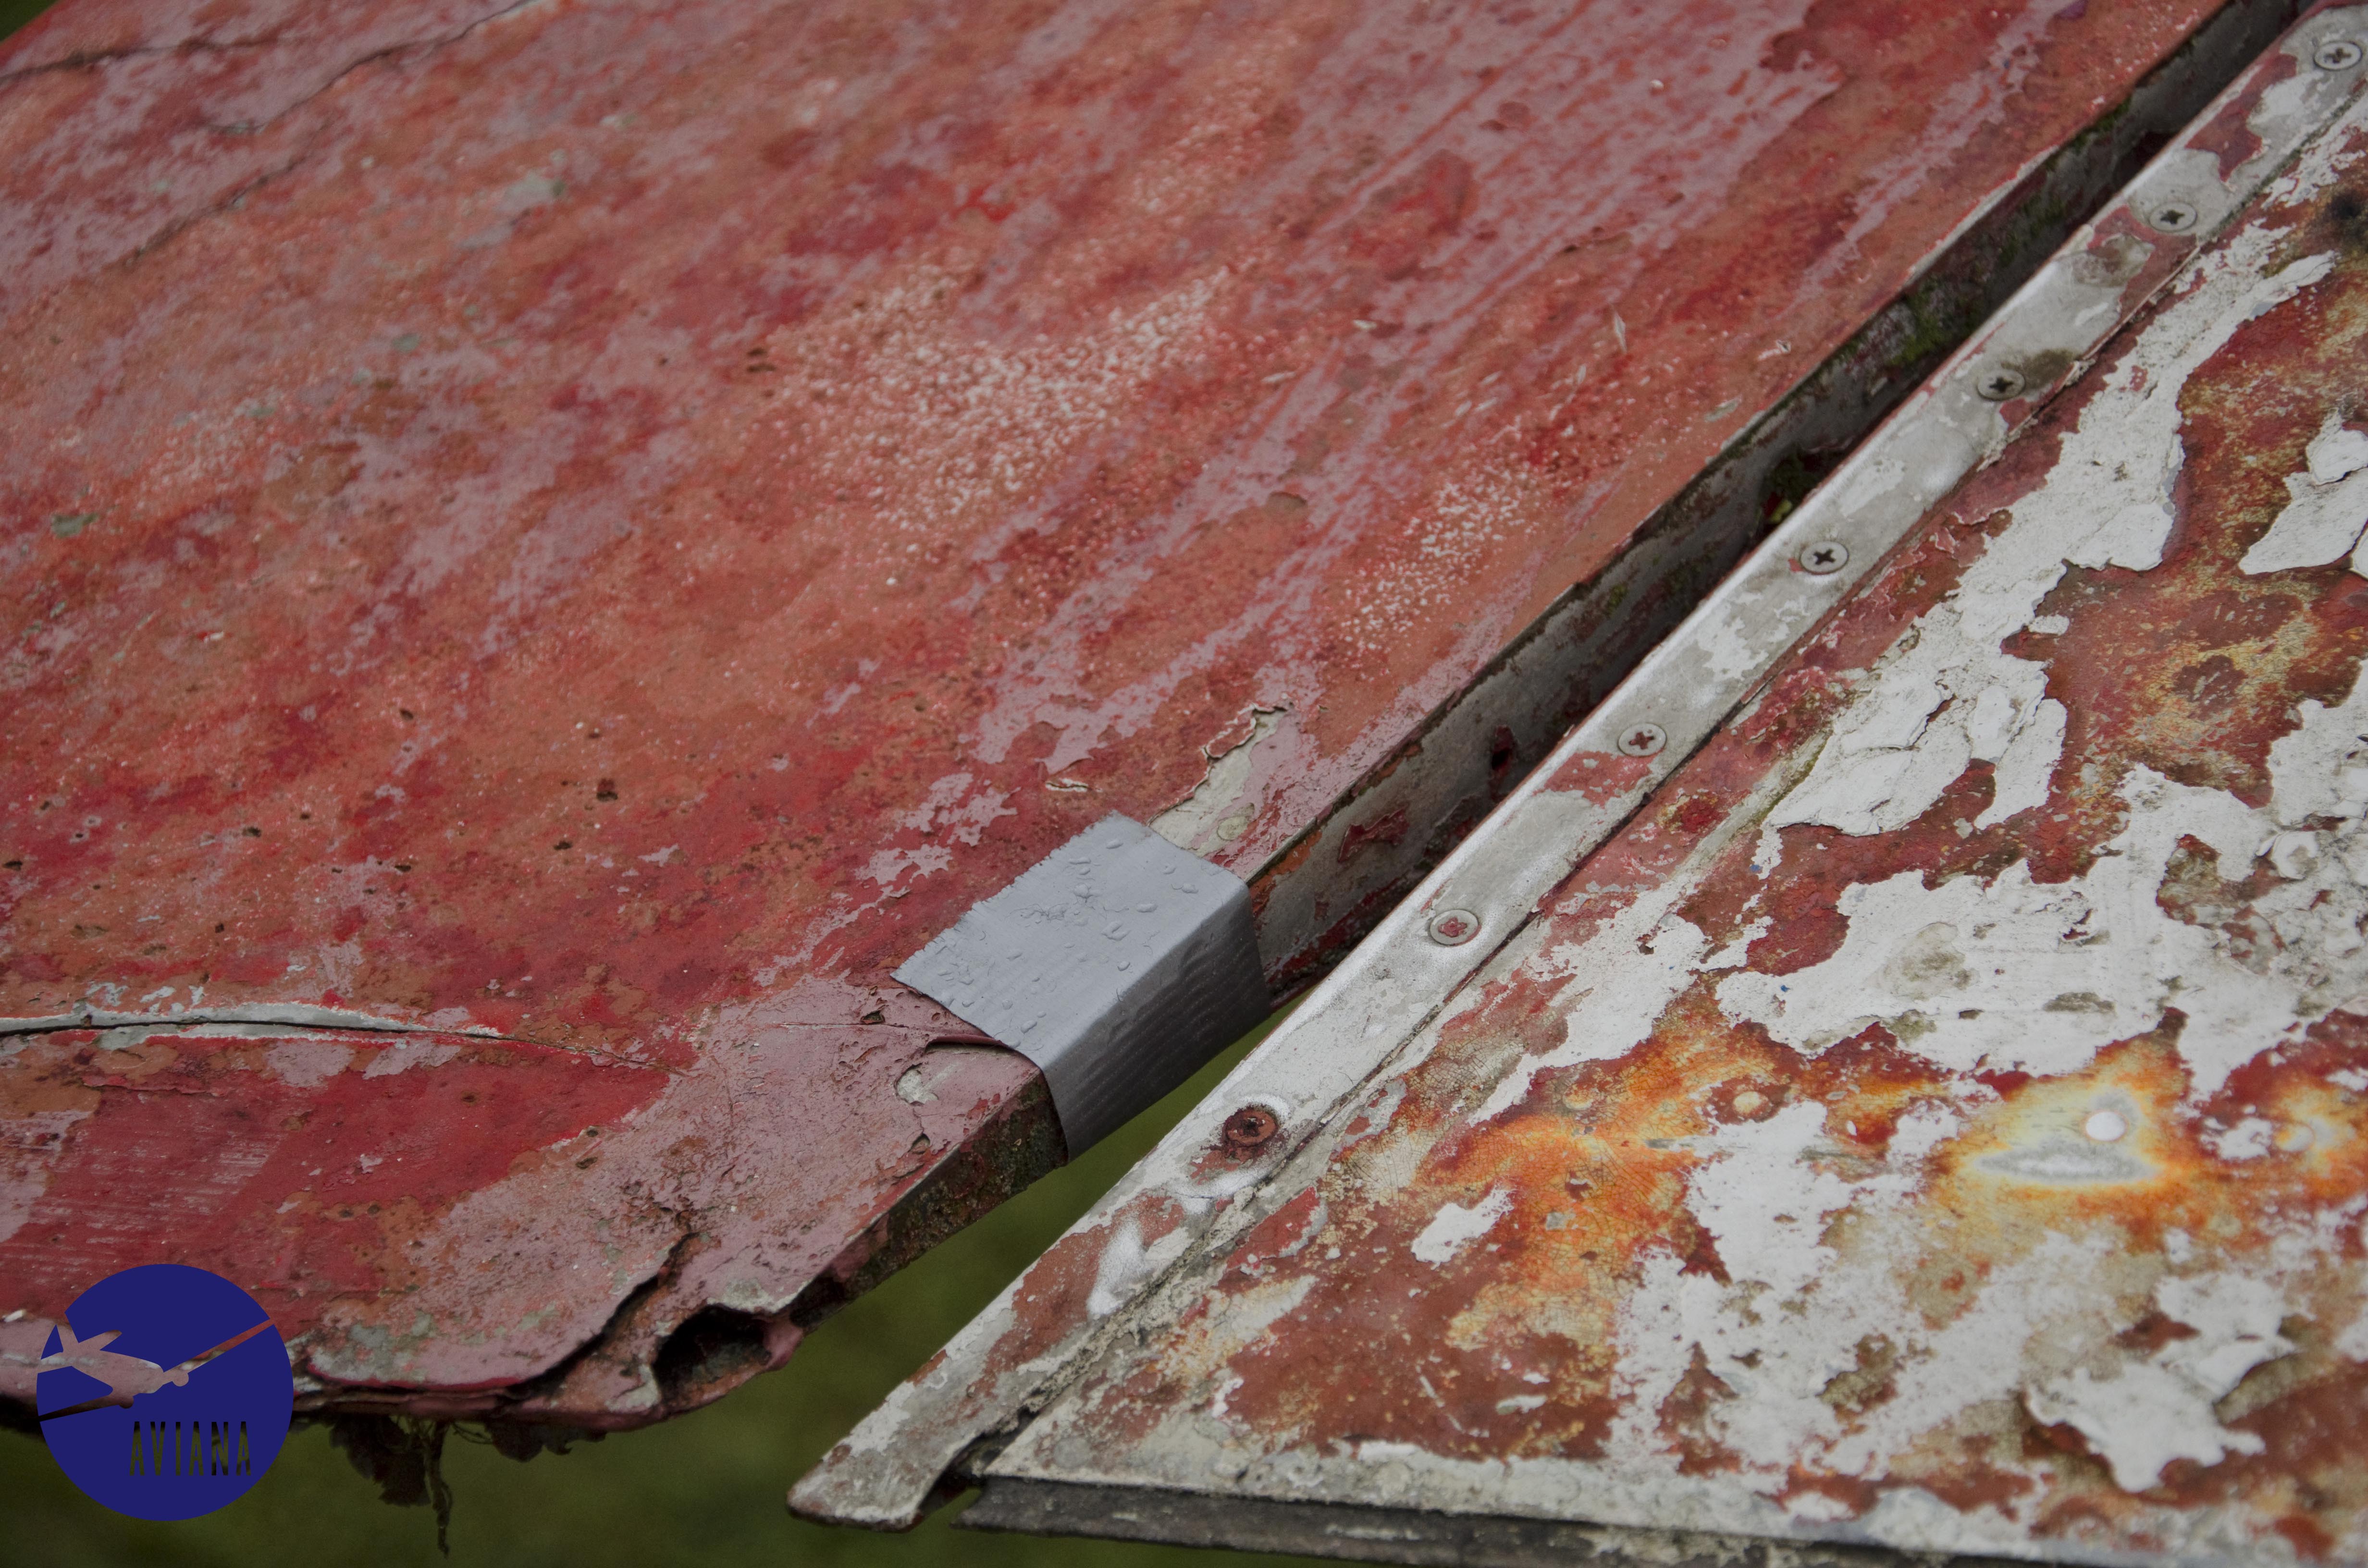
Why is there a hole covered with duct tape? Because there are angry wasps living here, and no more RAID in stock.
Some midway shots showing most of the [left side of the] plane sanded down.
For a little morale boost, a sample area to be compounded. First it was refined with a 600 grit sandpaper,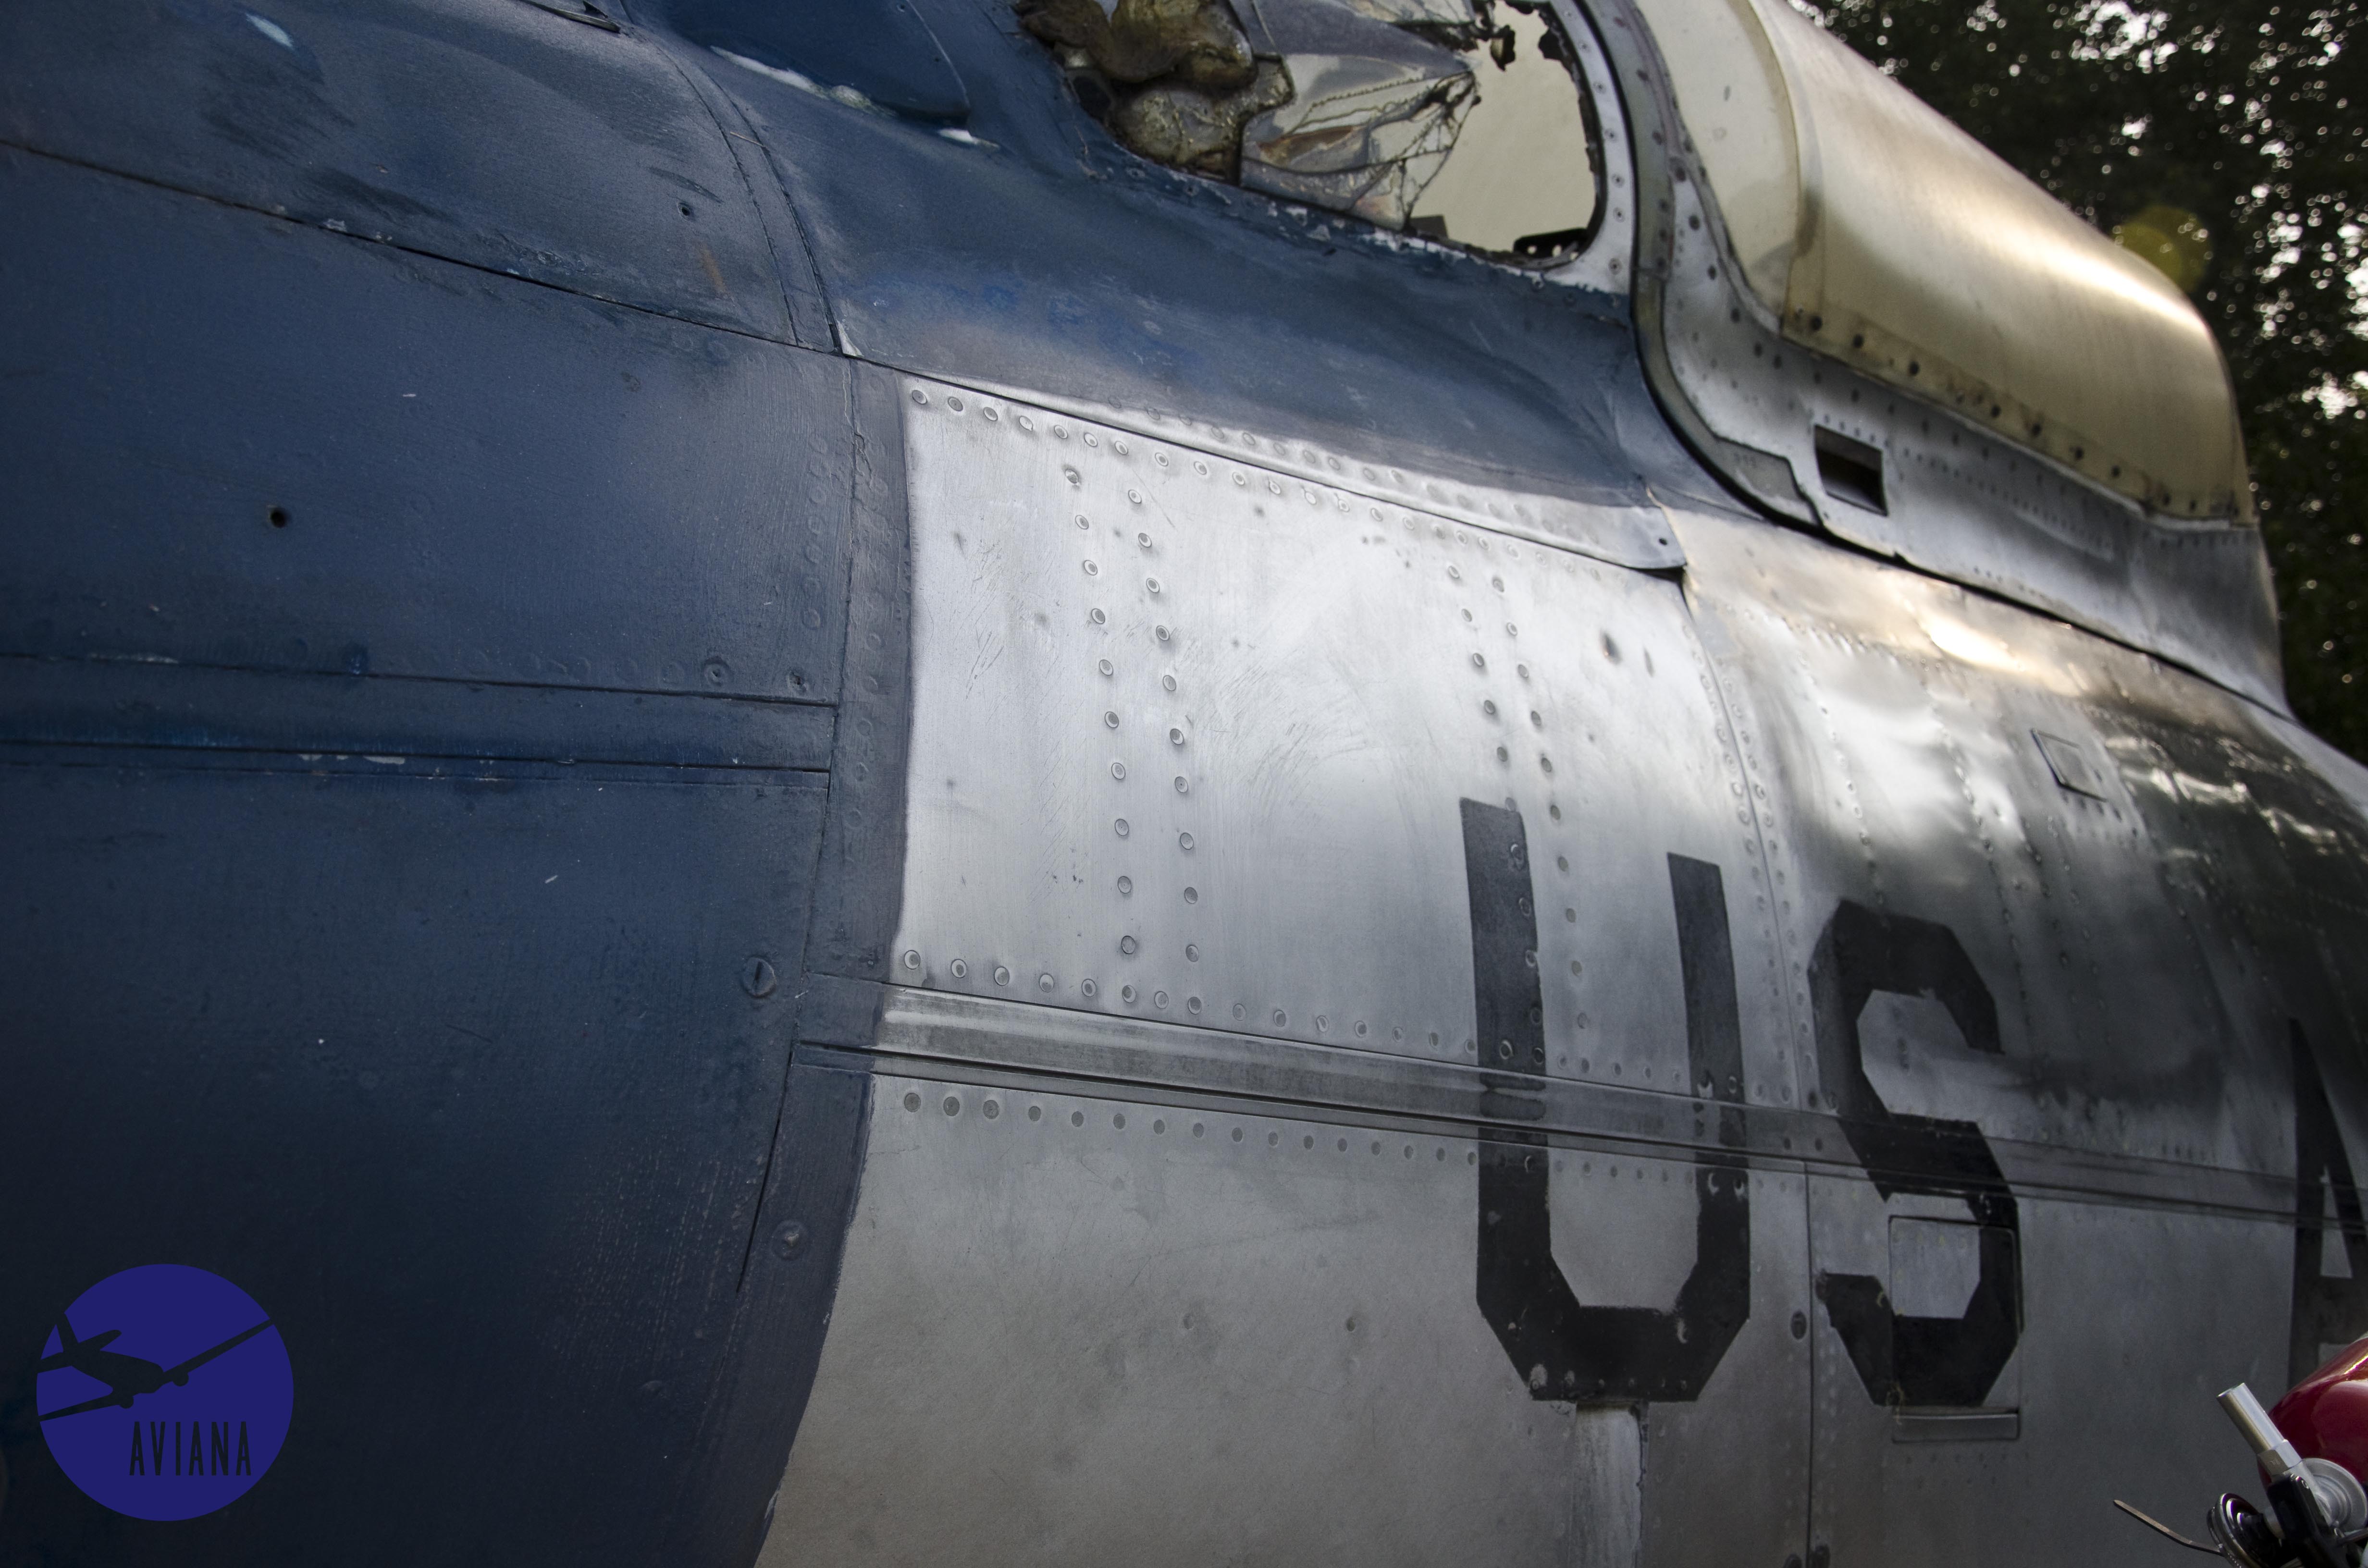
The using a metal compound, a wool pad, and a rotary polisher, the first polishing test:

Since rotary polishing is rather messy, I waited with the finishing polish step until after the mess with the rotary was done.
Some more partial polishing shots..
Mother nature immediately trying to return the plane to its oxidized state.


Almost 50% done (saving painting for last)
Starting on the other side now, this side appeared to have been vandalized less, as a result the texture of the aluminum was much better. However, facing the sun, the paint was in much worse shape. Also, more wasps. This time a foaming wasp killer was used to cover the many entrances, with great success.

Close up of some of the texture leveling.


Notice all those holograms? Those get removed with the finishing polish.


Holograms Galore! I literally have nightmares about leaving behind holograms.
Getting rid of them with some fine grade metal polish and a dual action machine..
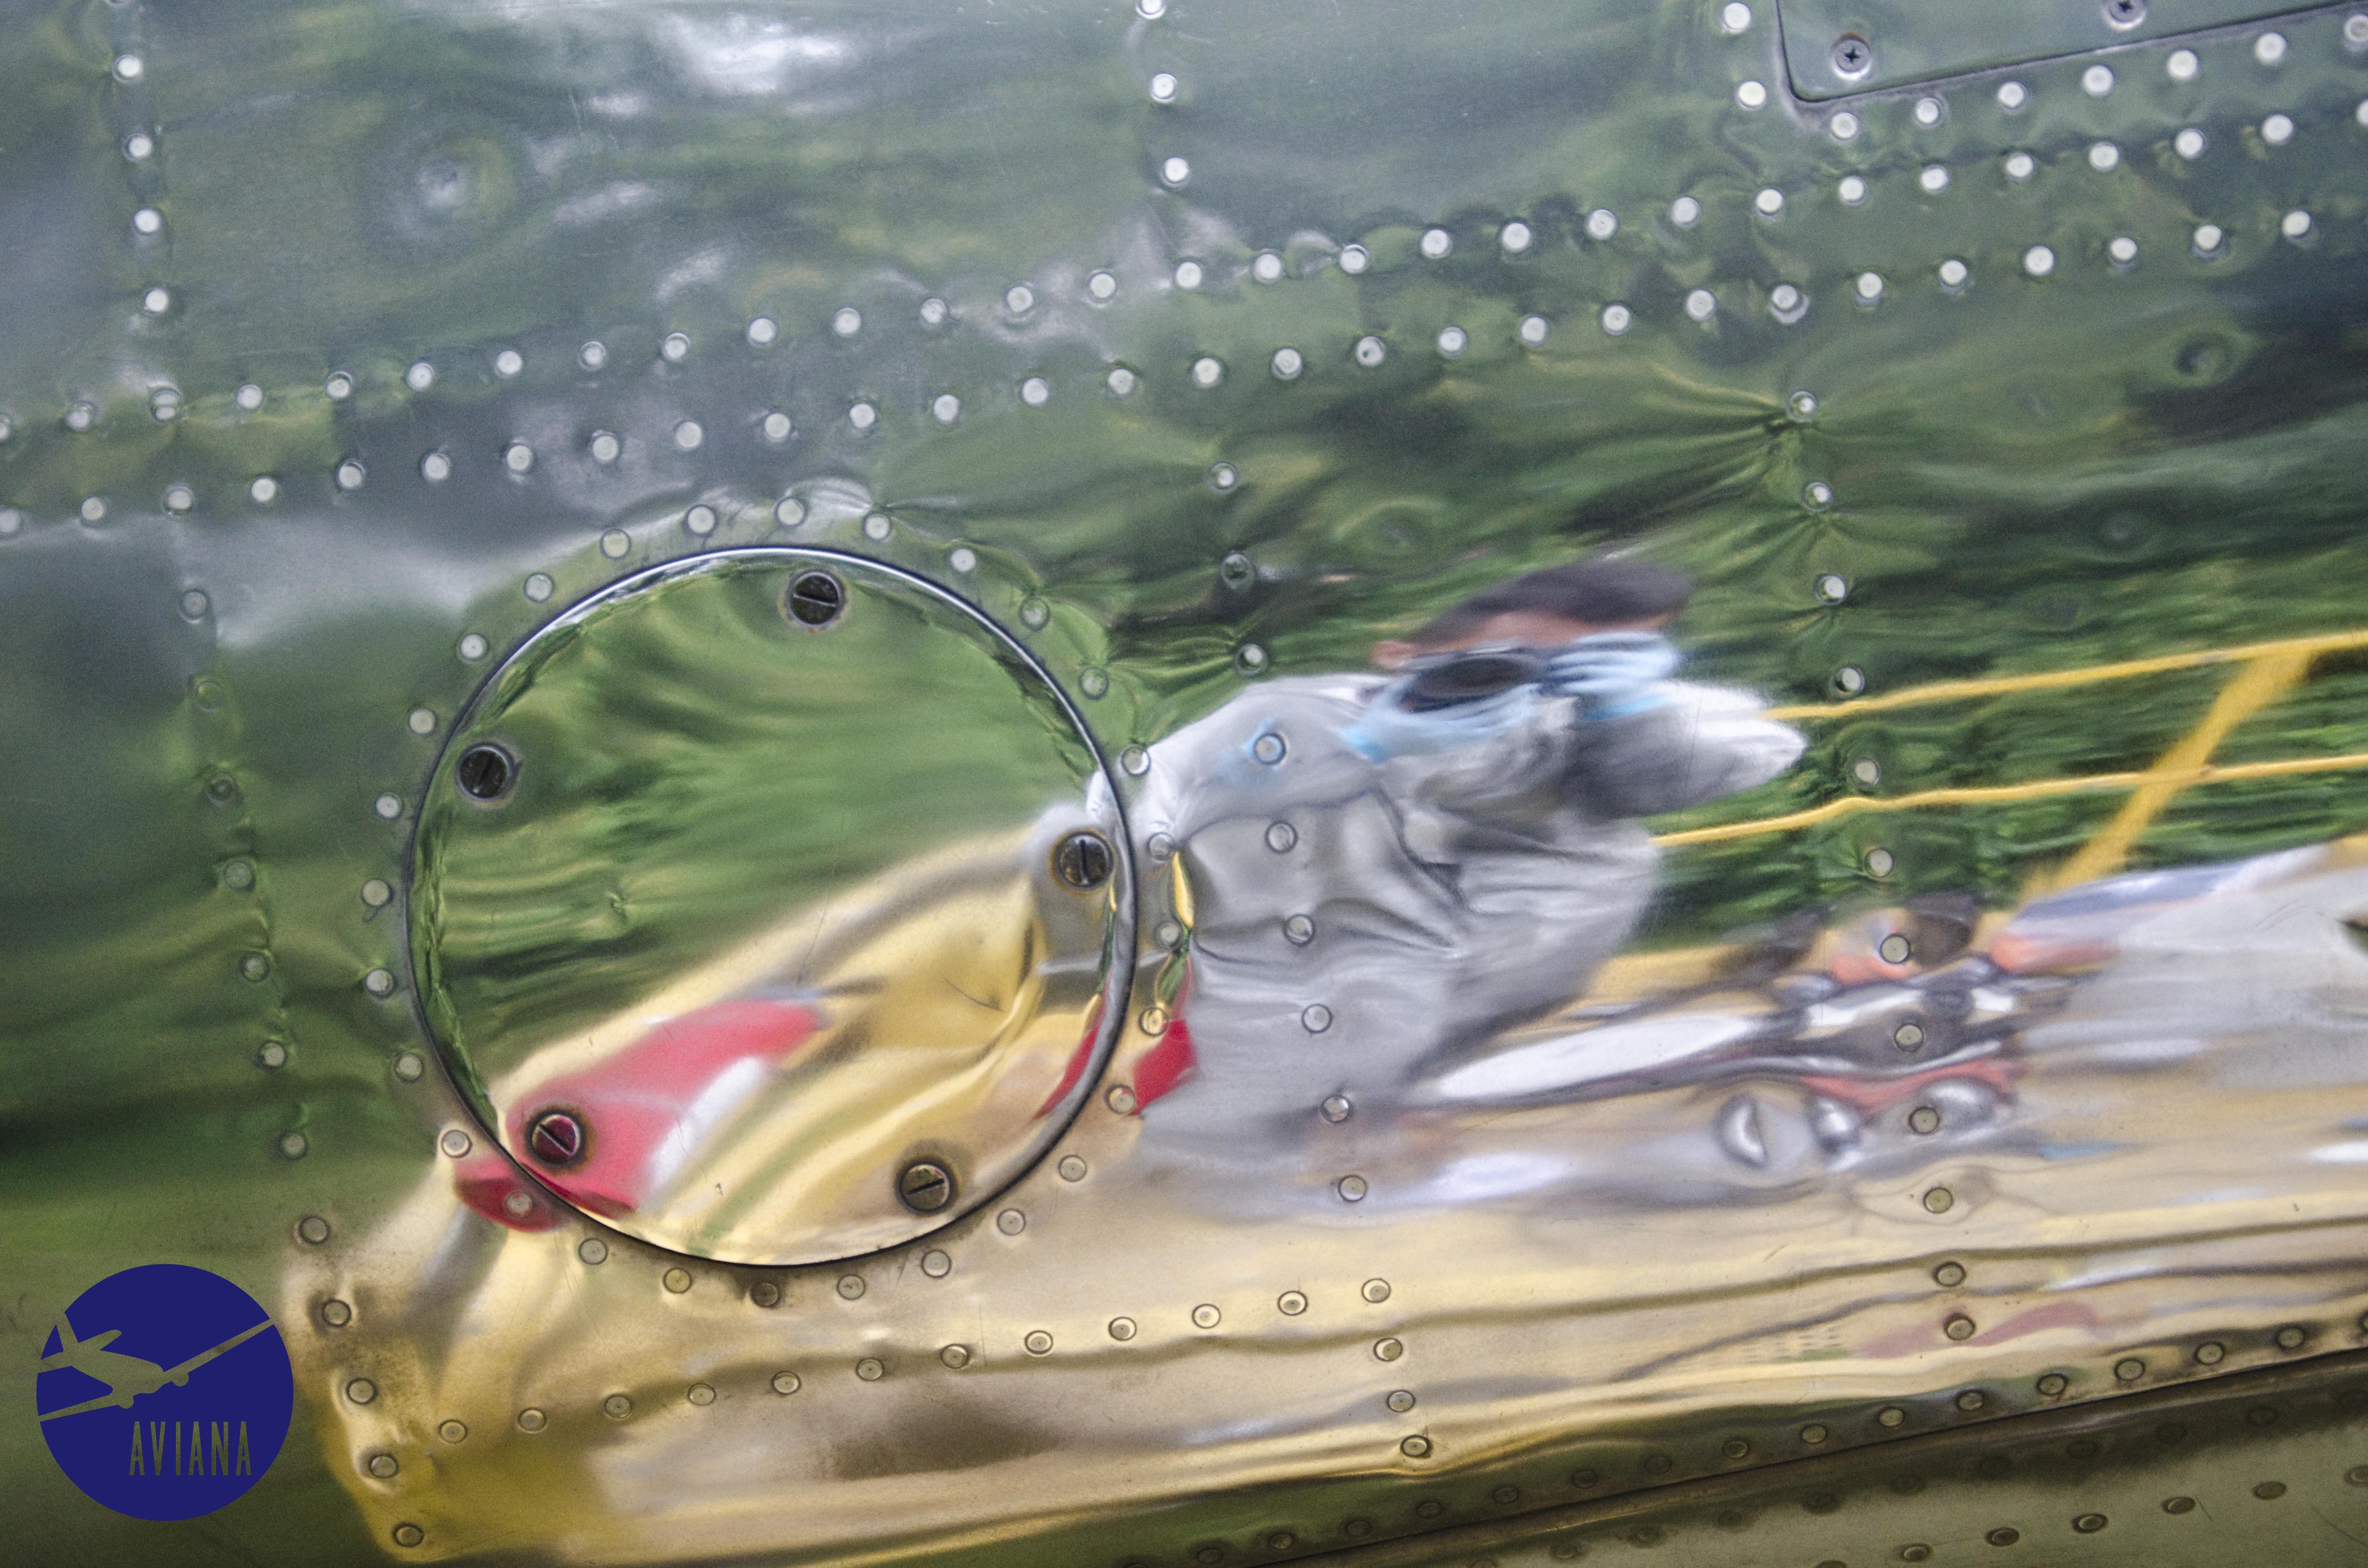
Notice the front half is hologram free!

All hologram free
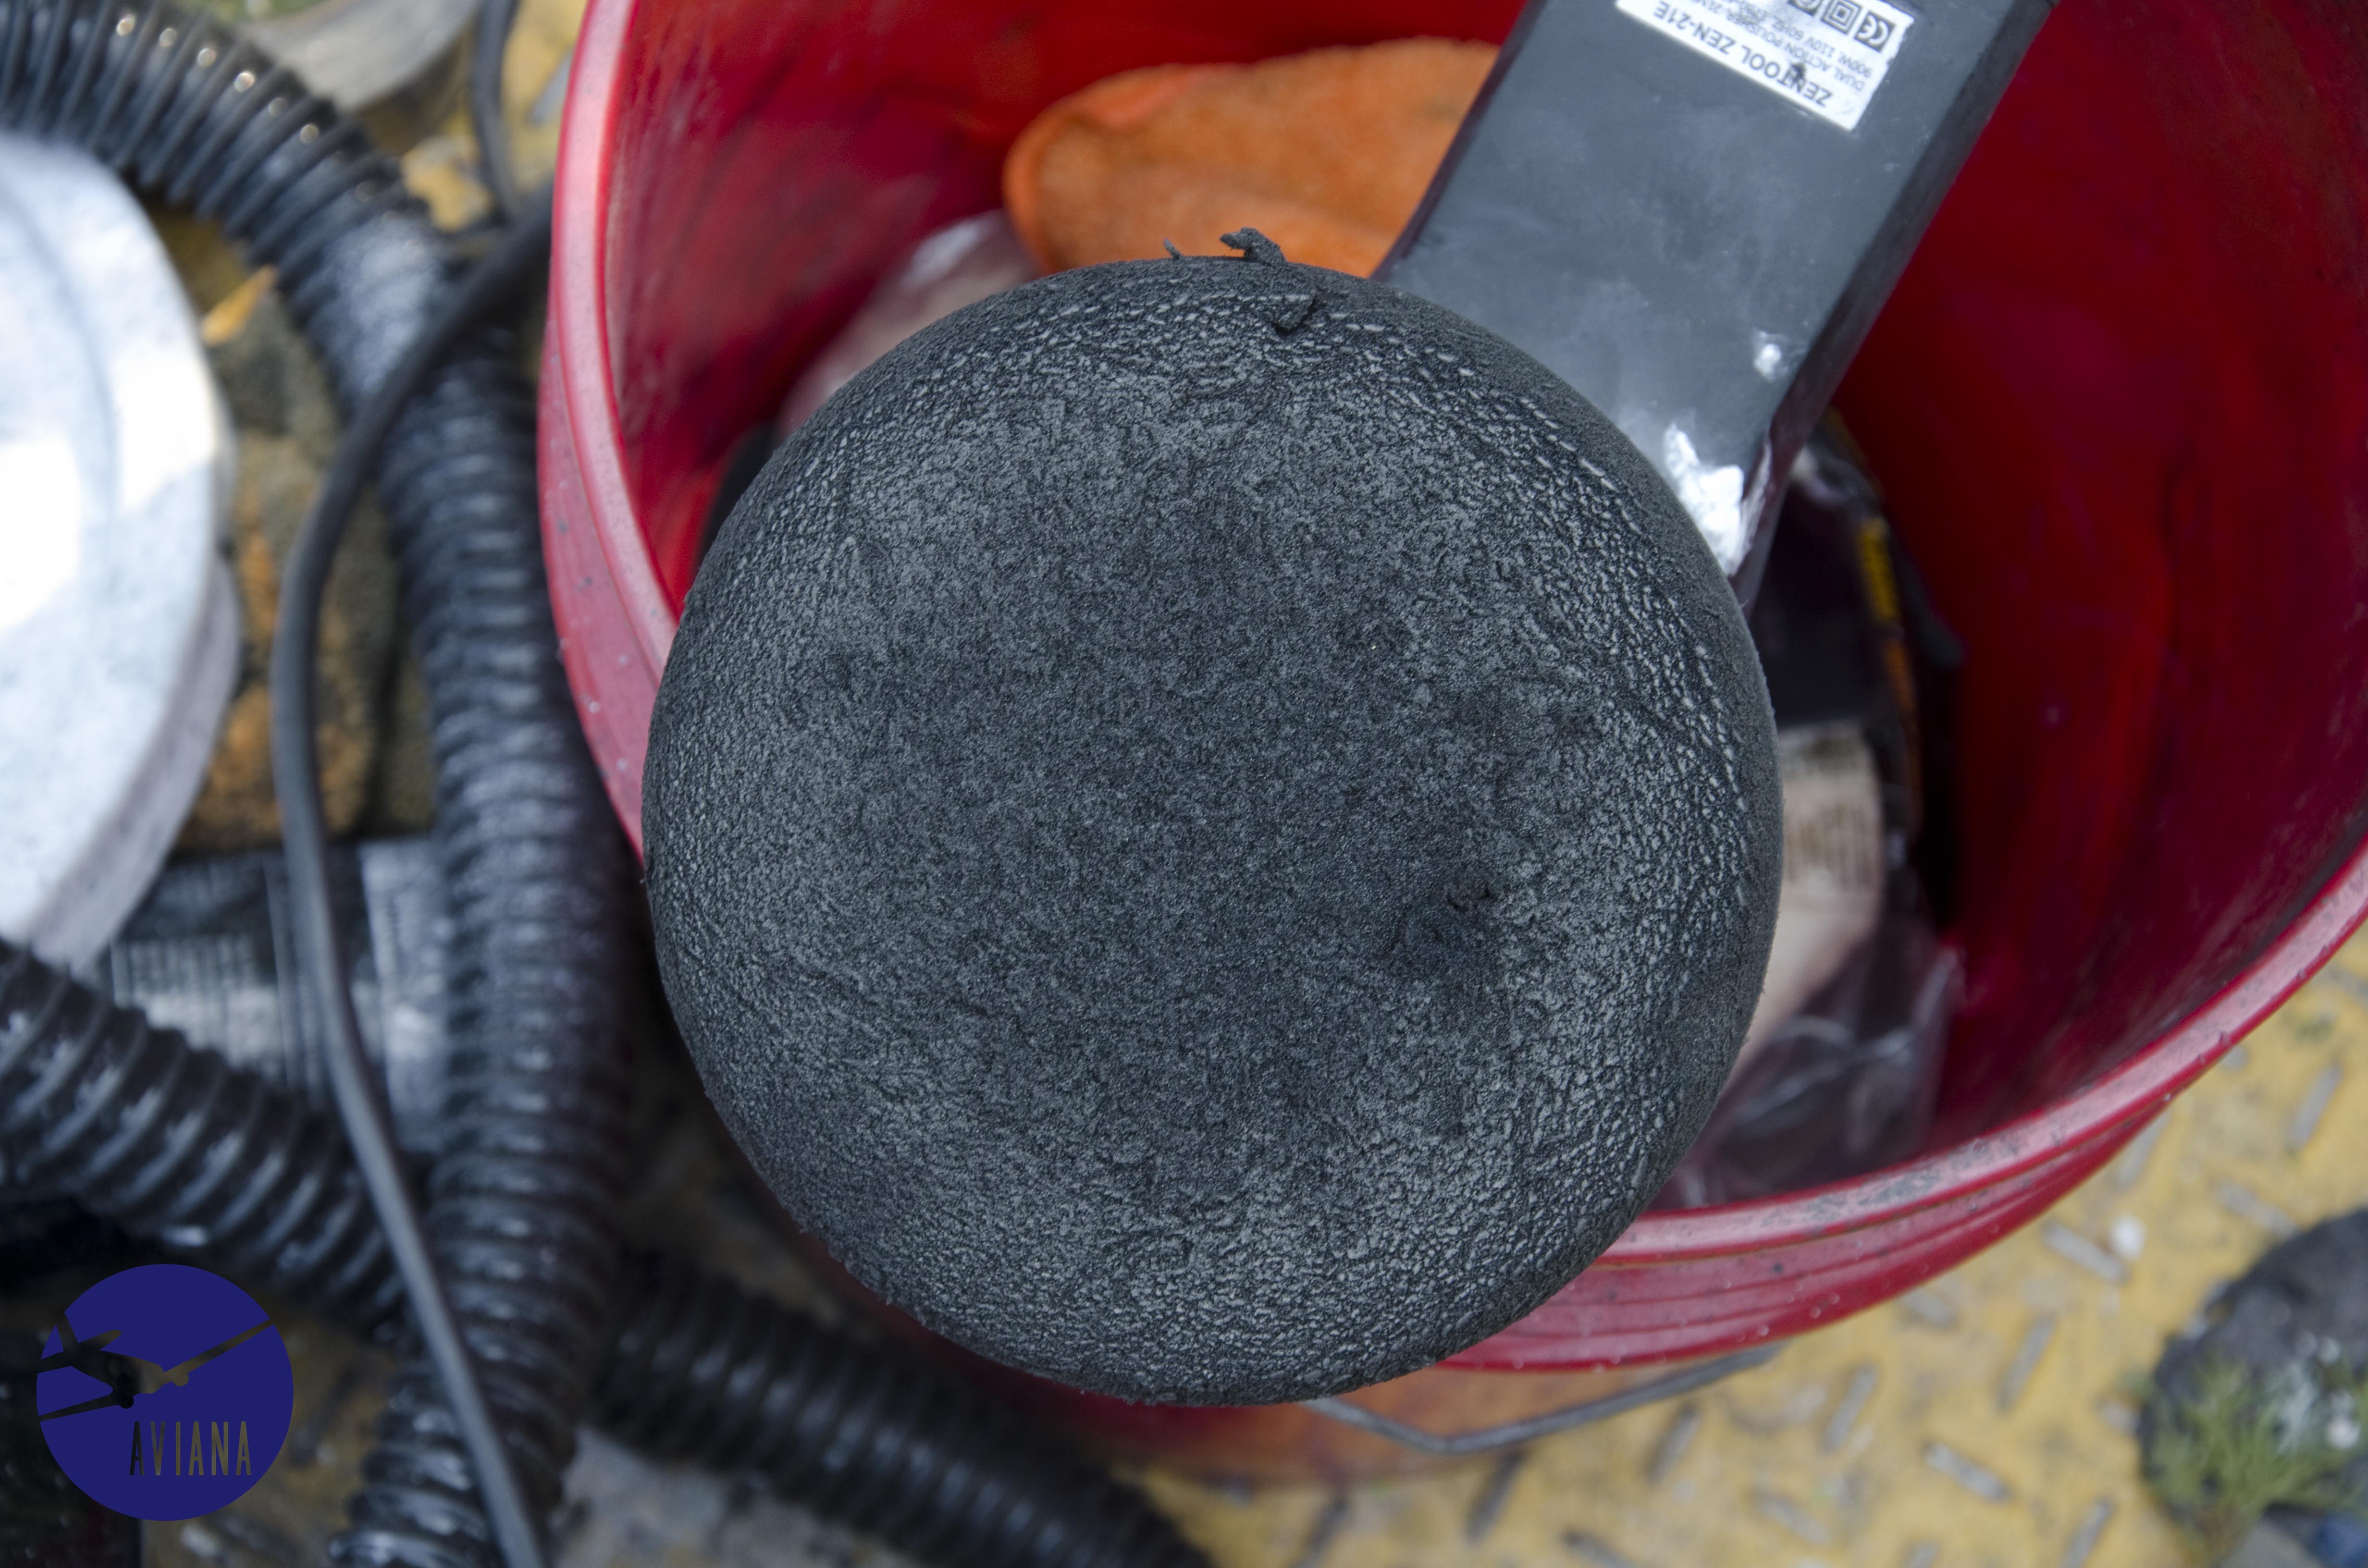
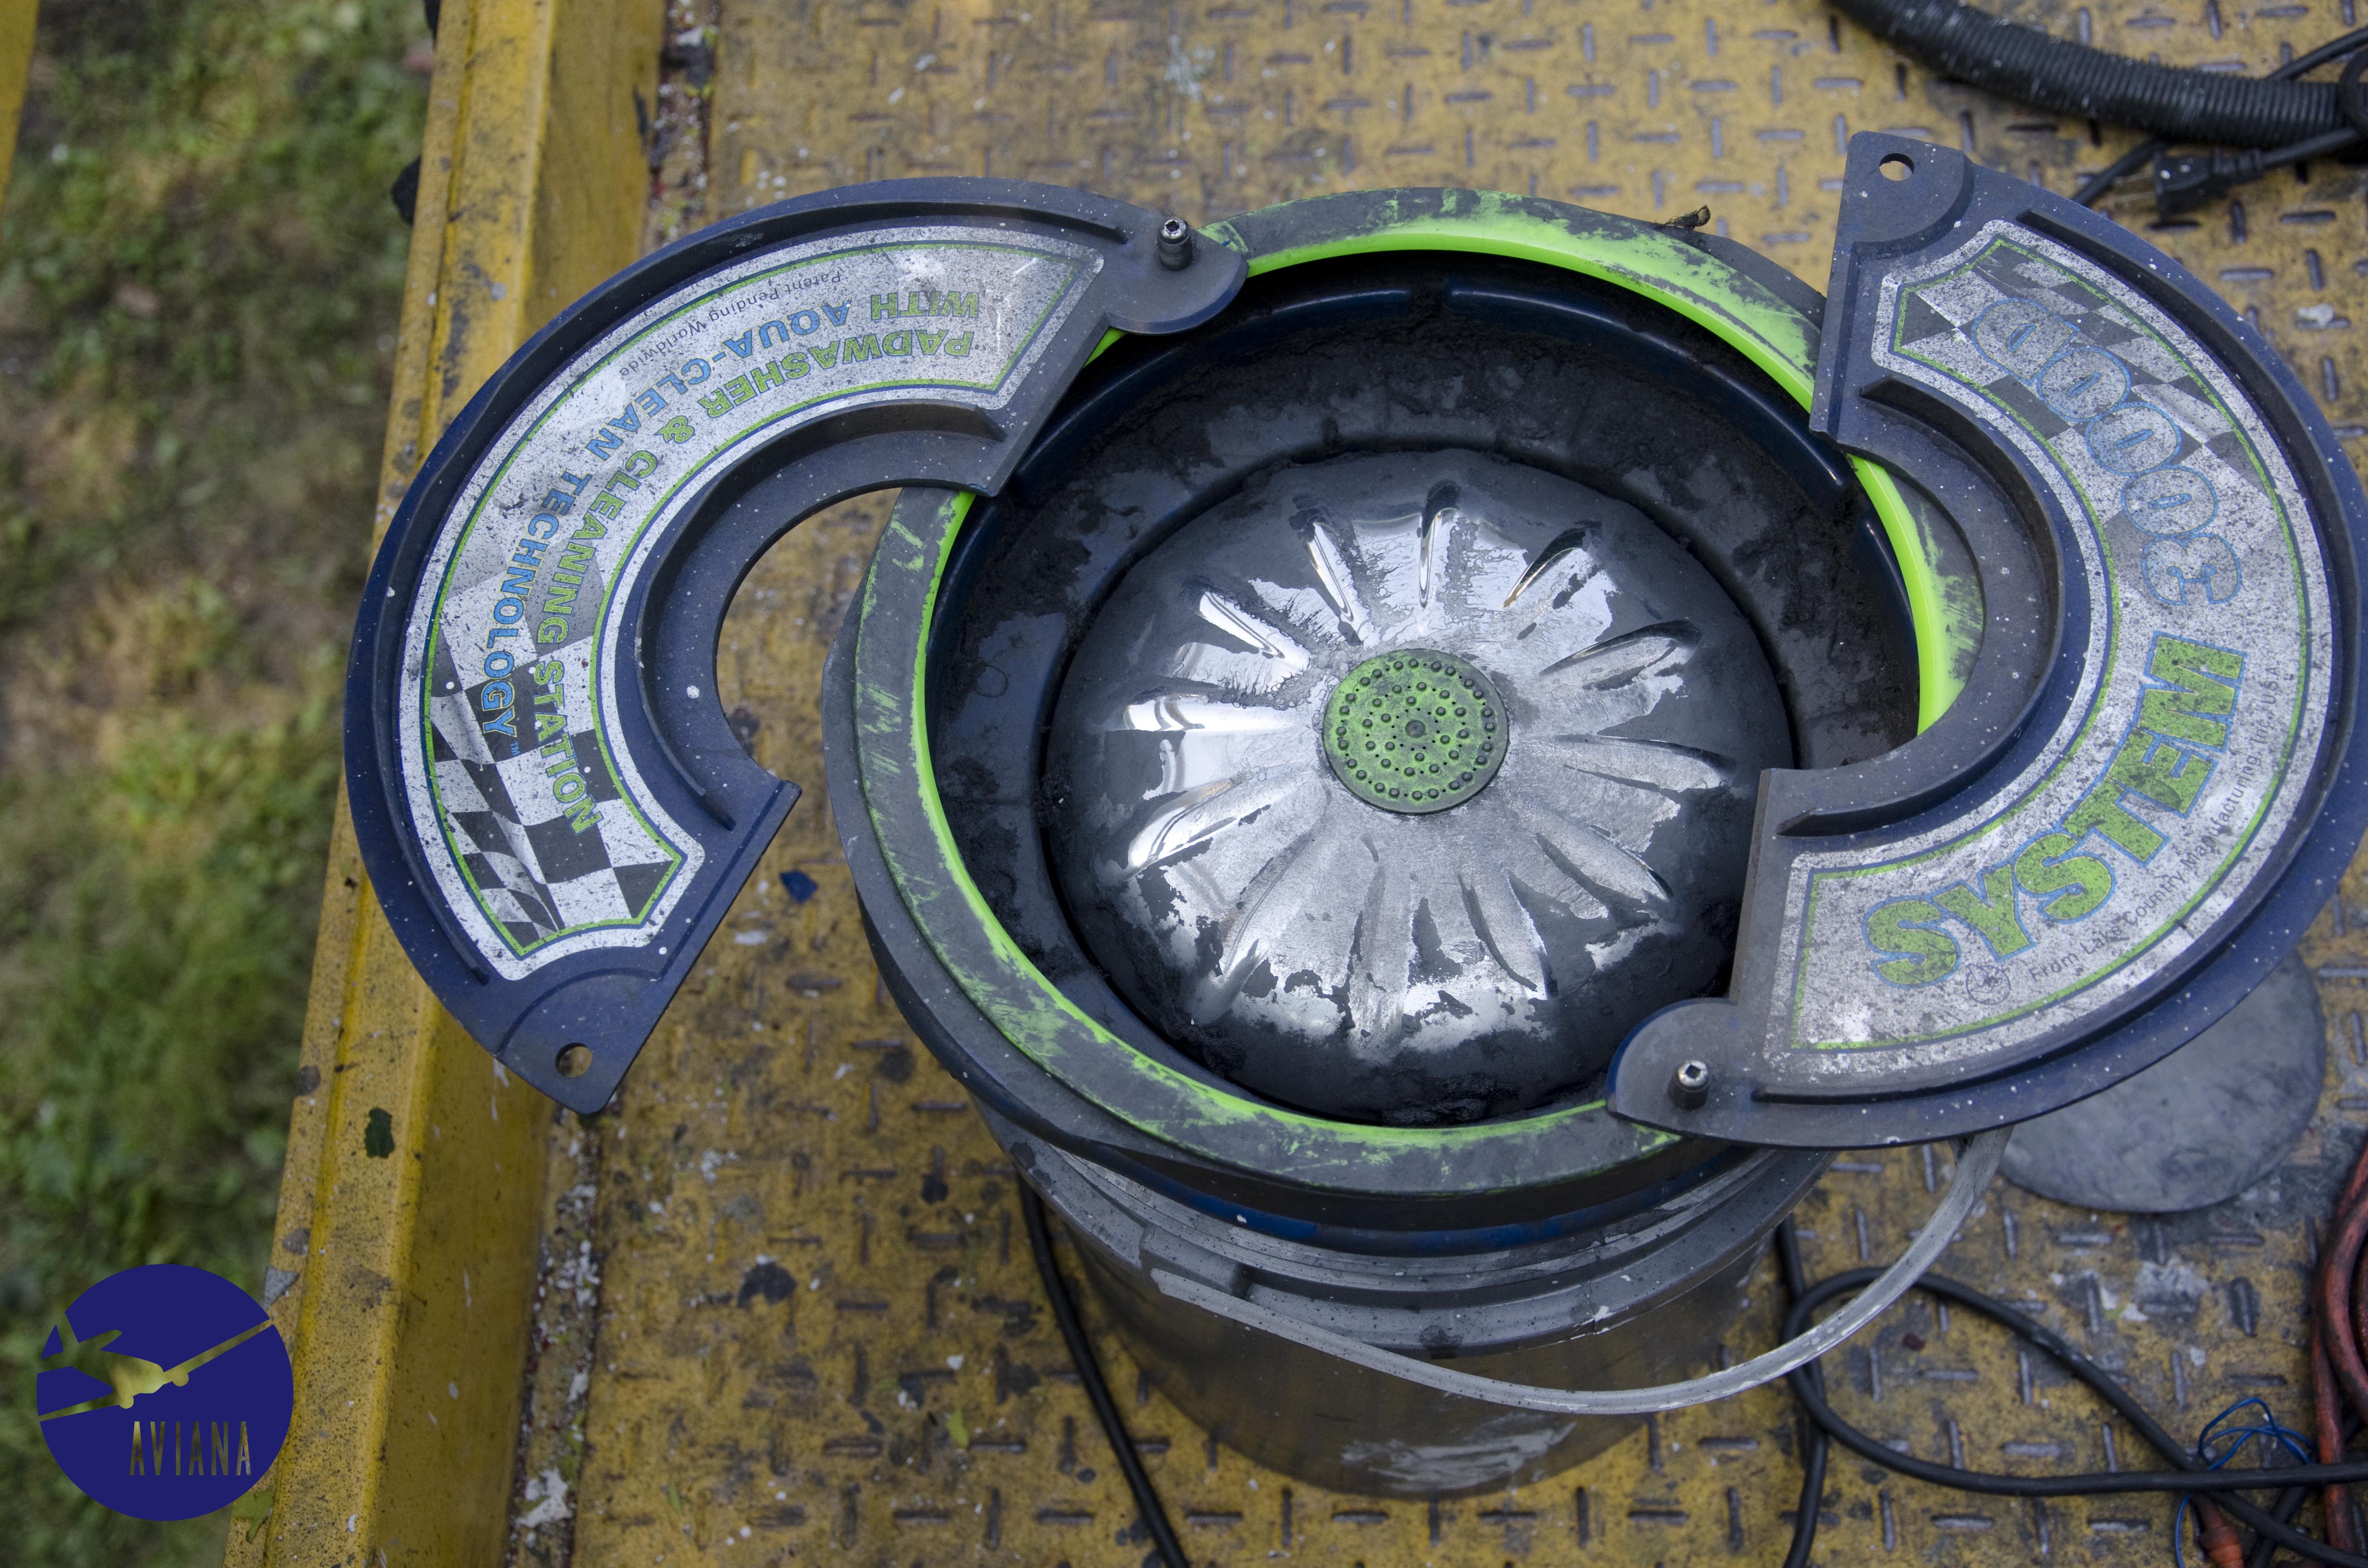
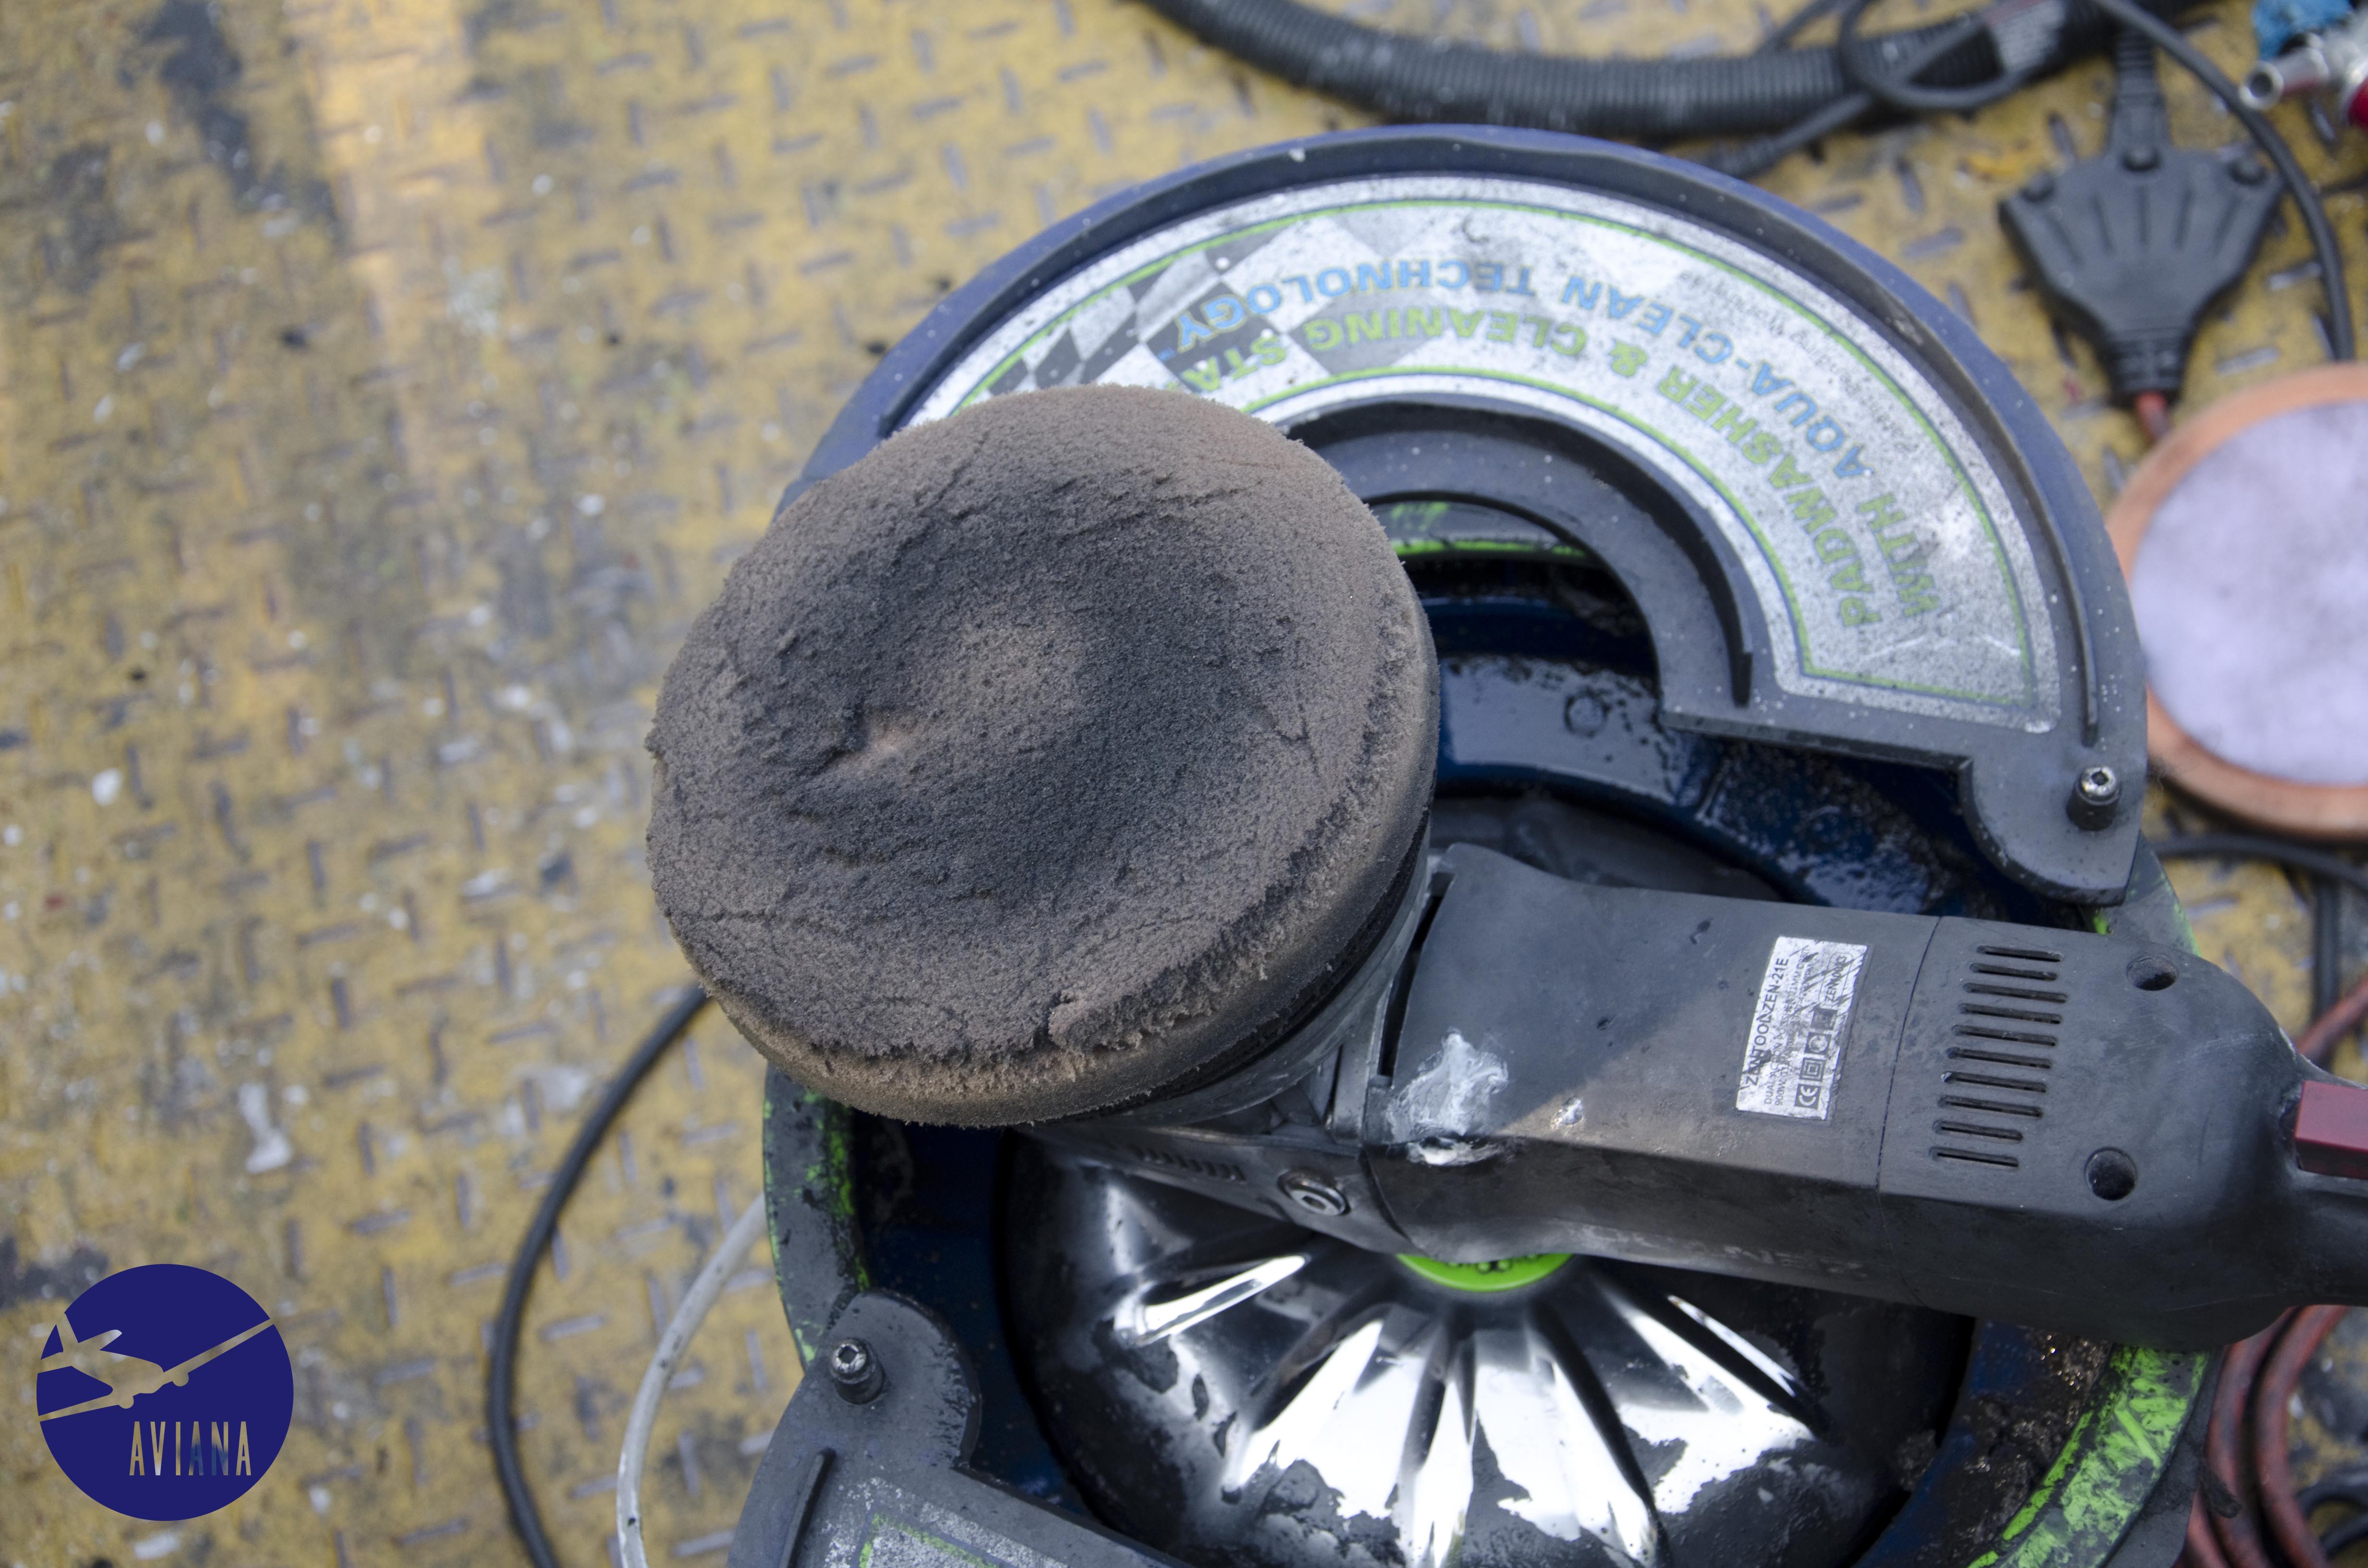
Trusty DA and pad washer, removing built up oxidation and polish residue for a marr-free finish.

Painting time! Painting is messy! Not wanting to transfer paint from my gloves to my camera, there are no in process pictures of this. Just finished shots. In addition Jet Air Inc. recreated the canopy in plexiglass, giving the plane a fresh new top to match the rest of it!


A fresh canopy will make a huge impact on this plane’s appearance and Jet Air did not disappoint!
With the new canopy: